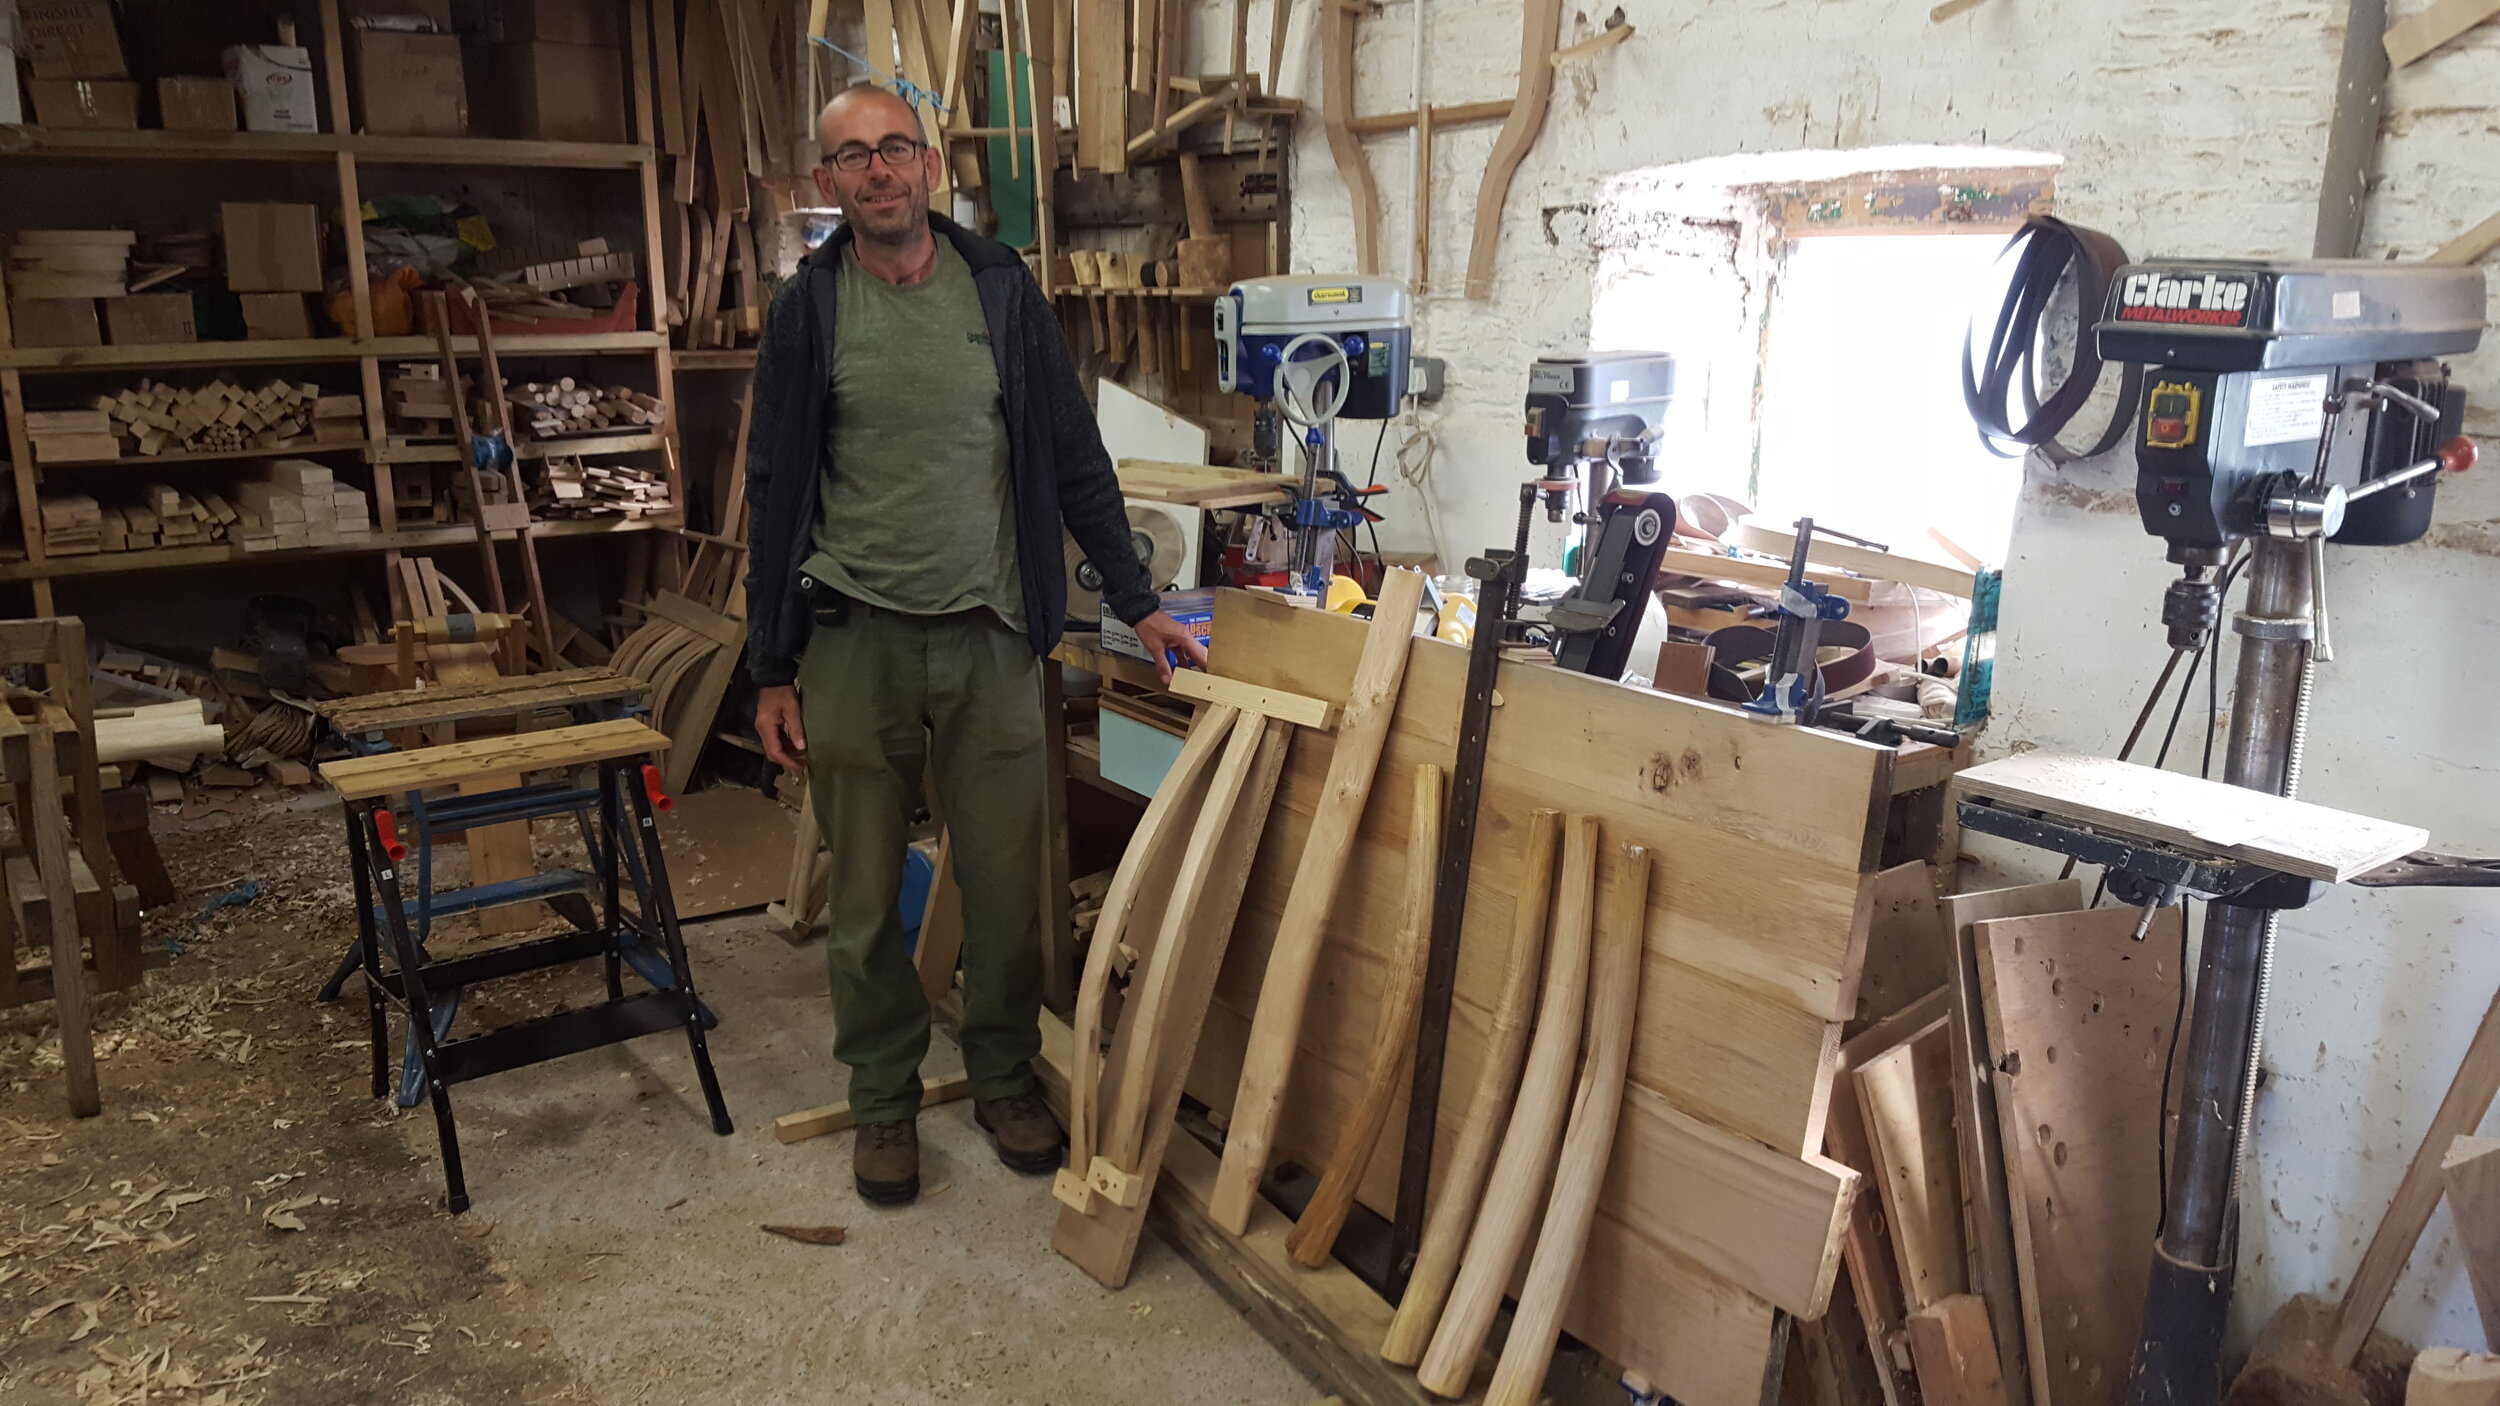
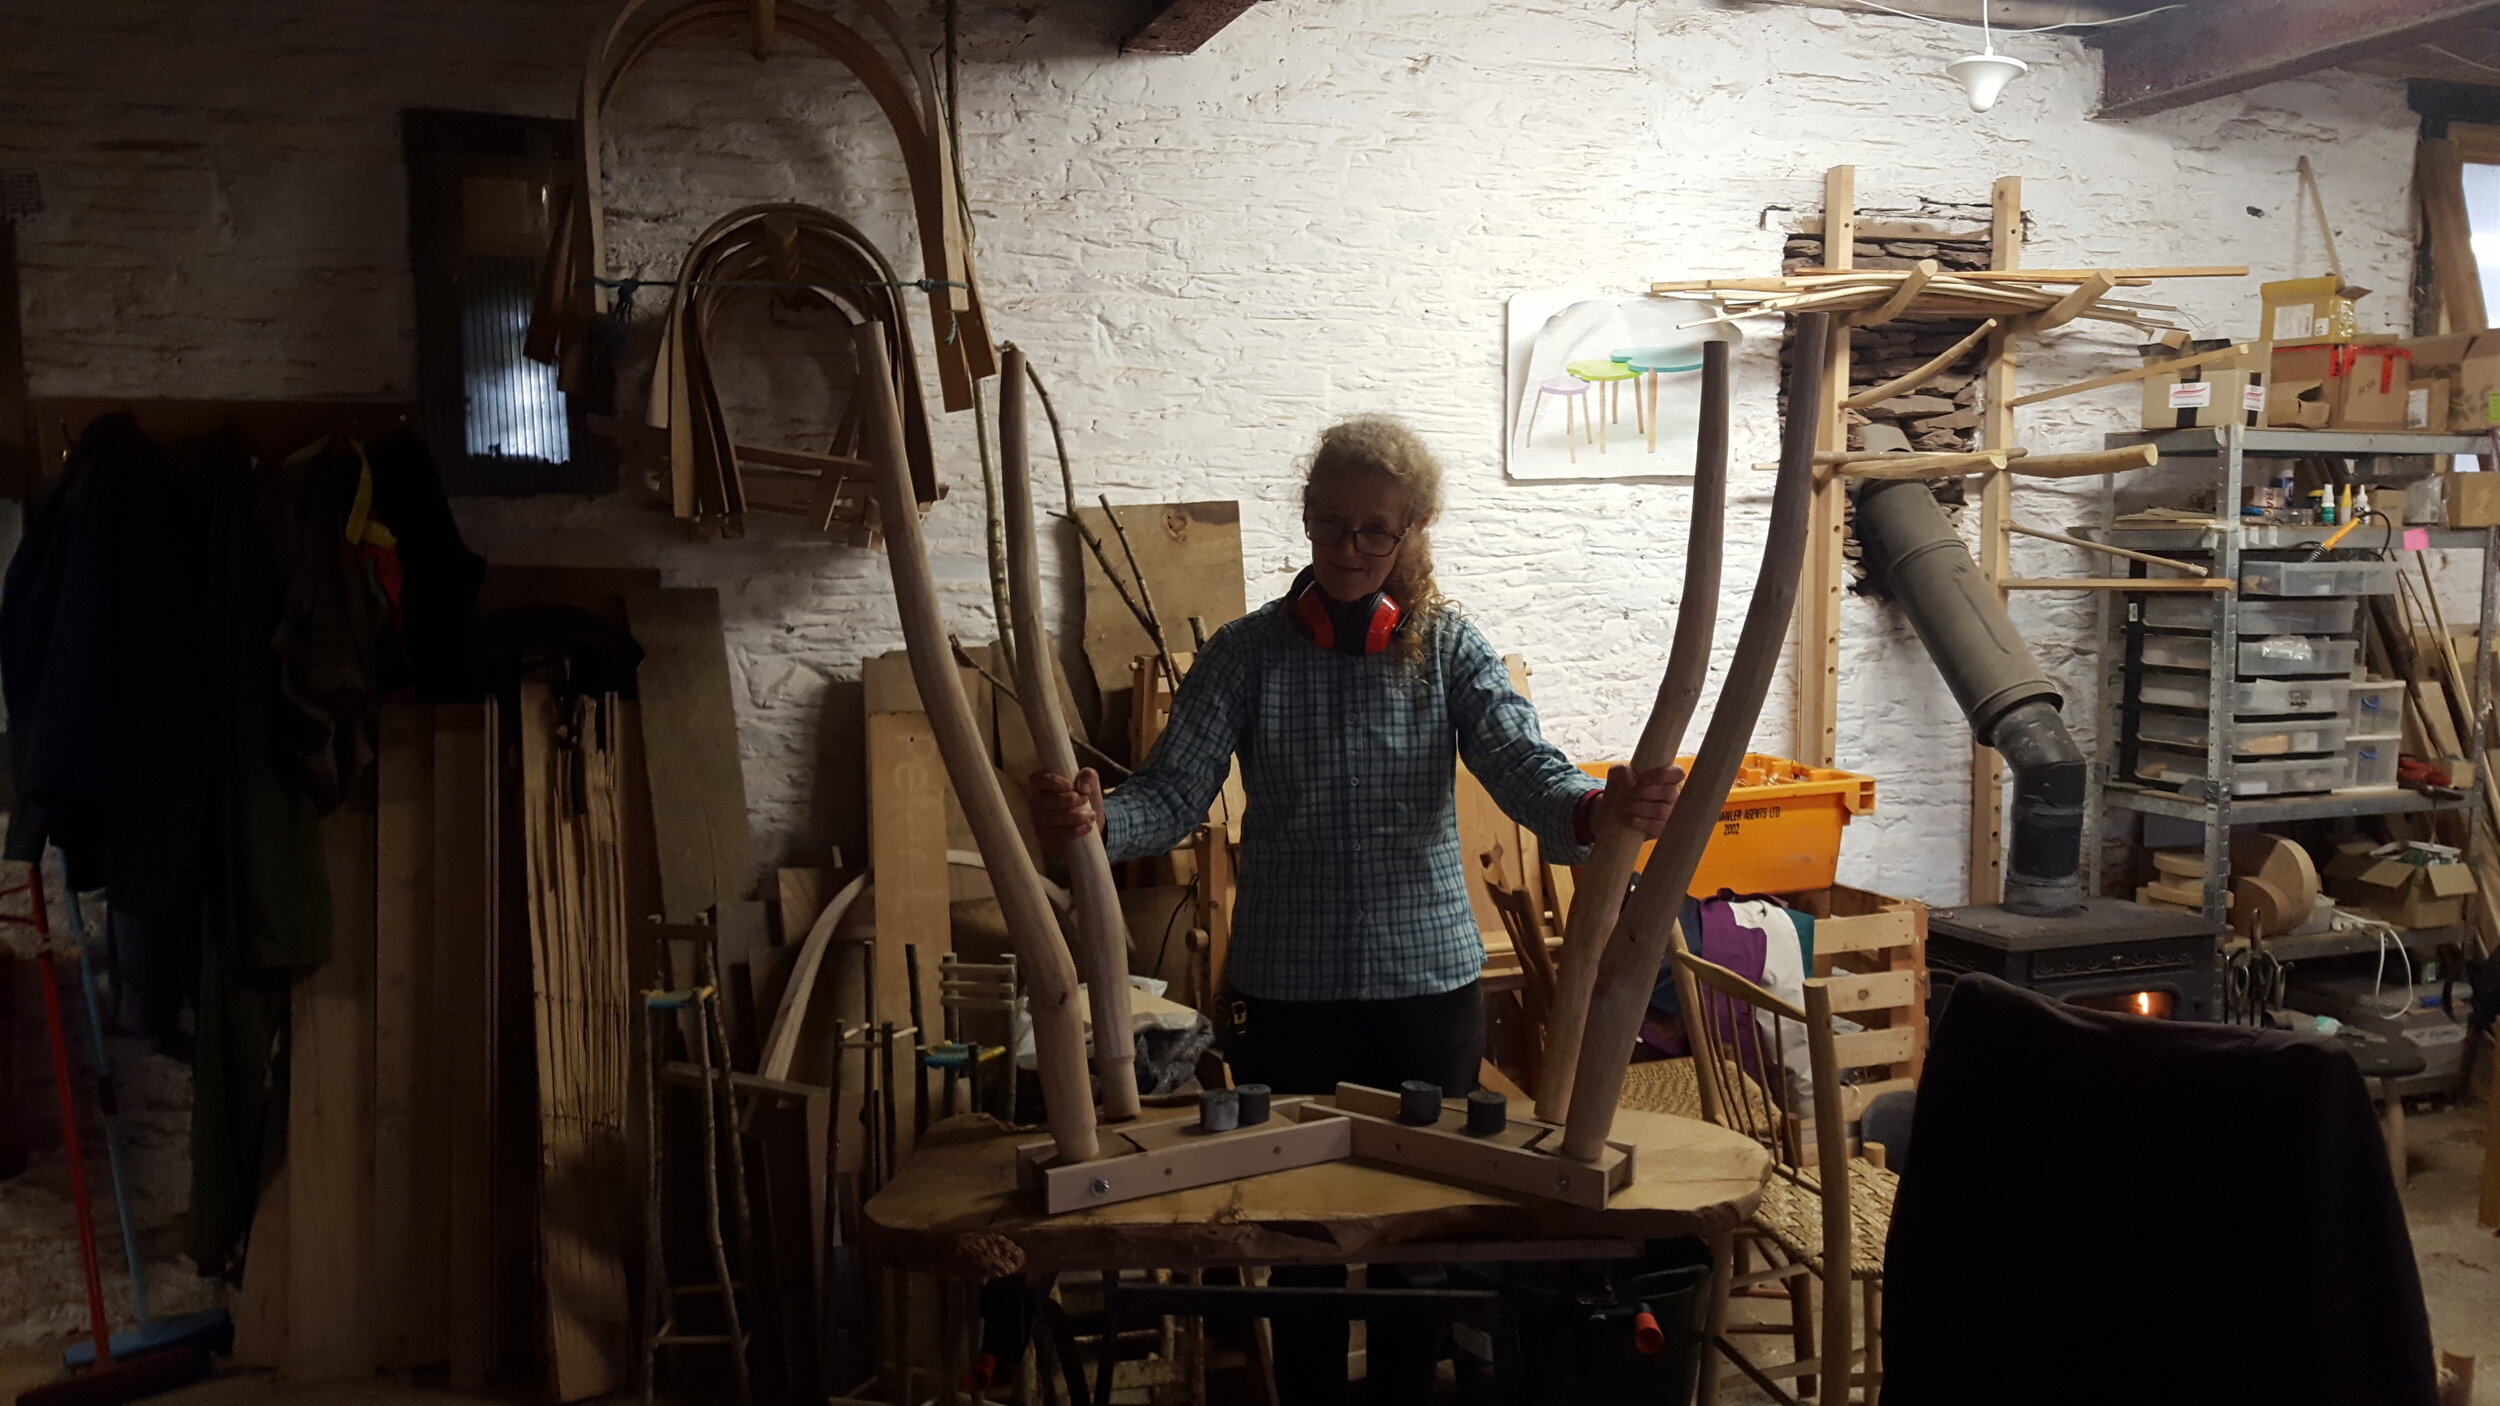
Table Course 2019
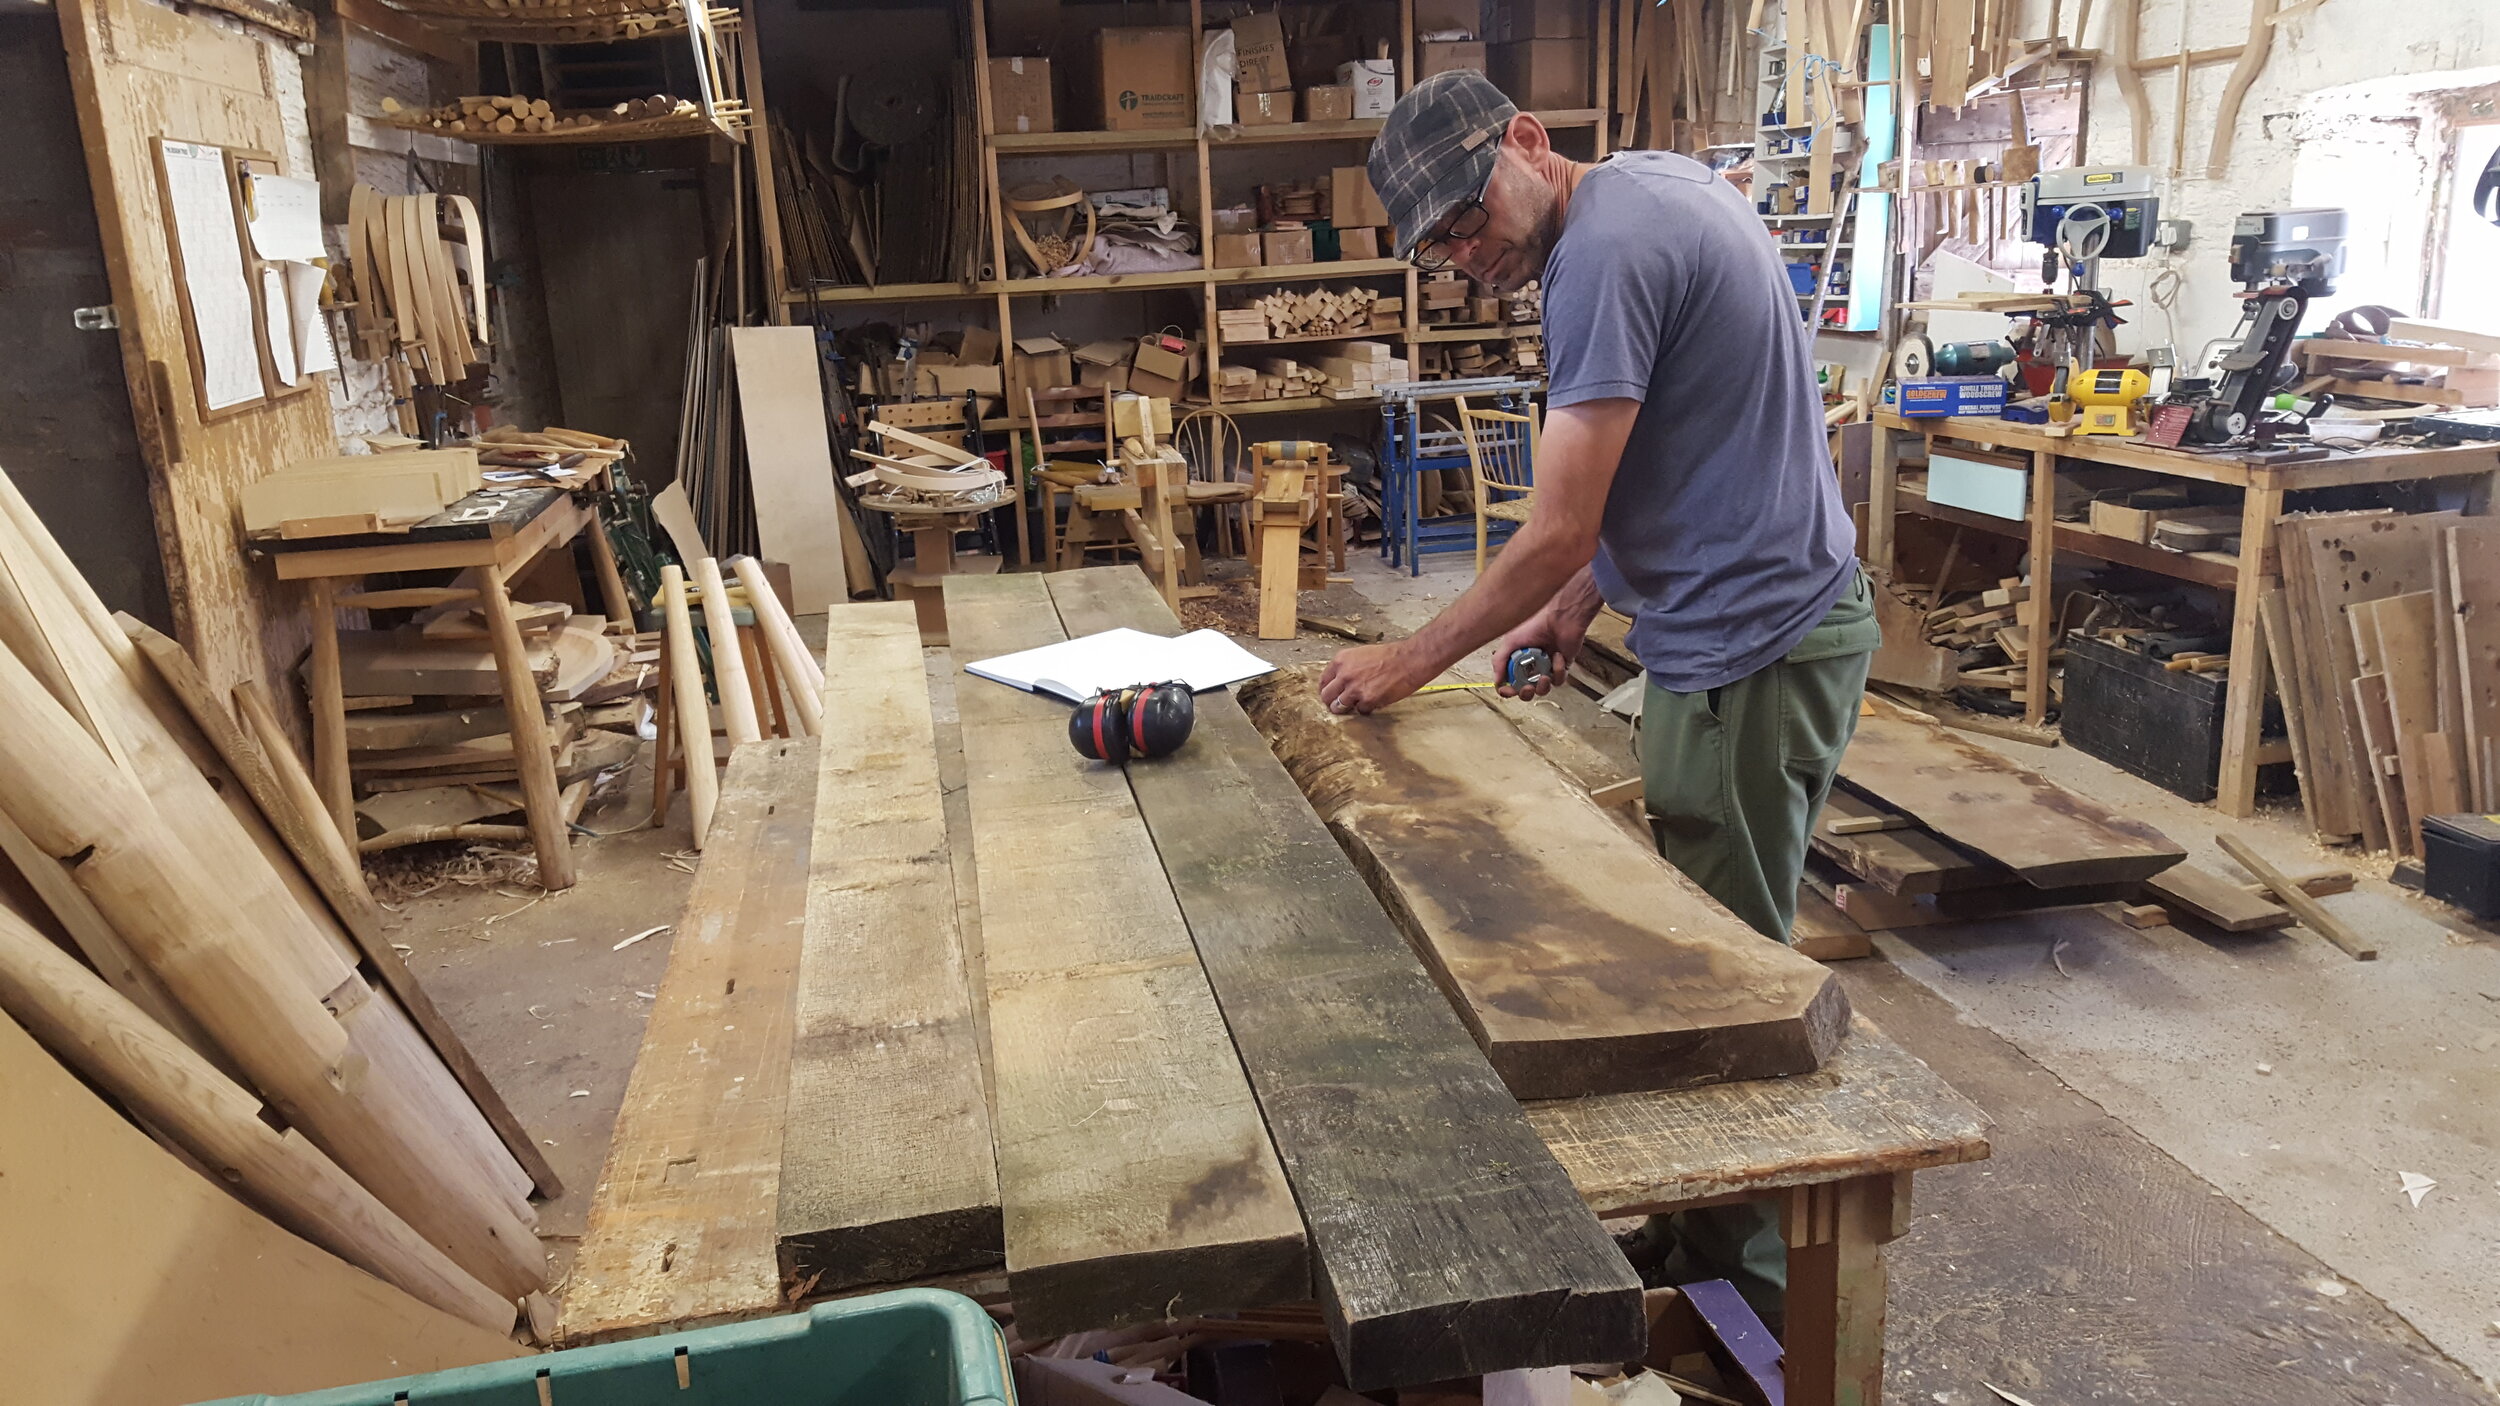
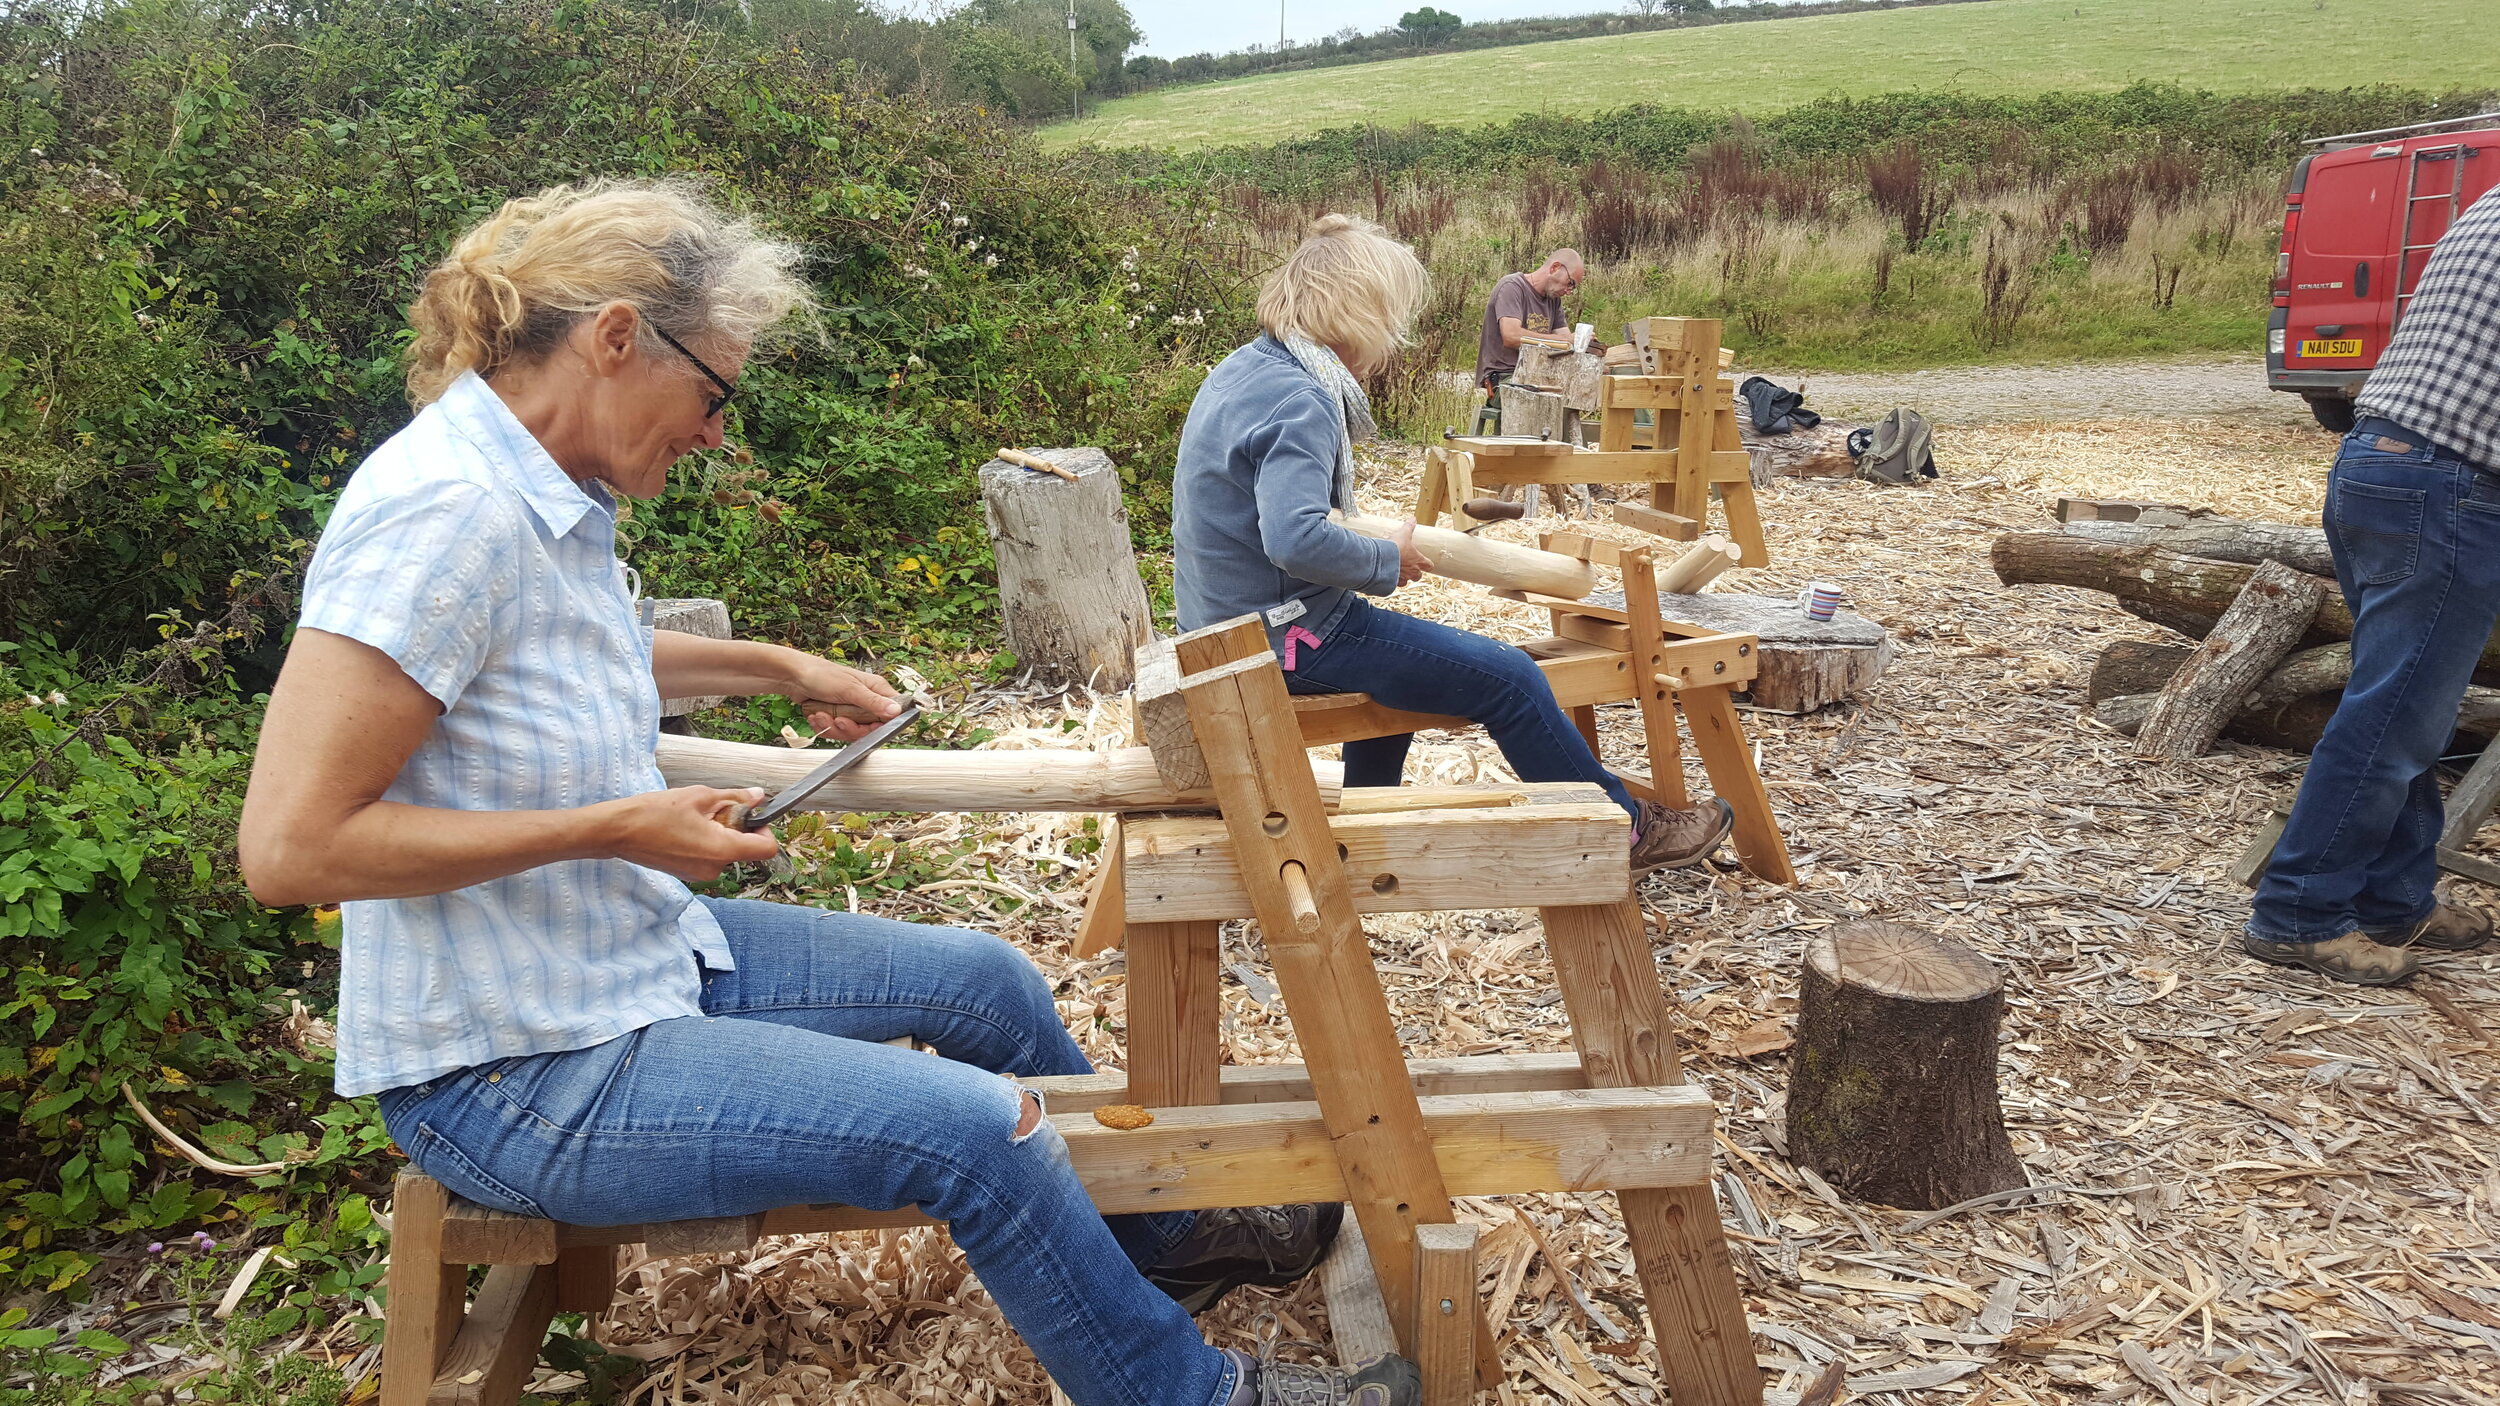
This course, whilst hard work, was an absolute joy. Delivered in two sessions - 6 days making components, then following a break of three months, 3 days assembly. There is a biomass burner in an adjoining barn which makes a very effective method for drying green timber. This ensures all the components are dry by the time people return to assemble their tables, so no further shrinkage occurs. All the participants had previously attended courses, at a minimum my Introduction to Green Wood Furniture Making. I feel it is important to have some understanding of the tools and techniques before taking on a project of this scale.
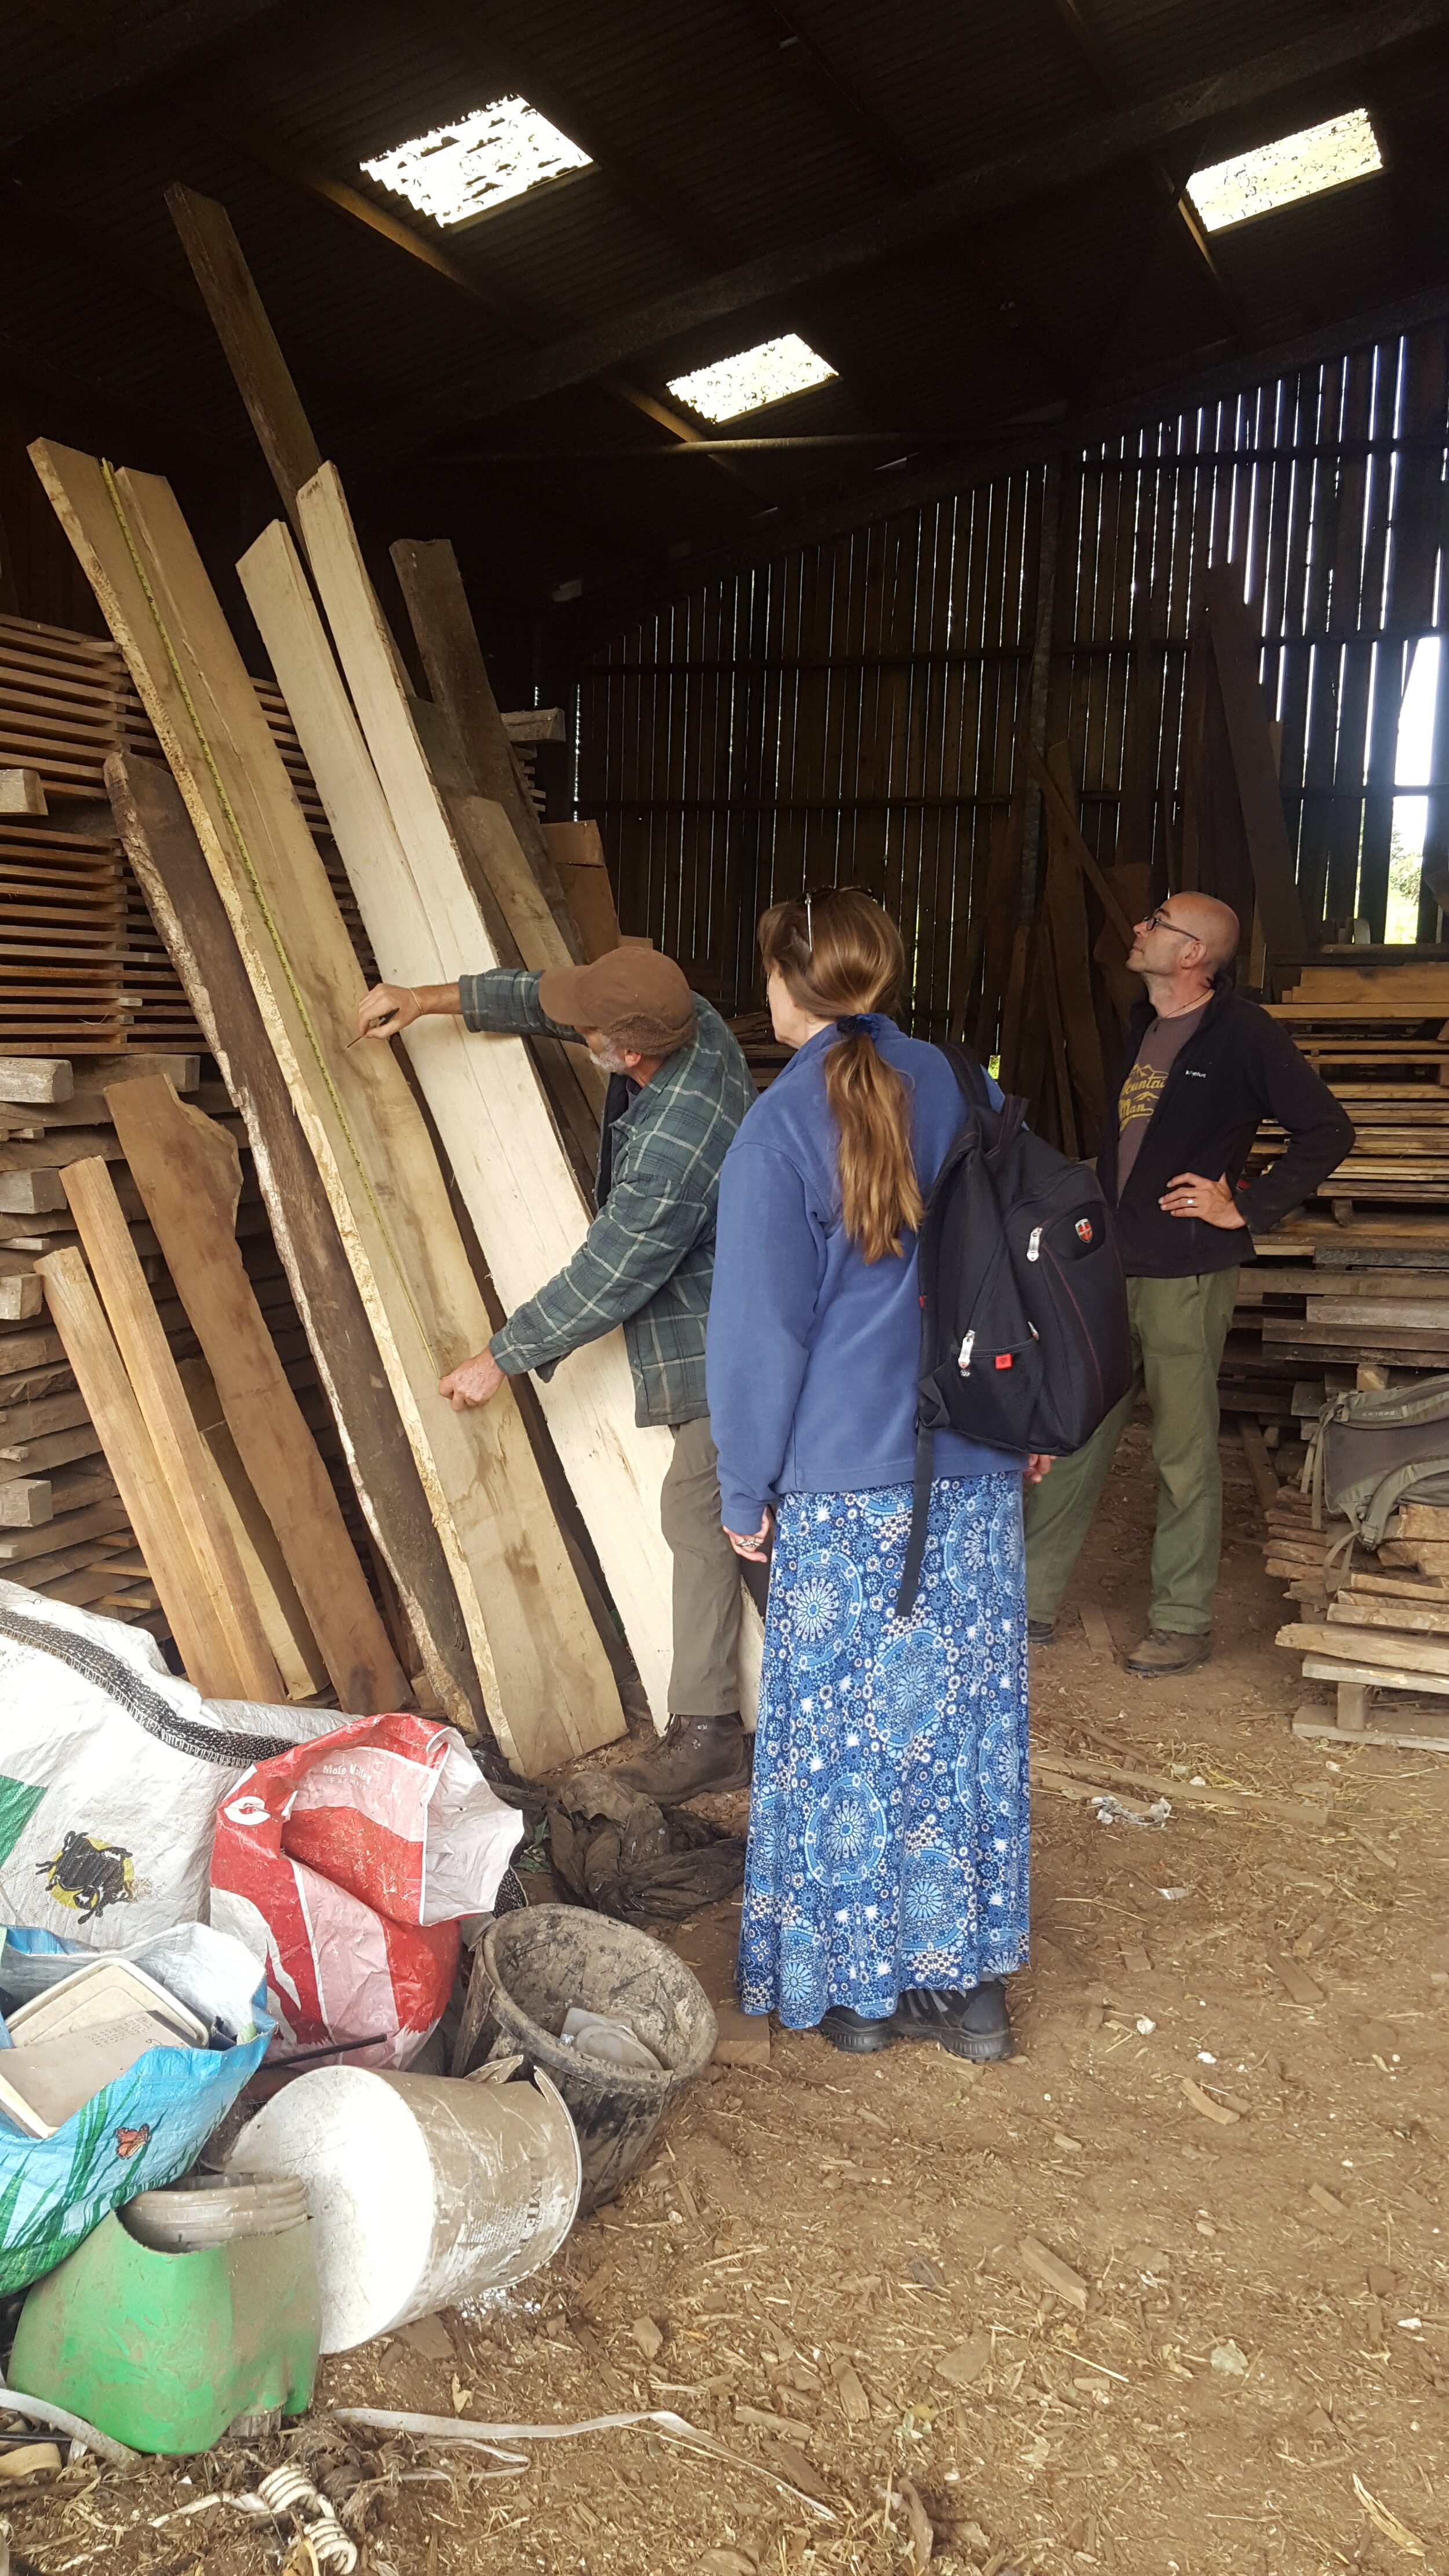
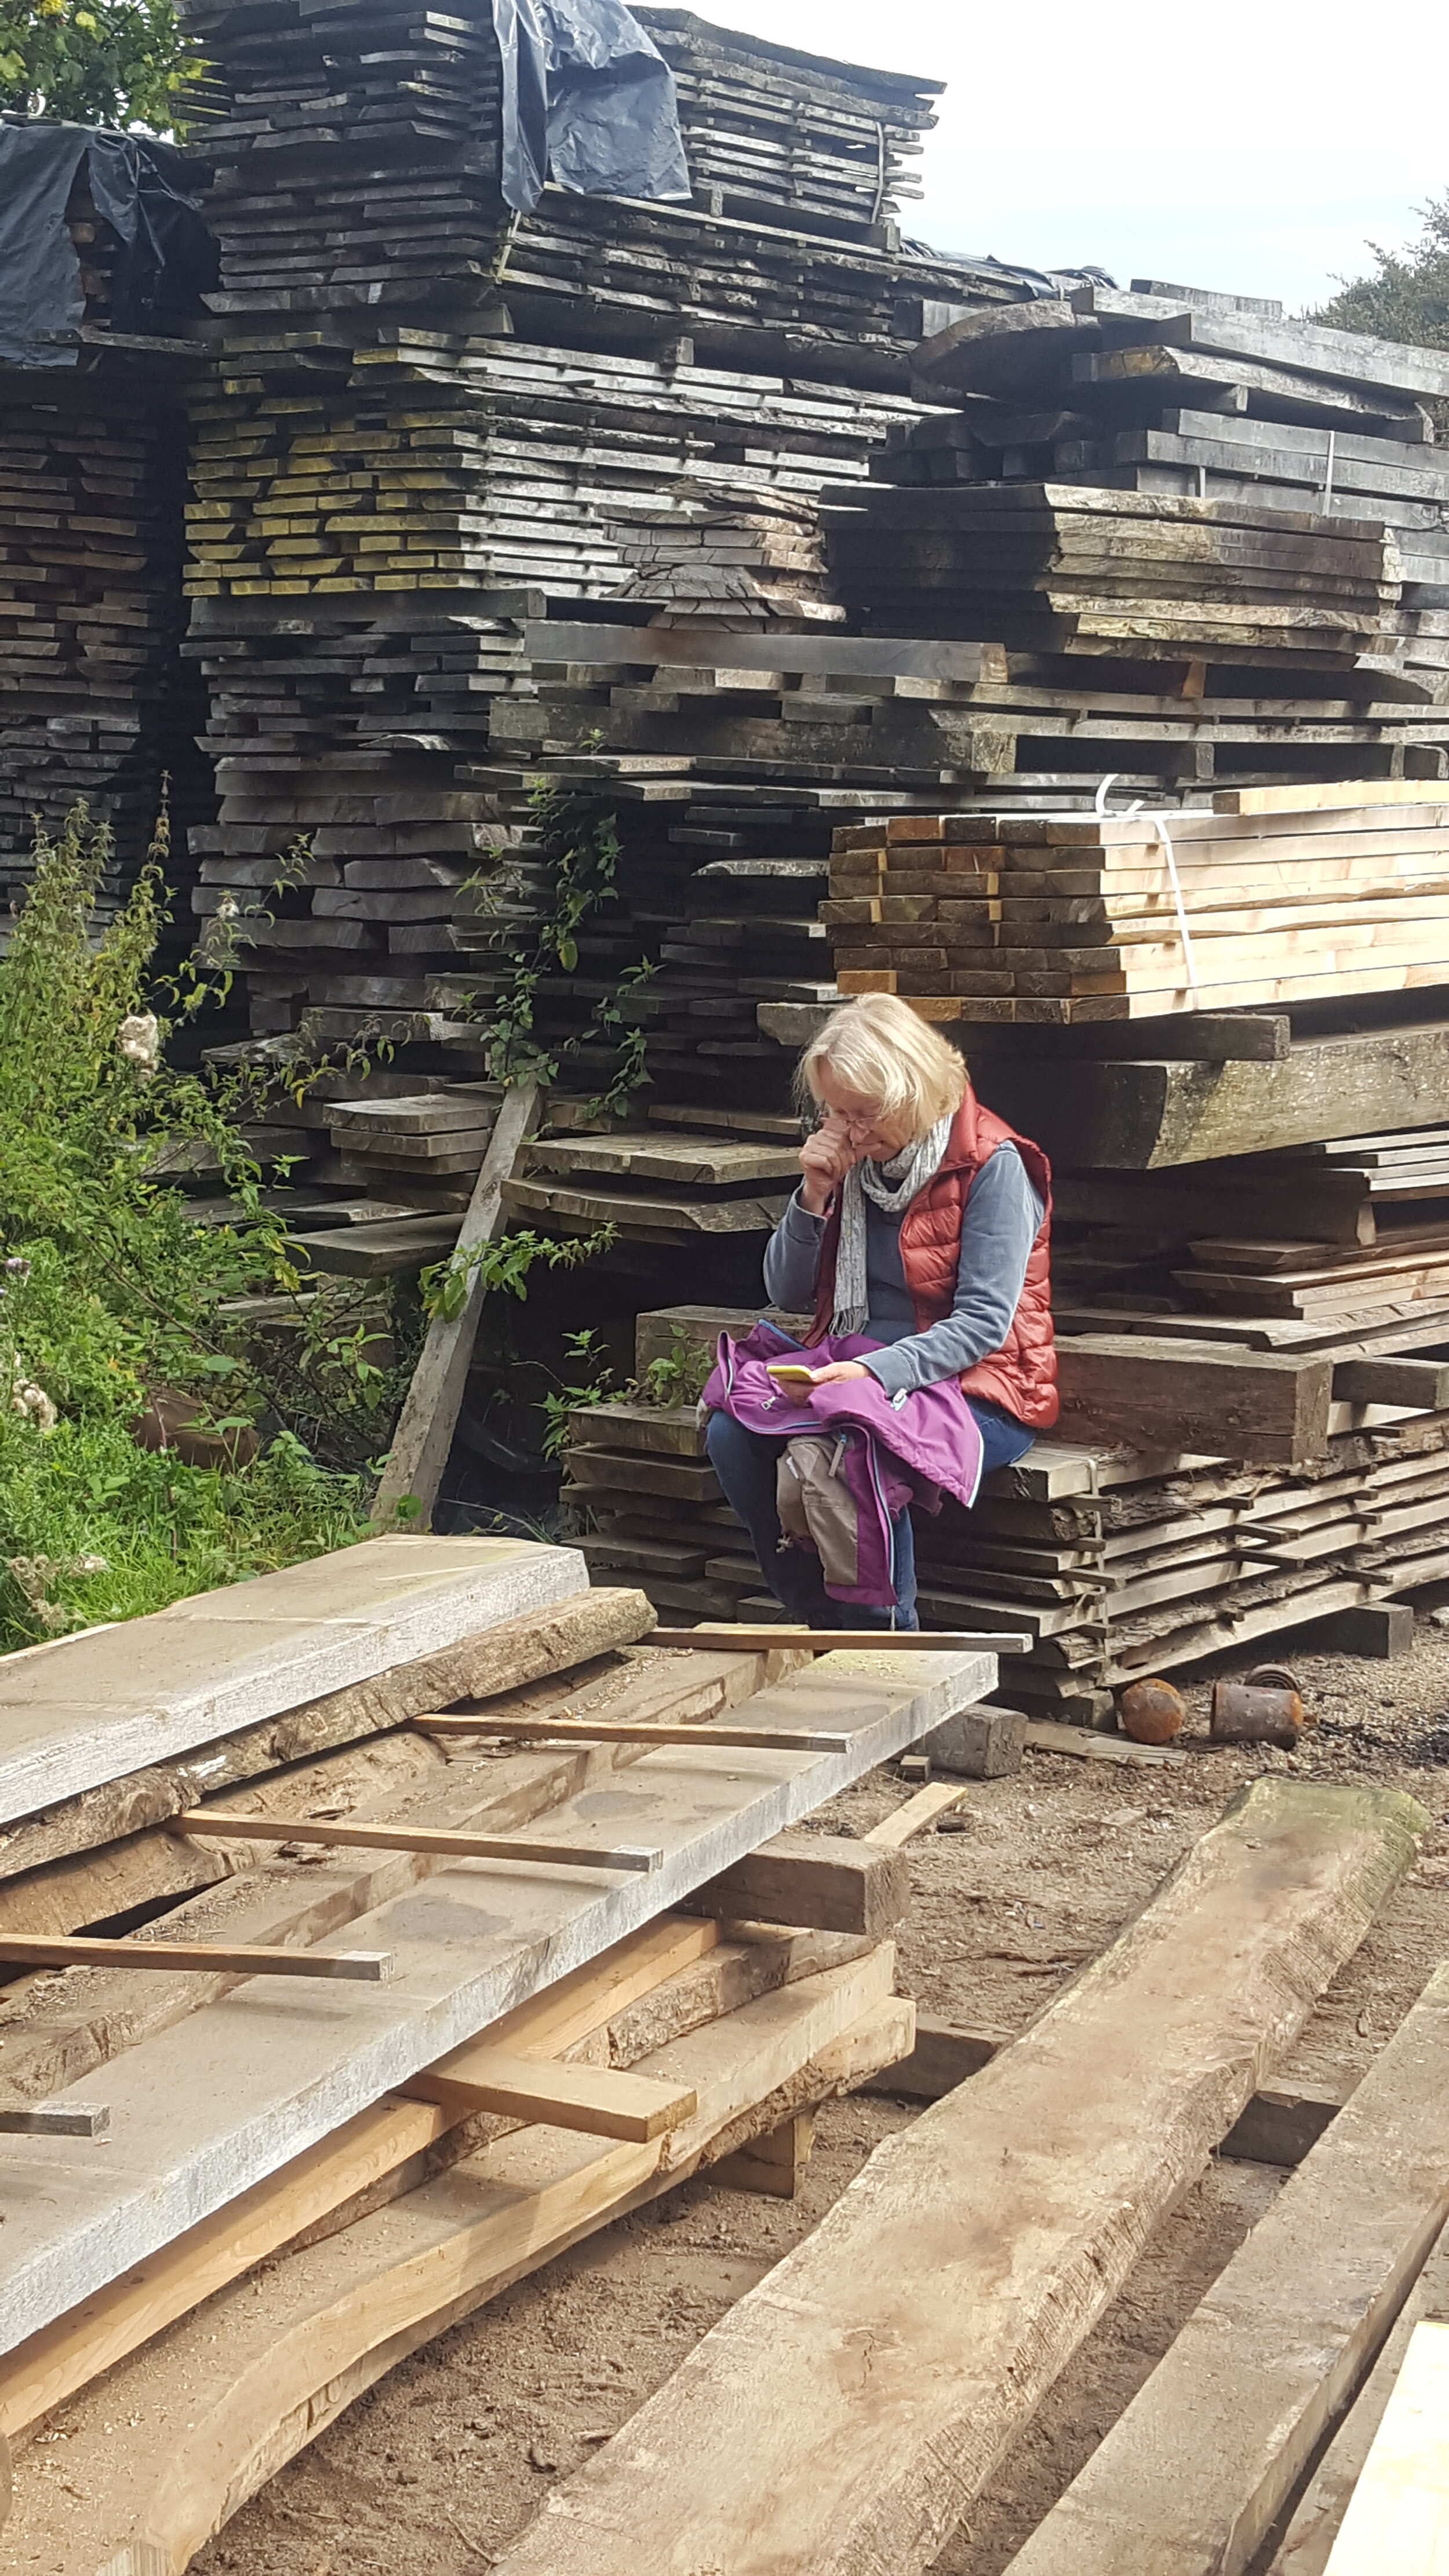
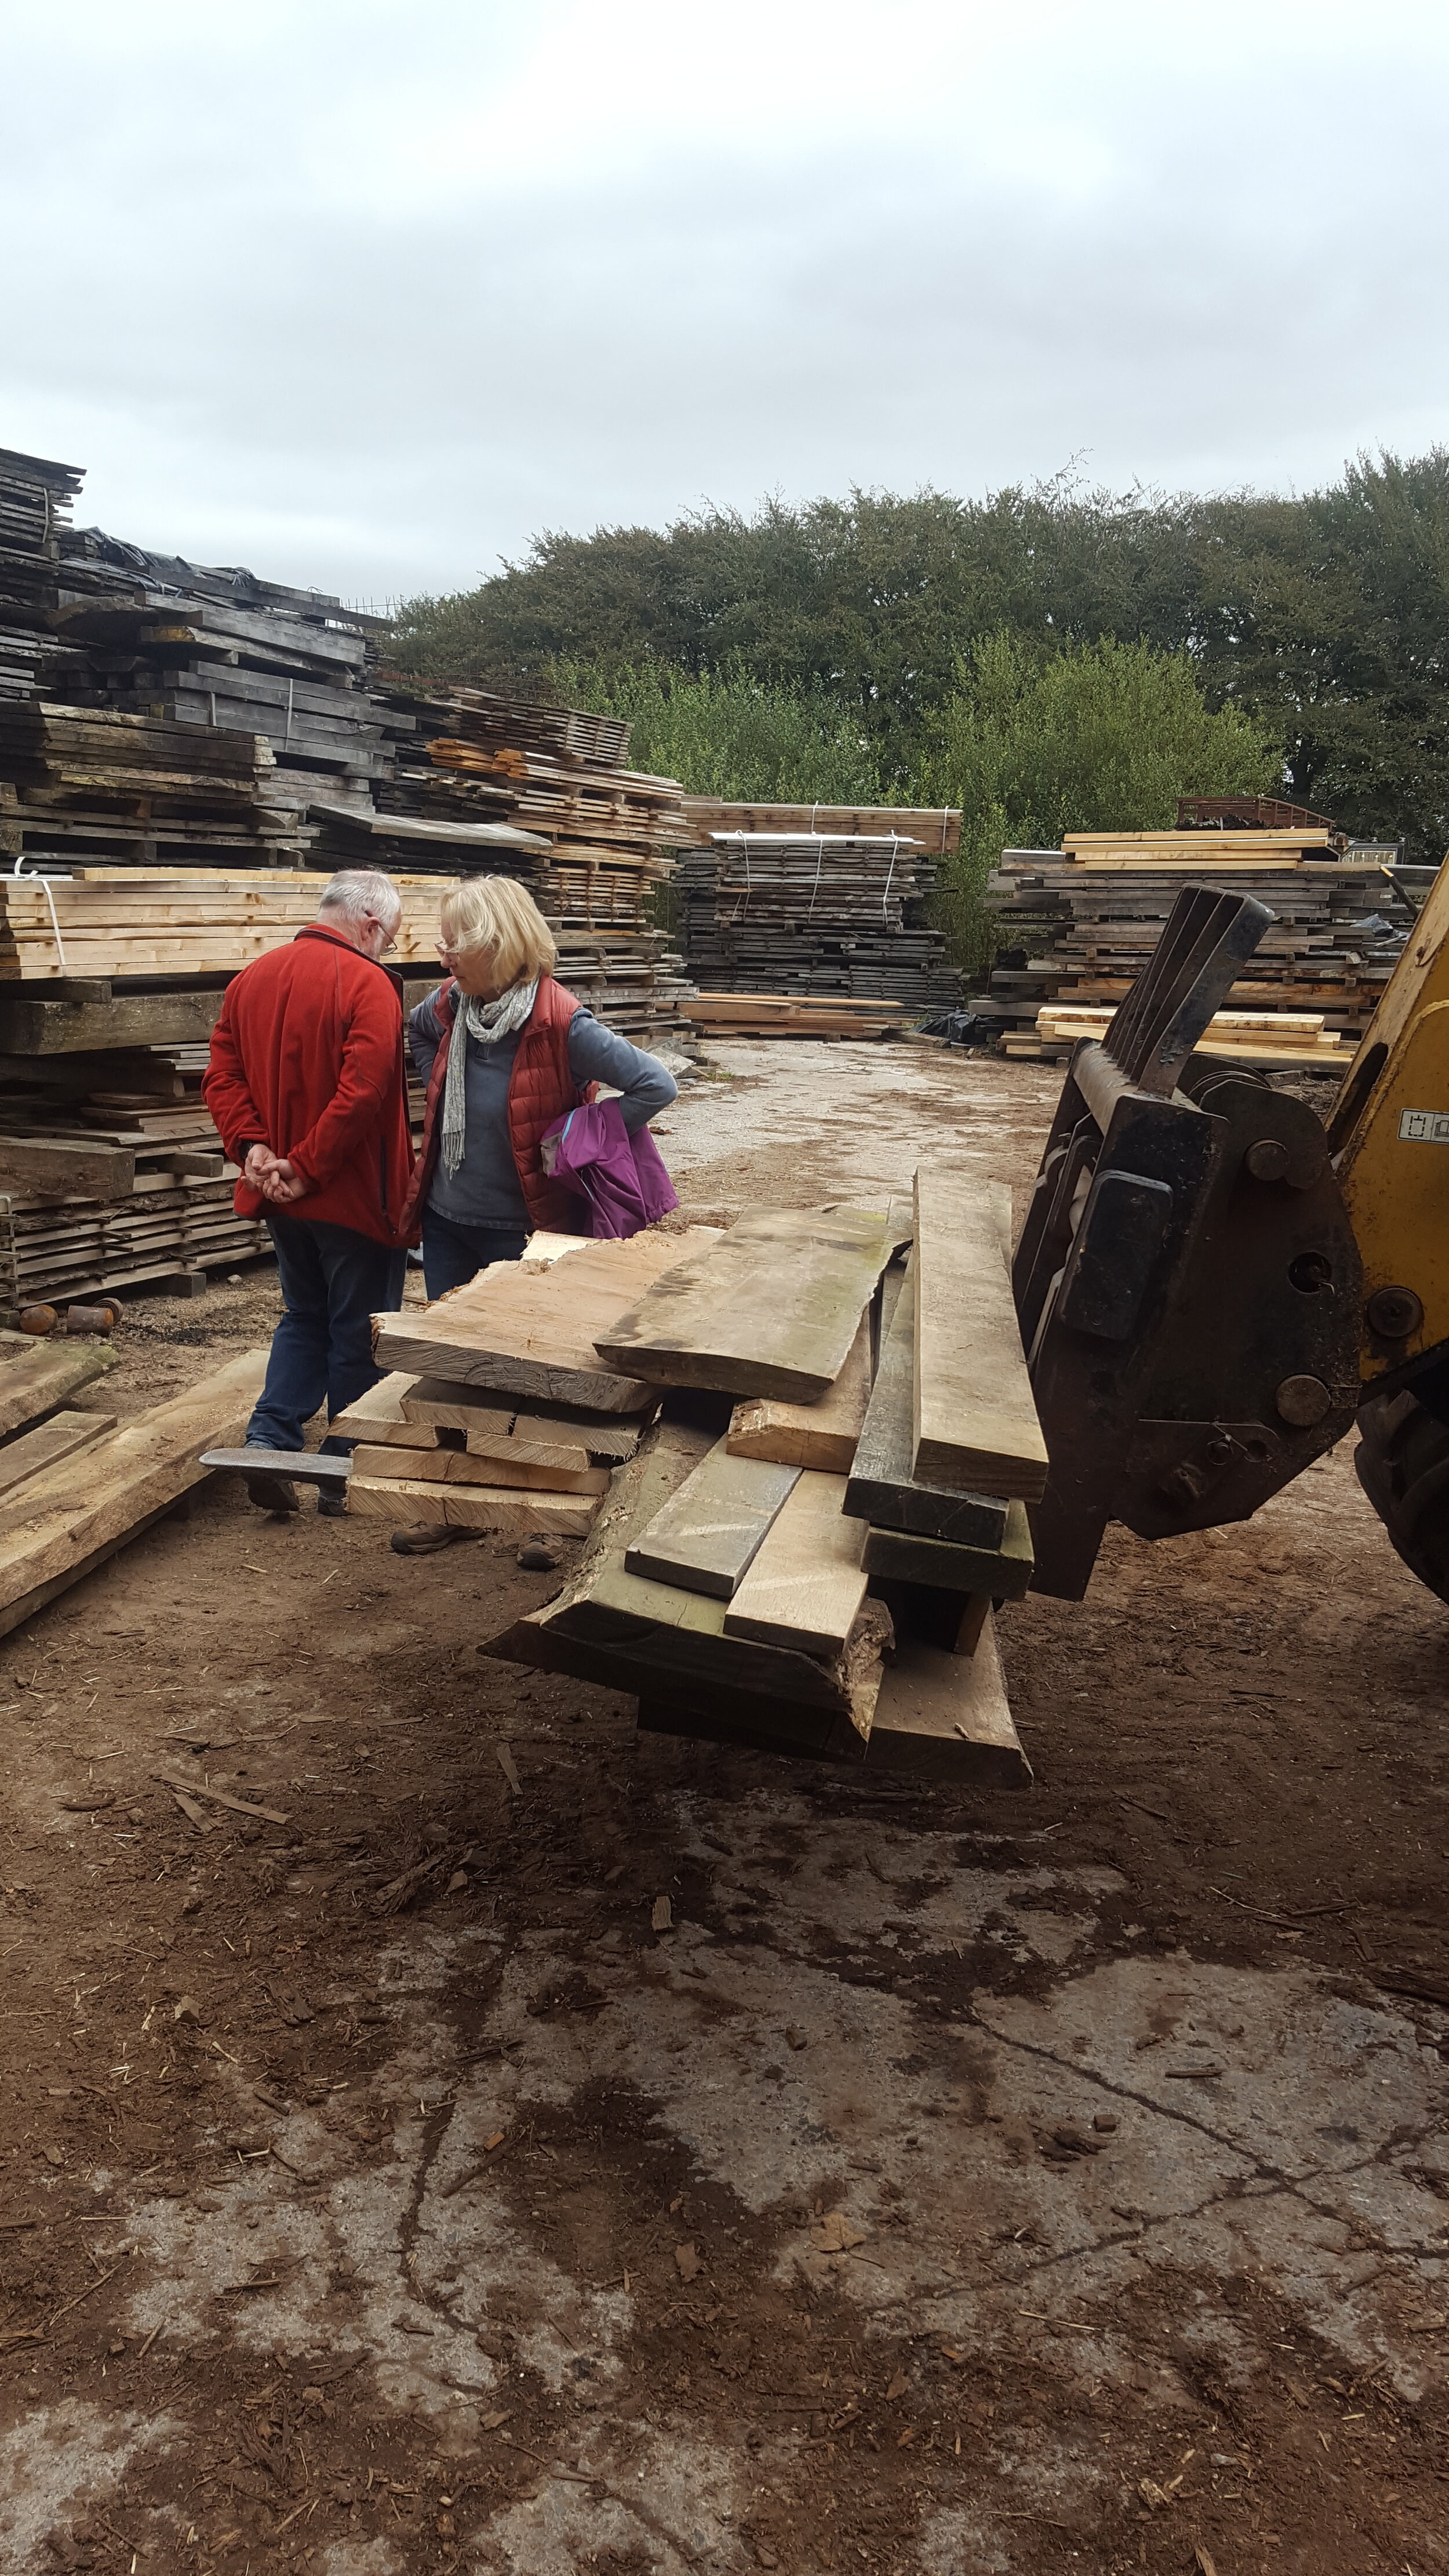
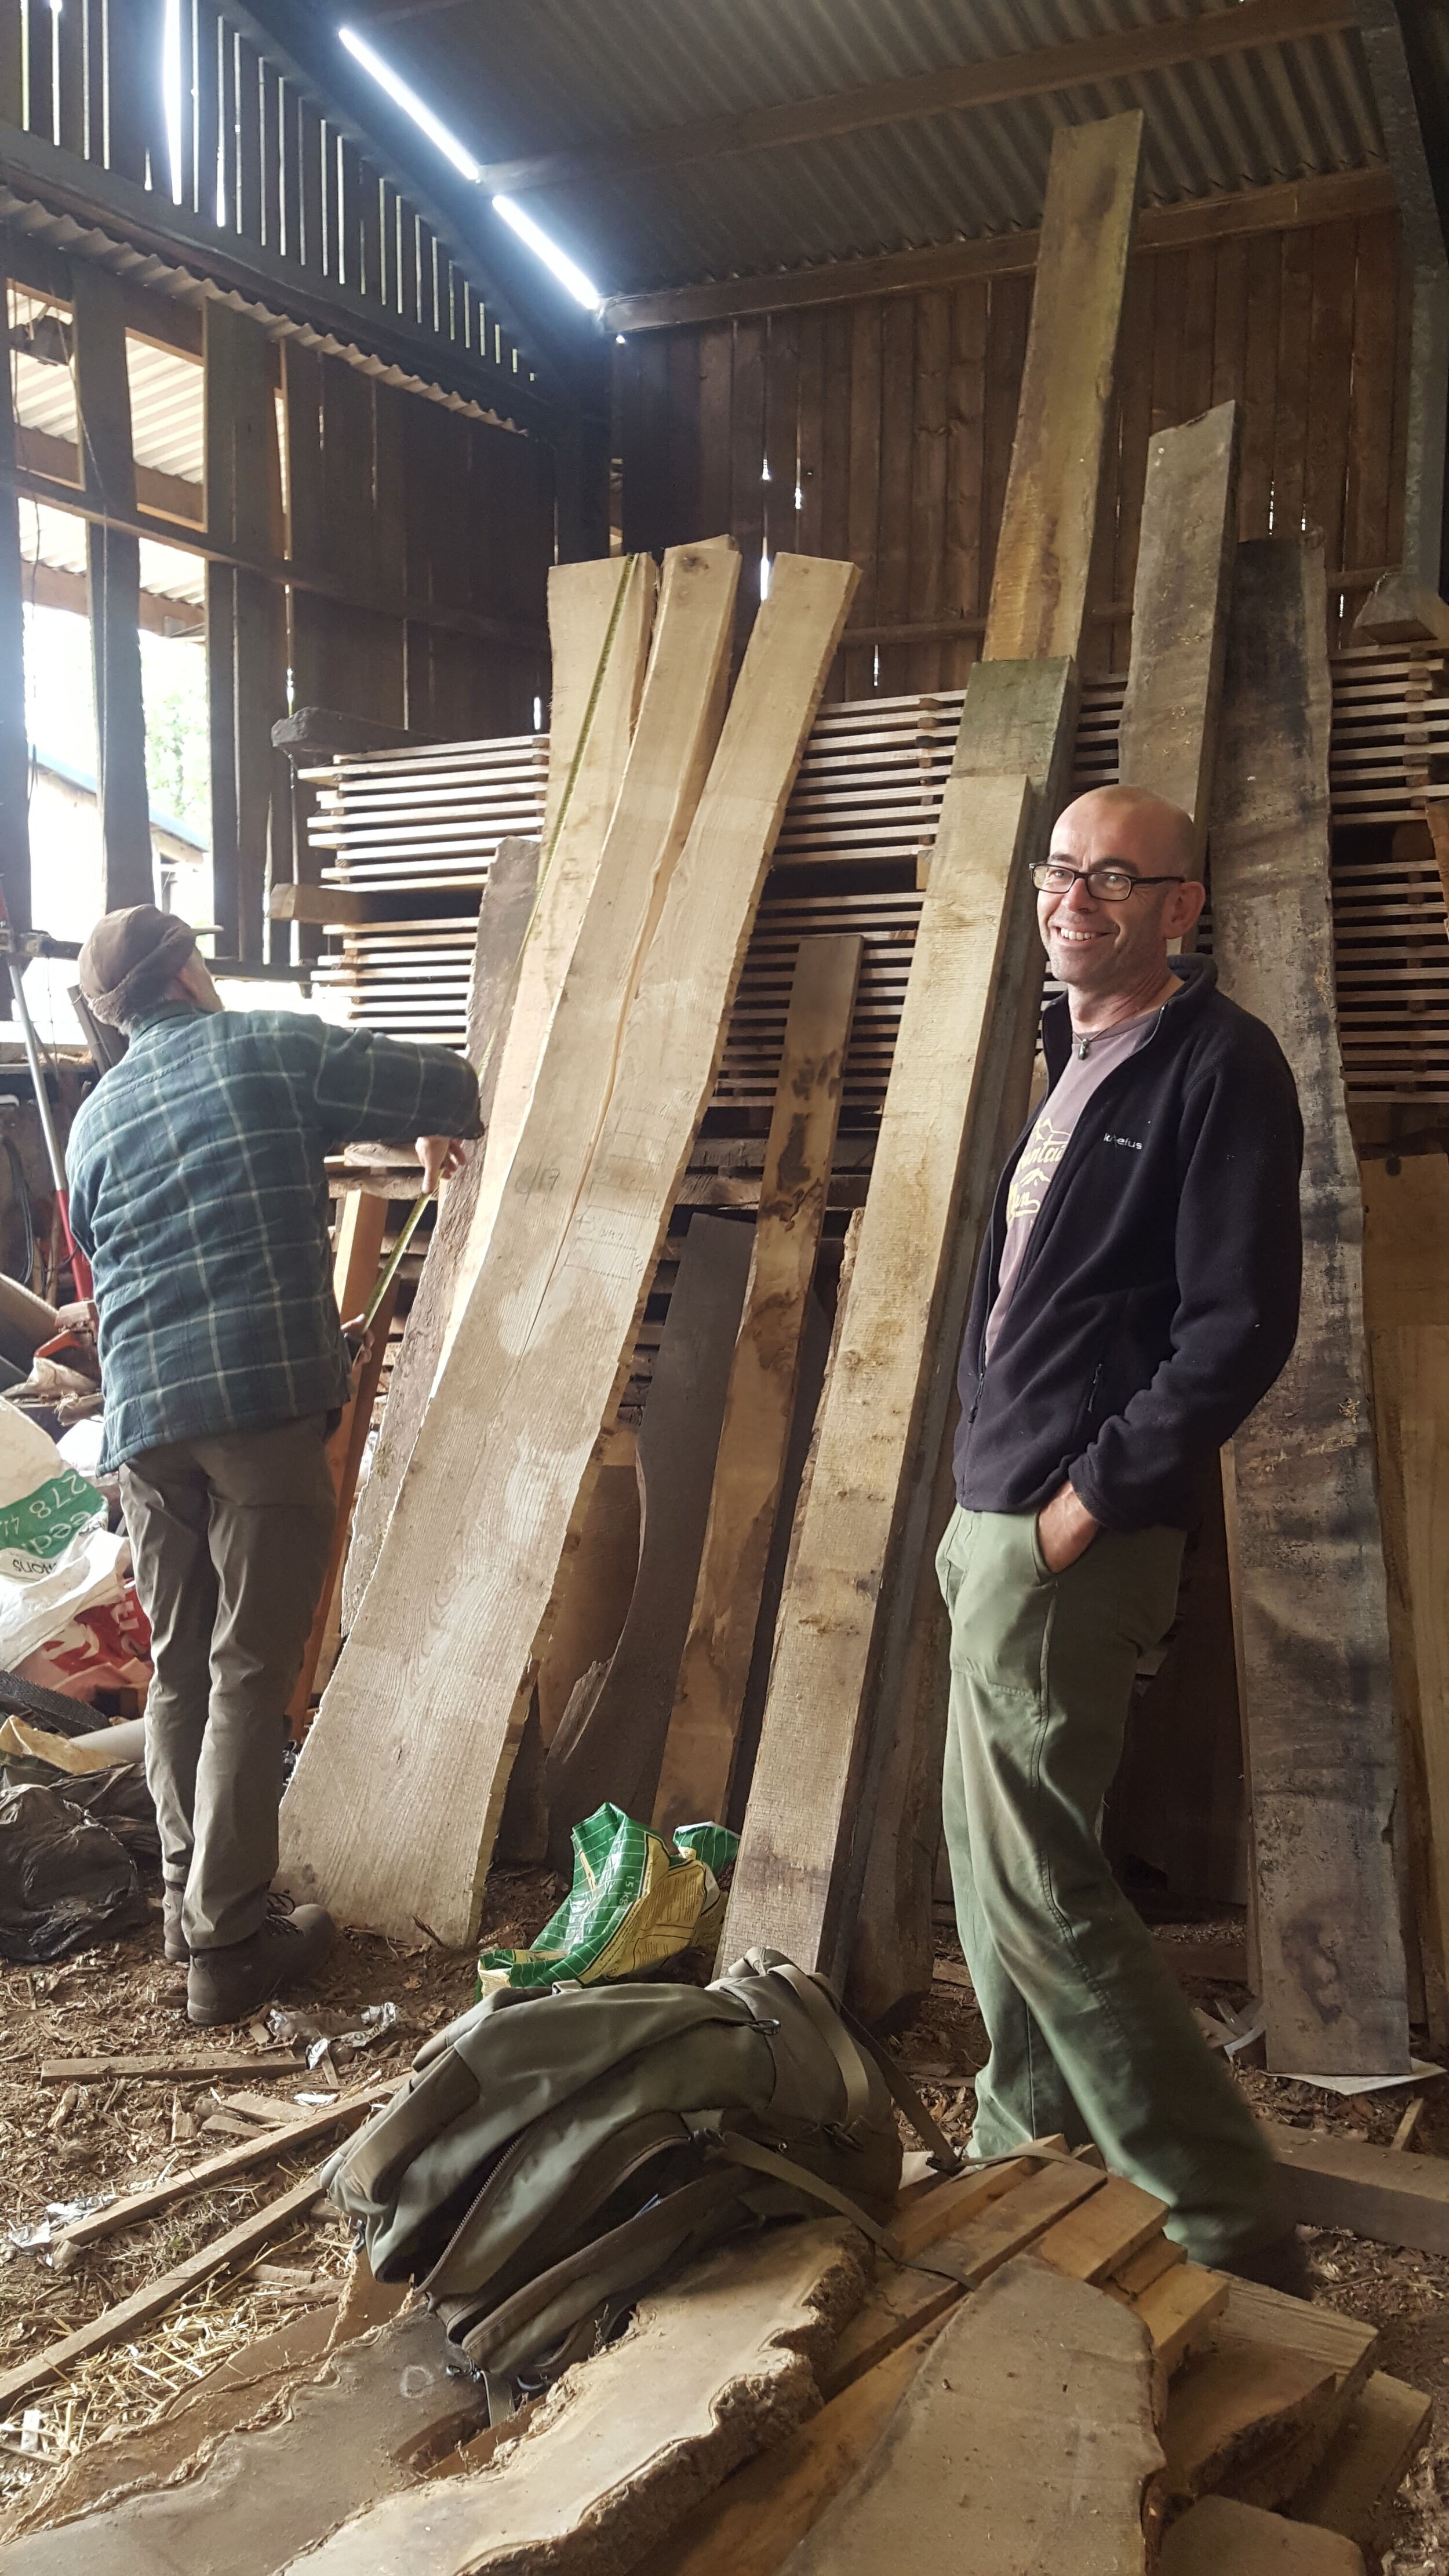
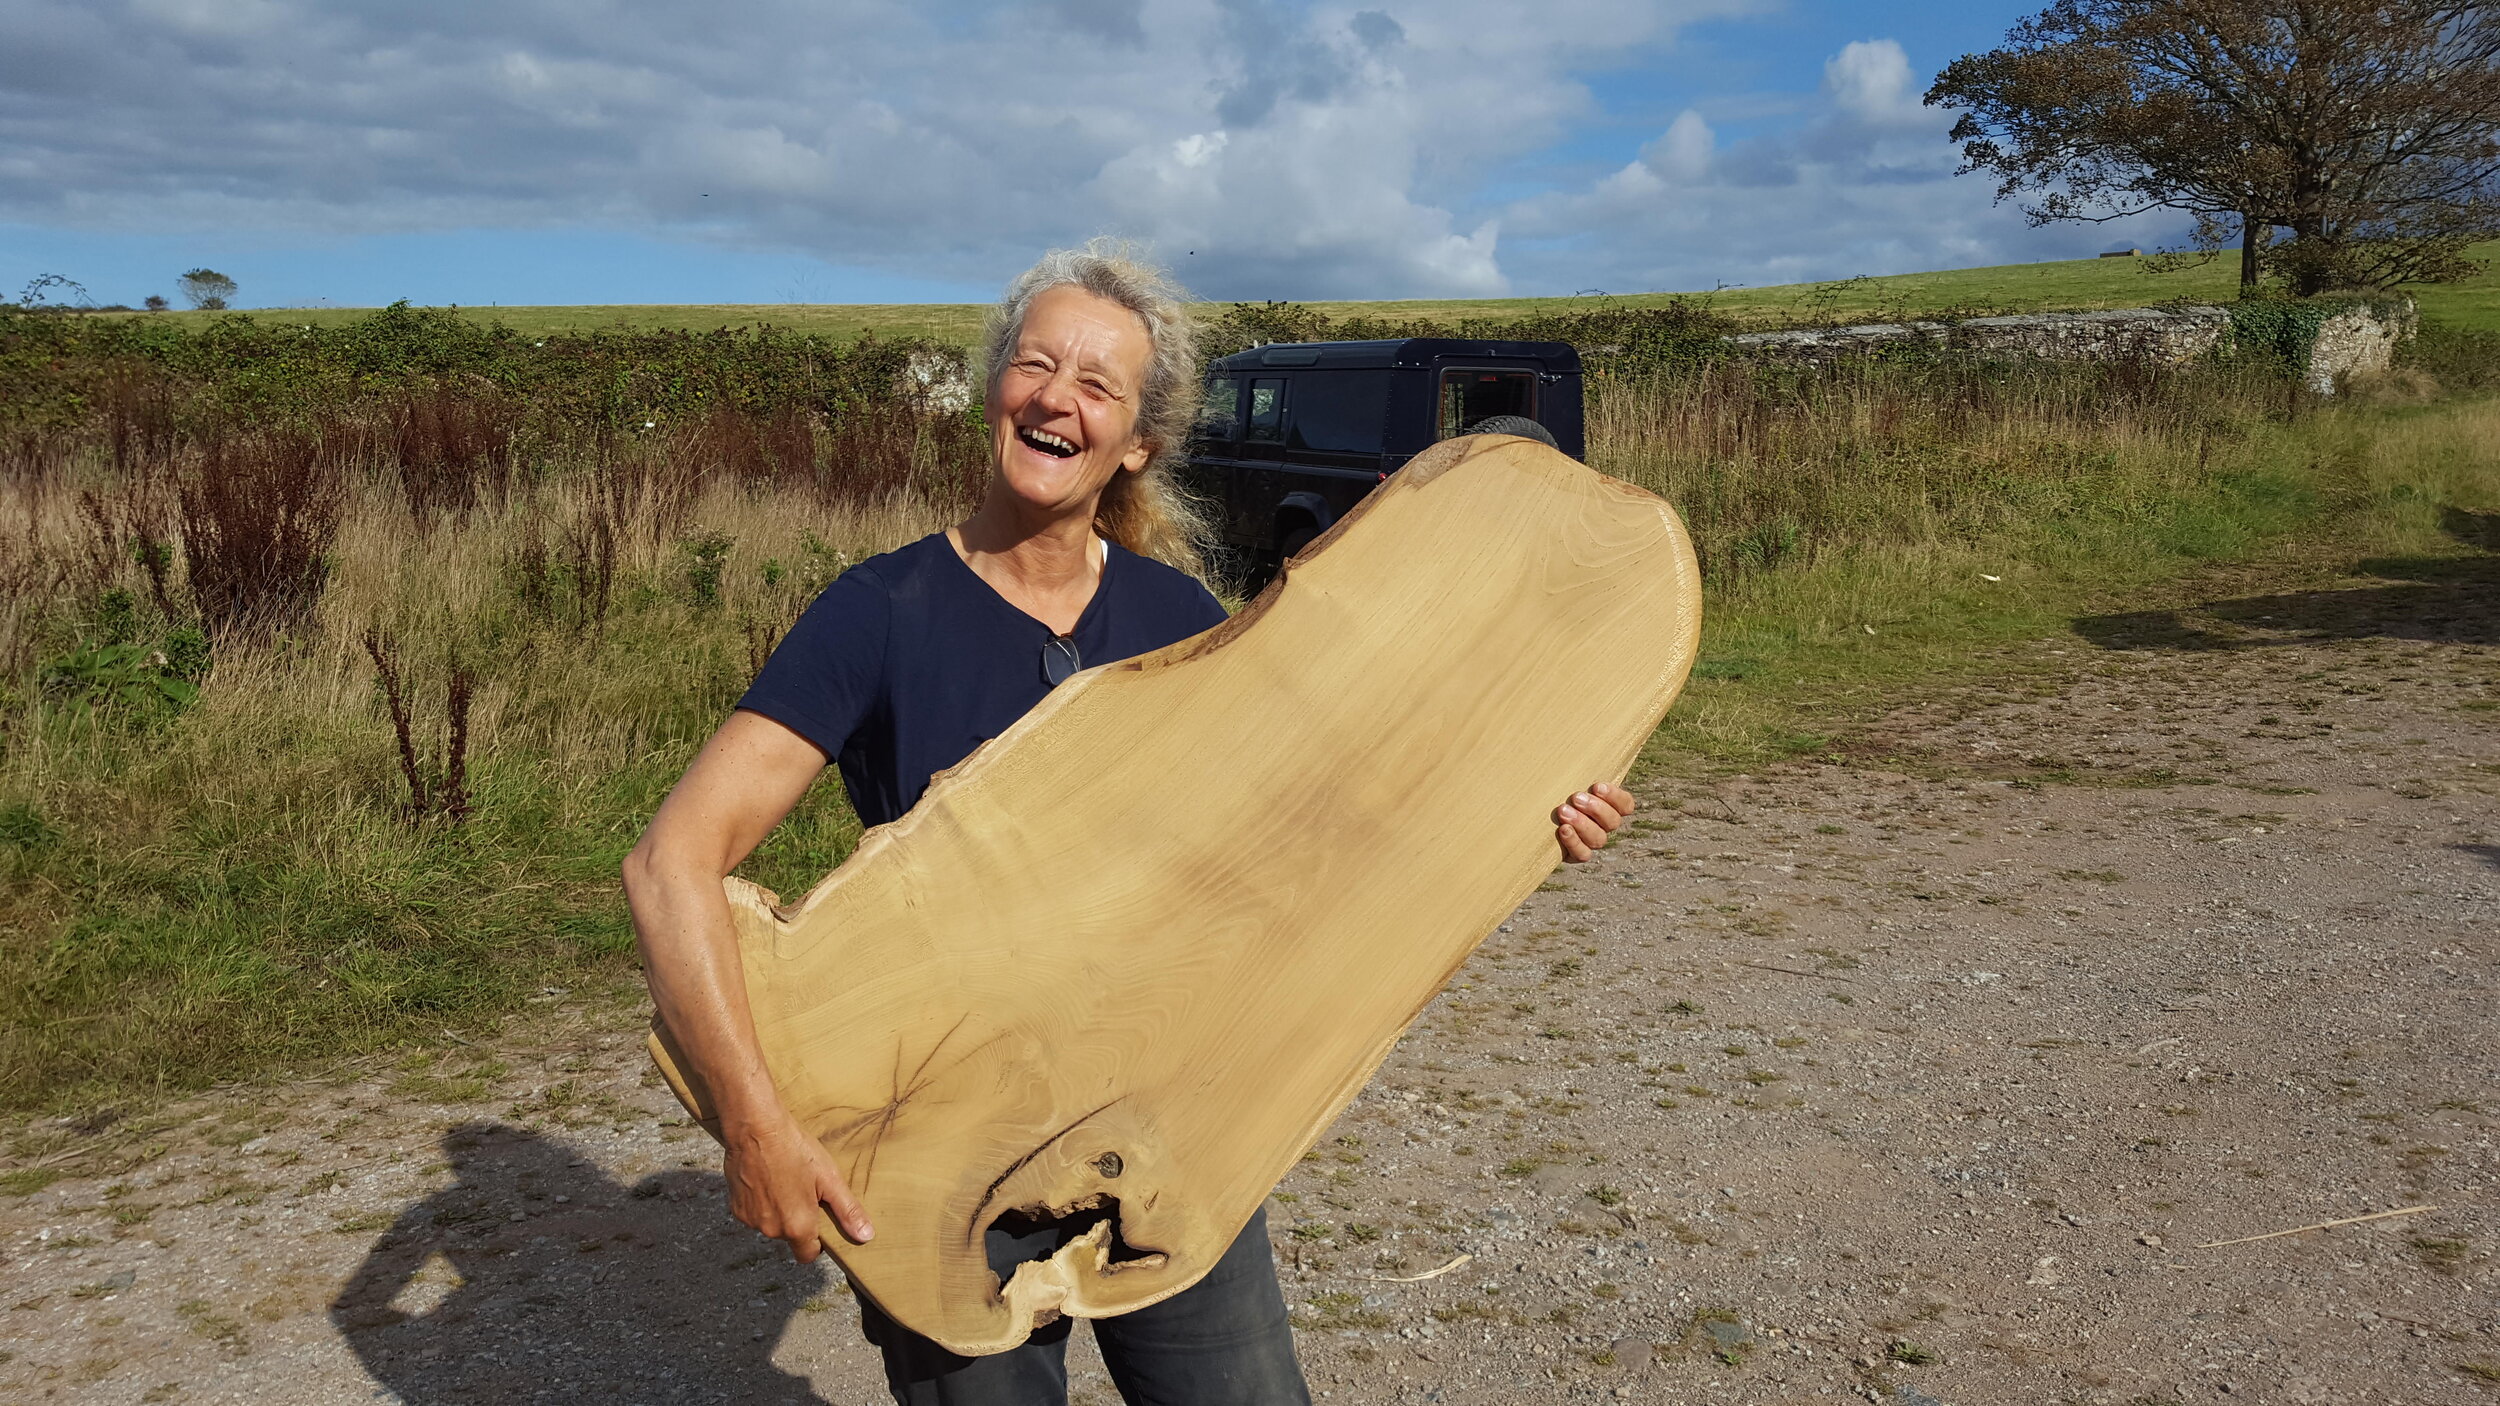
Part of the learning of this course happens on day 2 when we visit local timber merchant Anton Coaker, to select boards for the top. A trip to a timber yard can be quite daunting, and I think having someone more experienced alongside really helps, and should give confidence if you go again on your own.
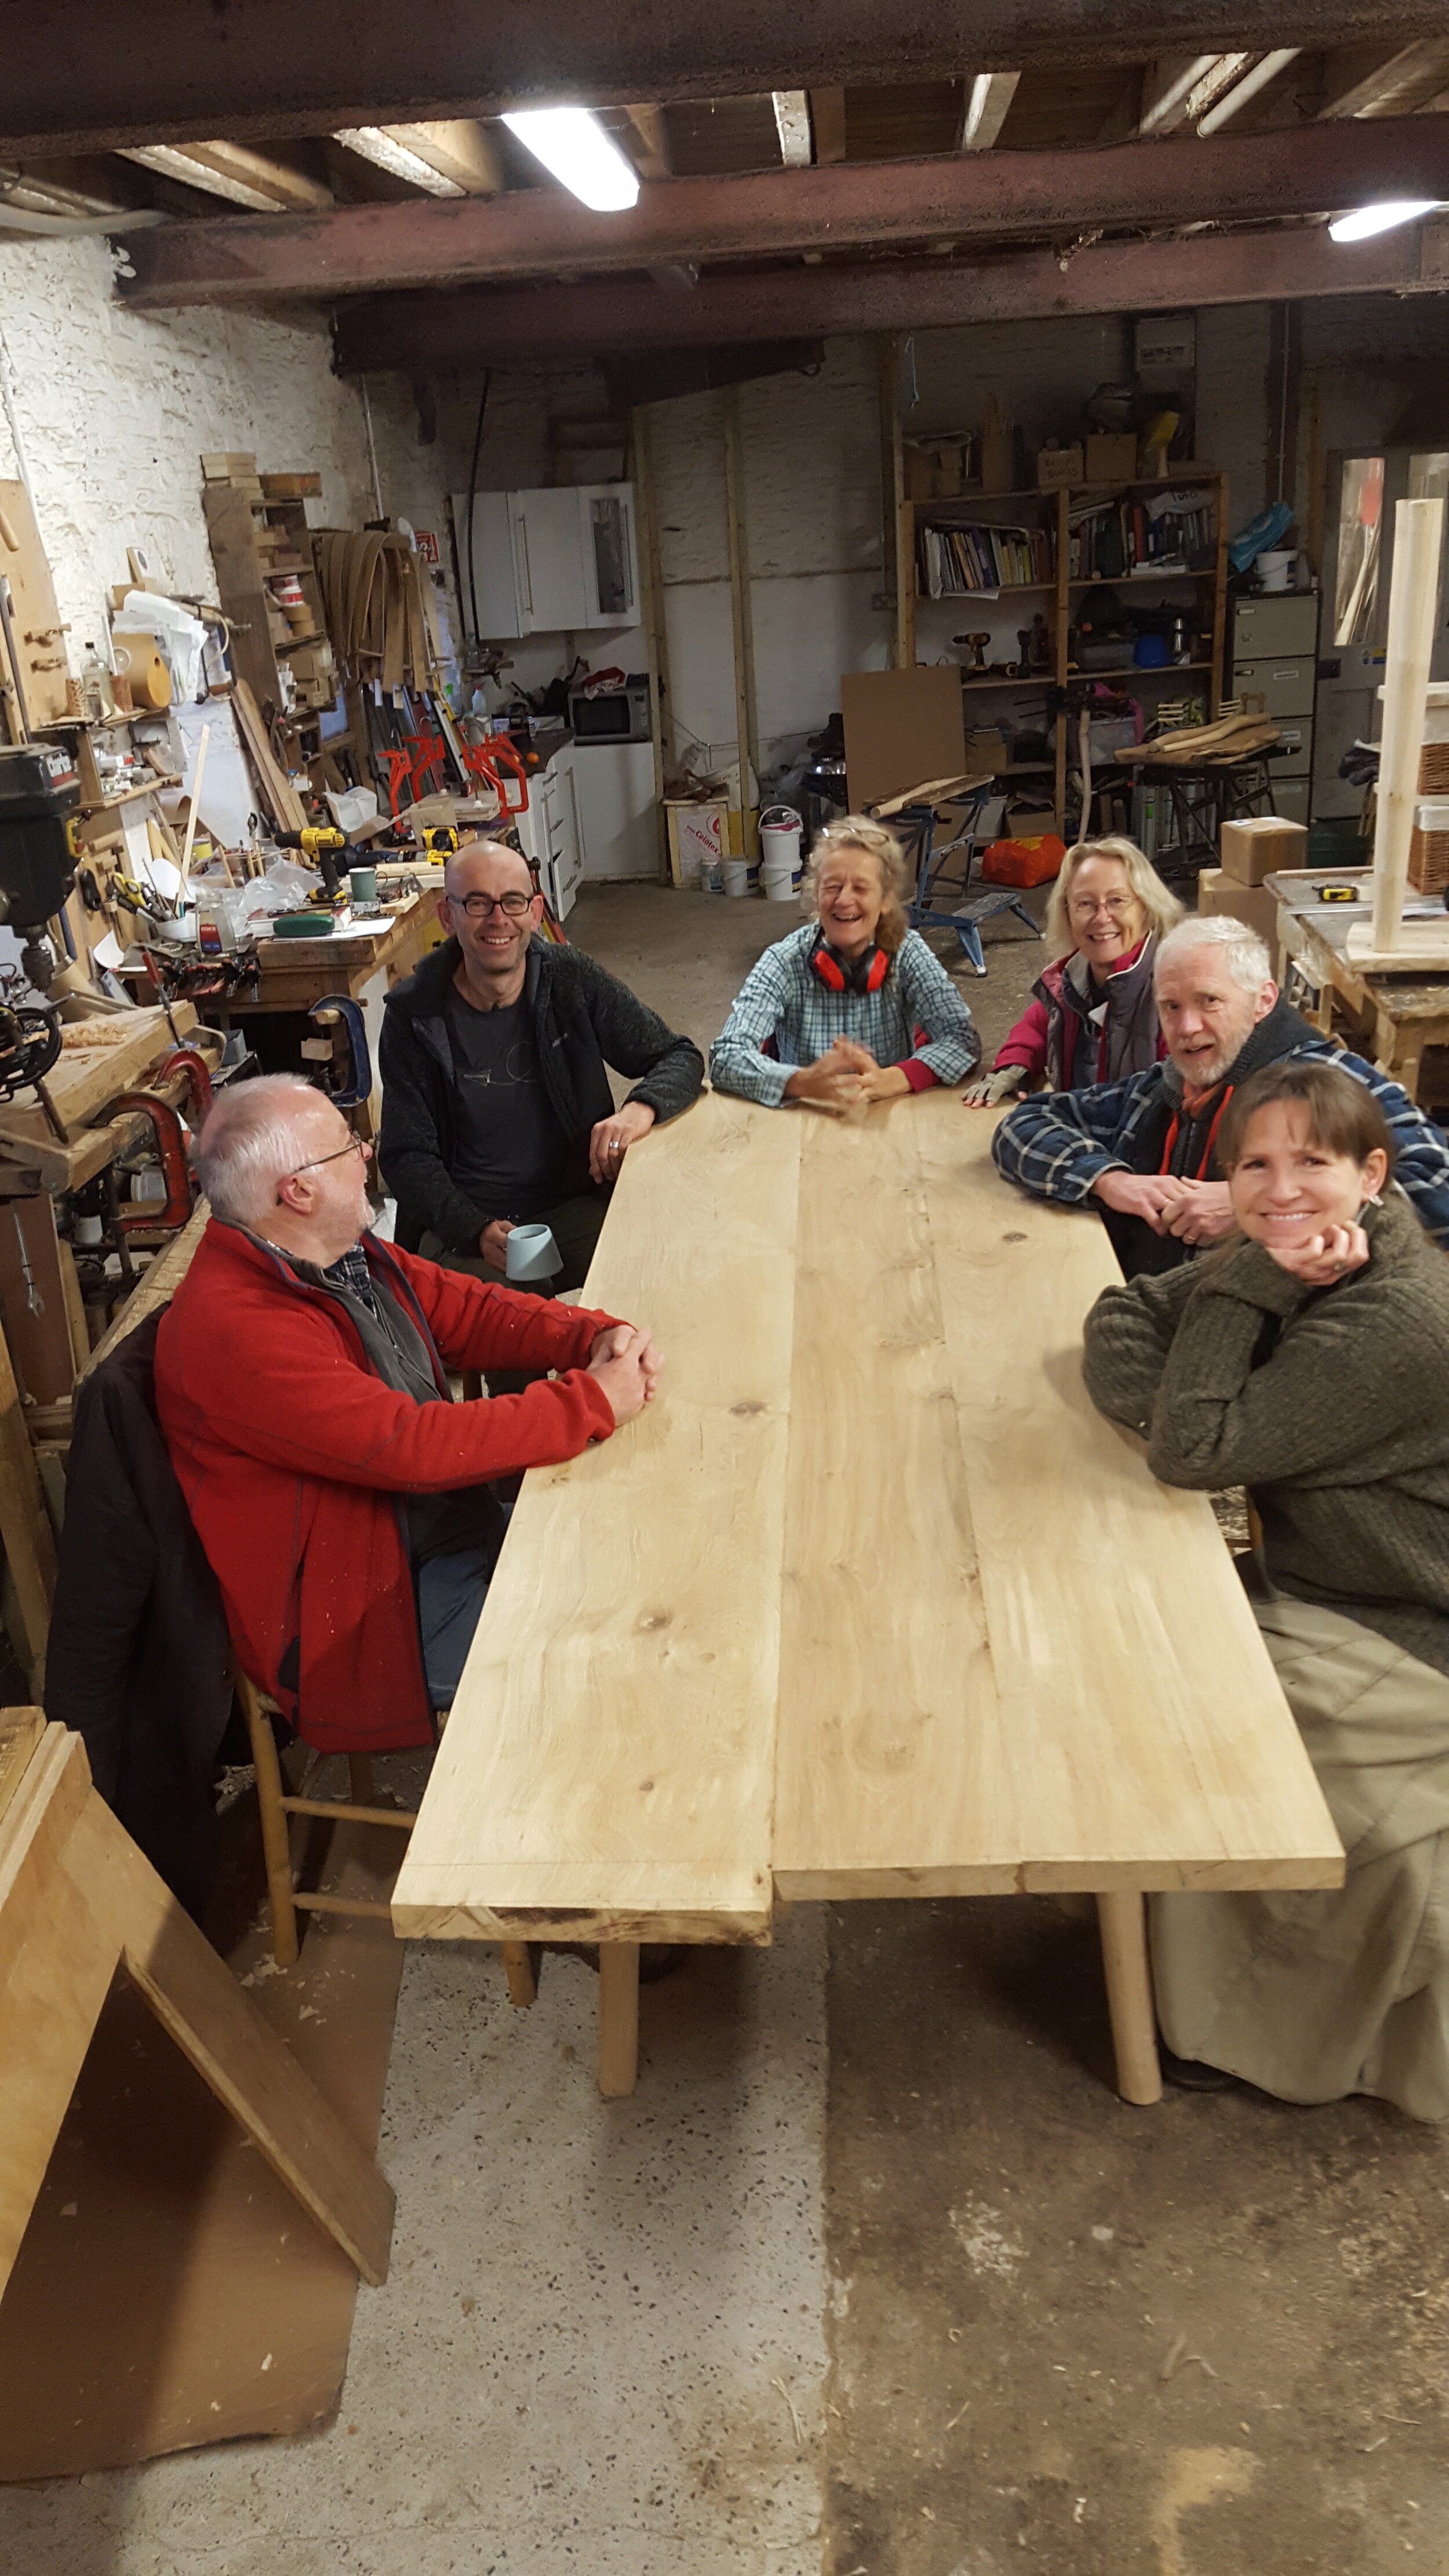
Numbers are kept low on this course, with a maximum of four tables, partly due to space, but partly so people get the individual attention they need. This year 4 tables were made by three individuals and a couple. I have summarised their journeys below.
Click here for details about this year’s course.

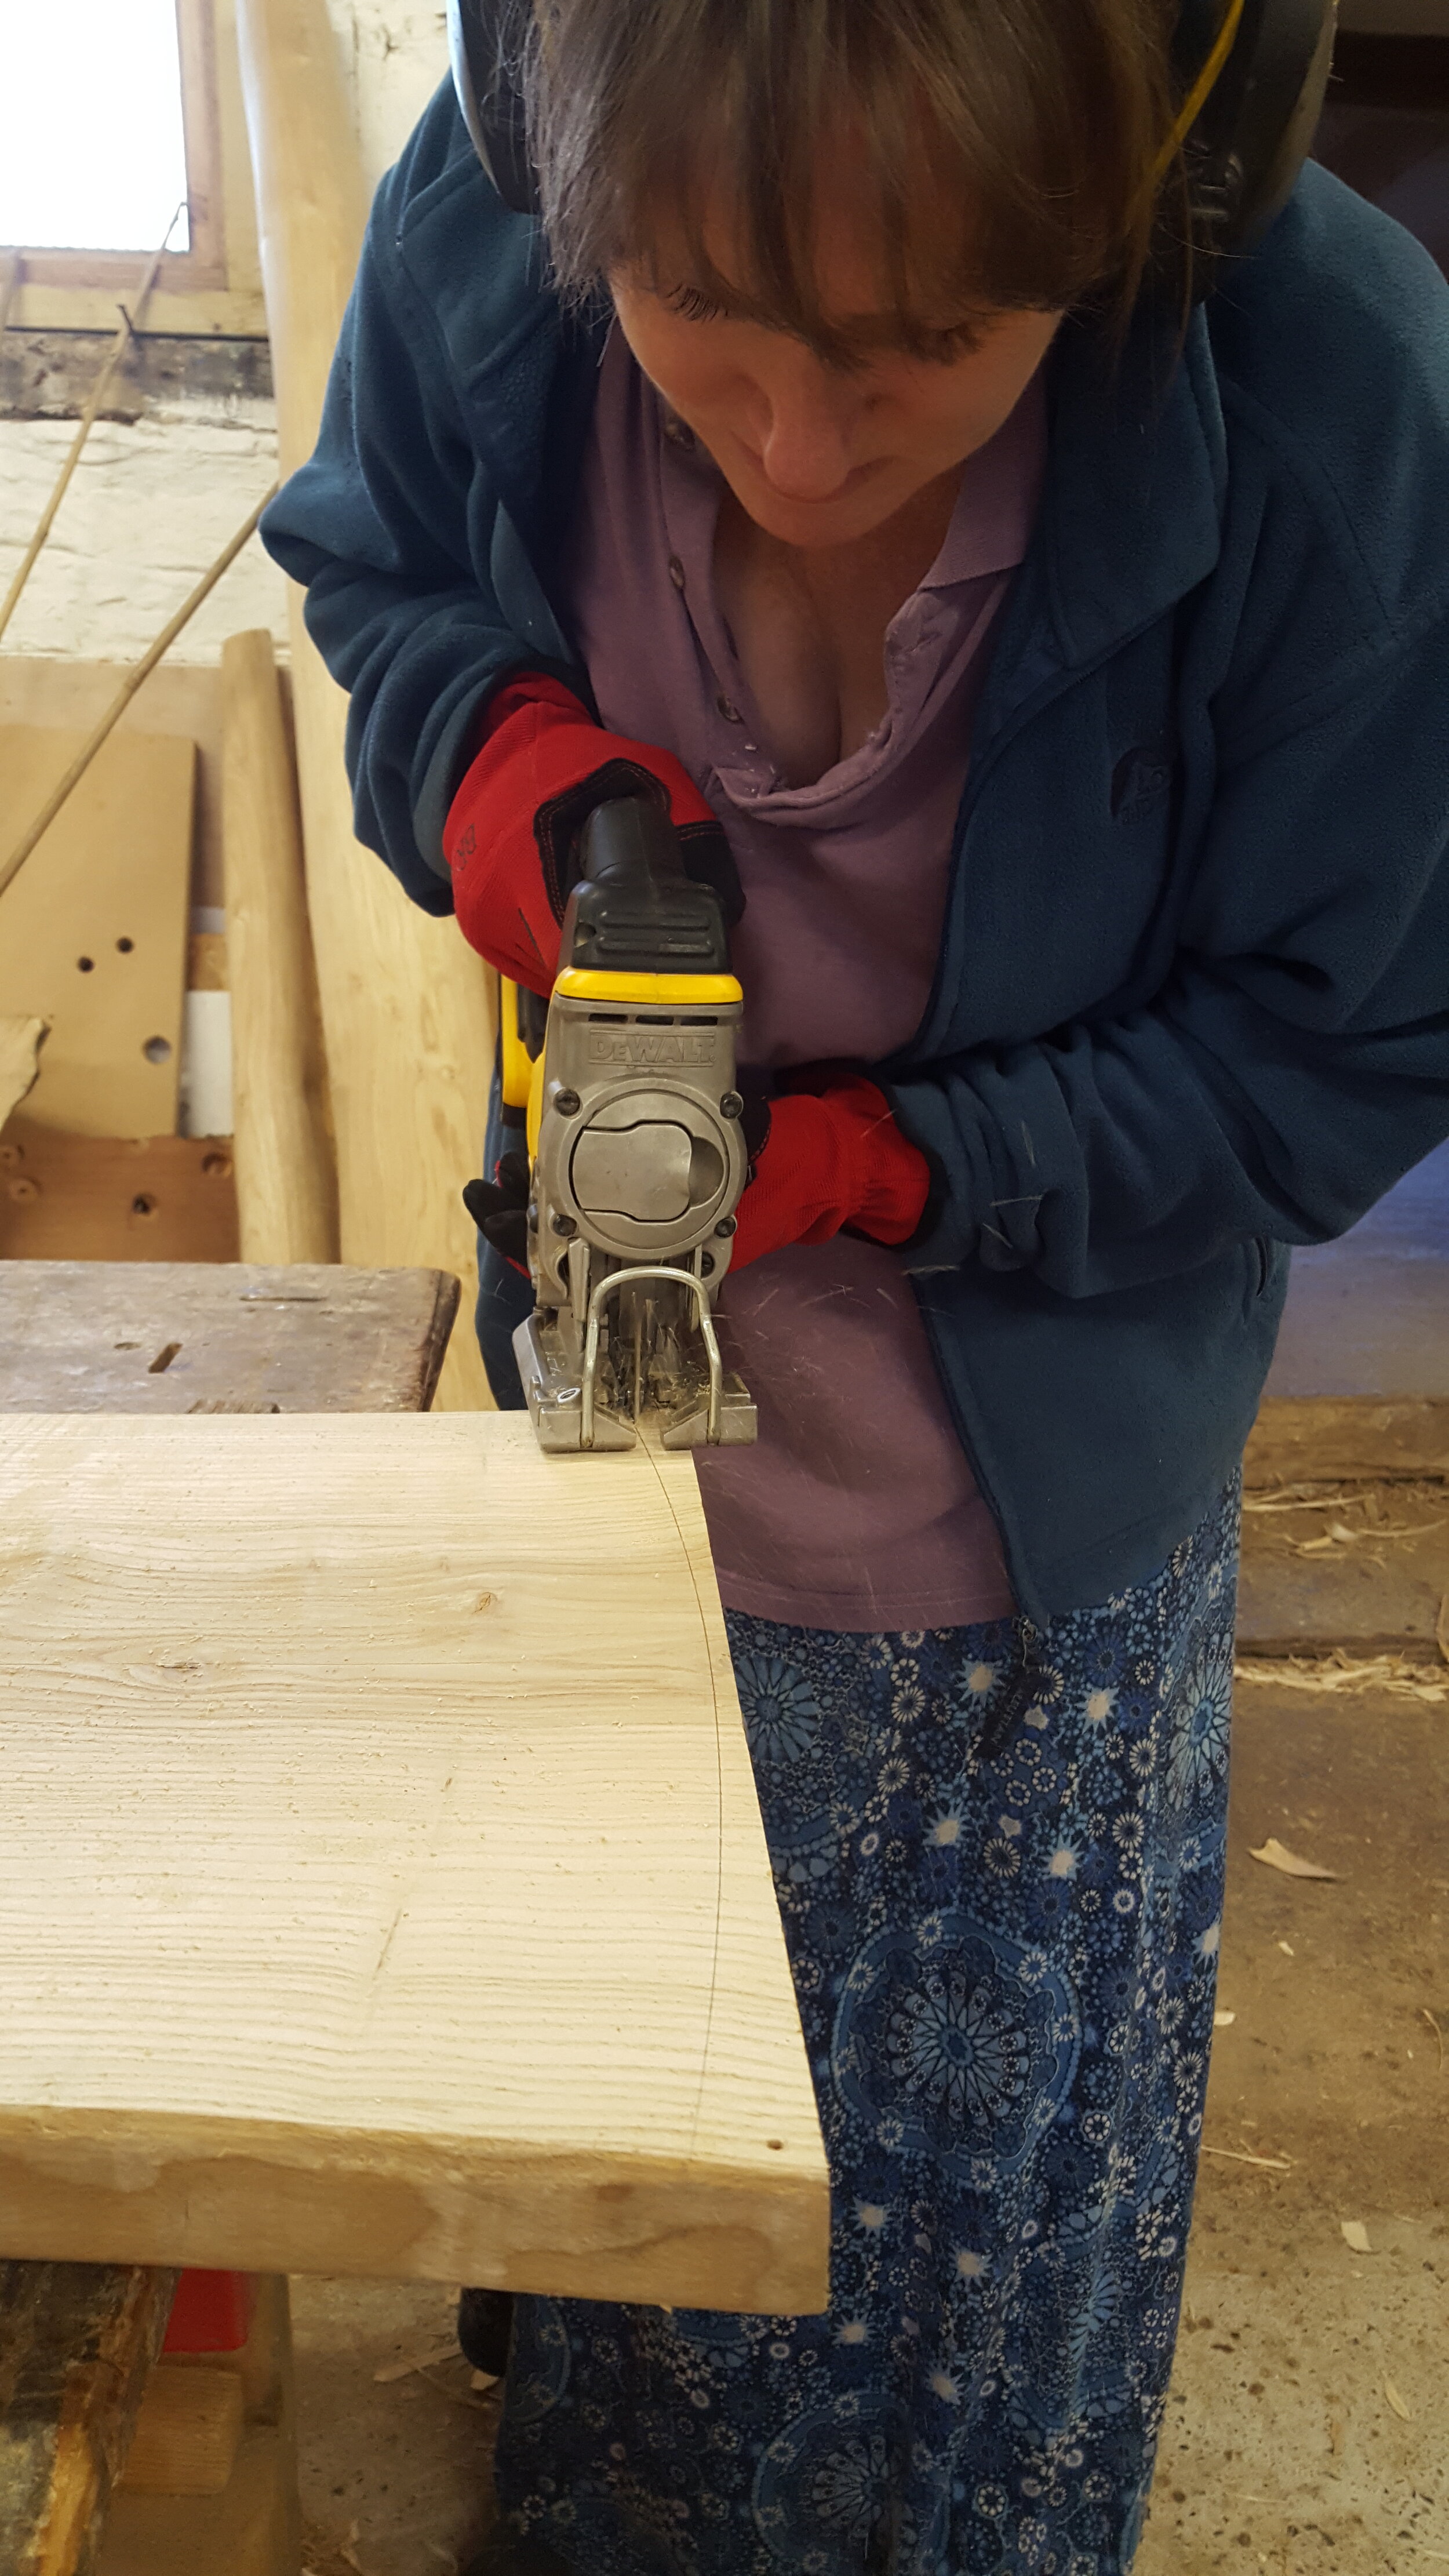
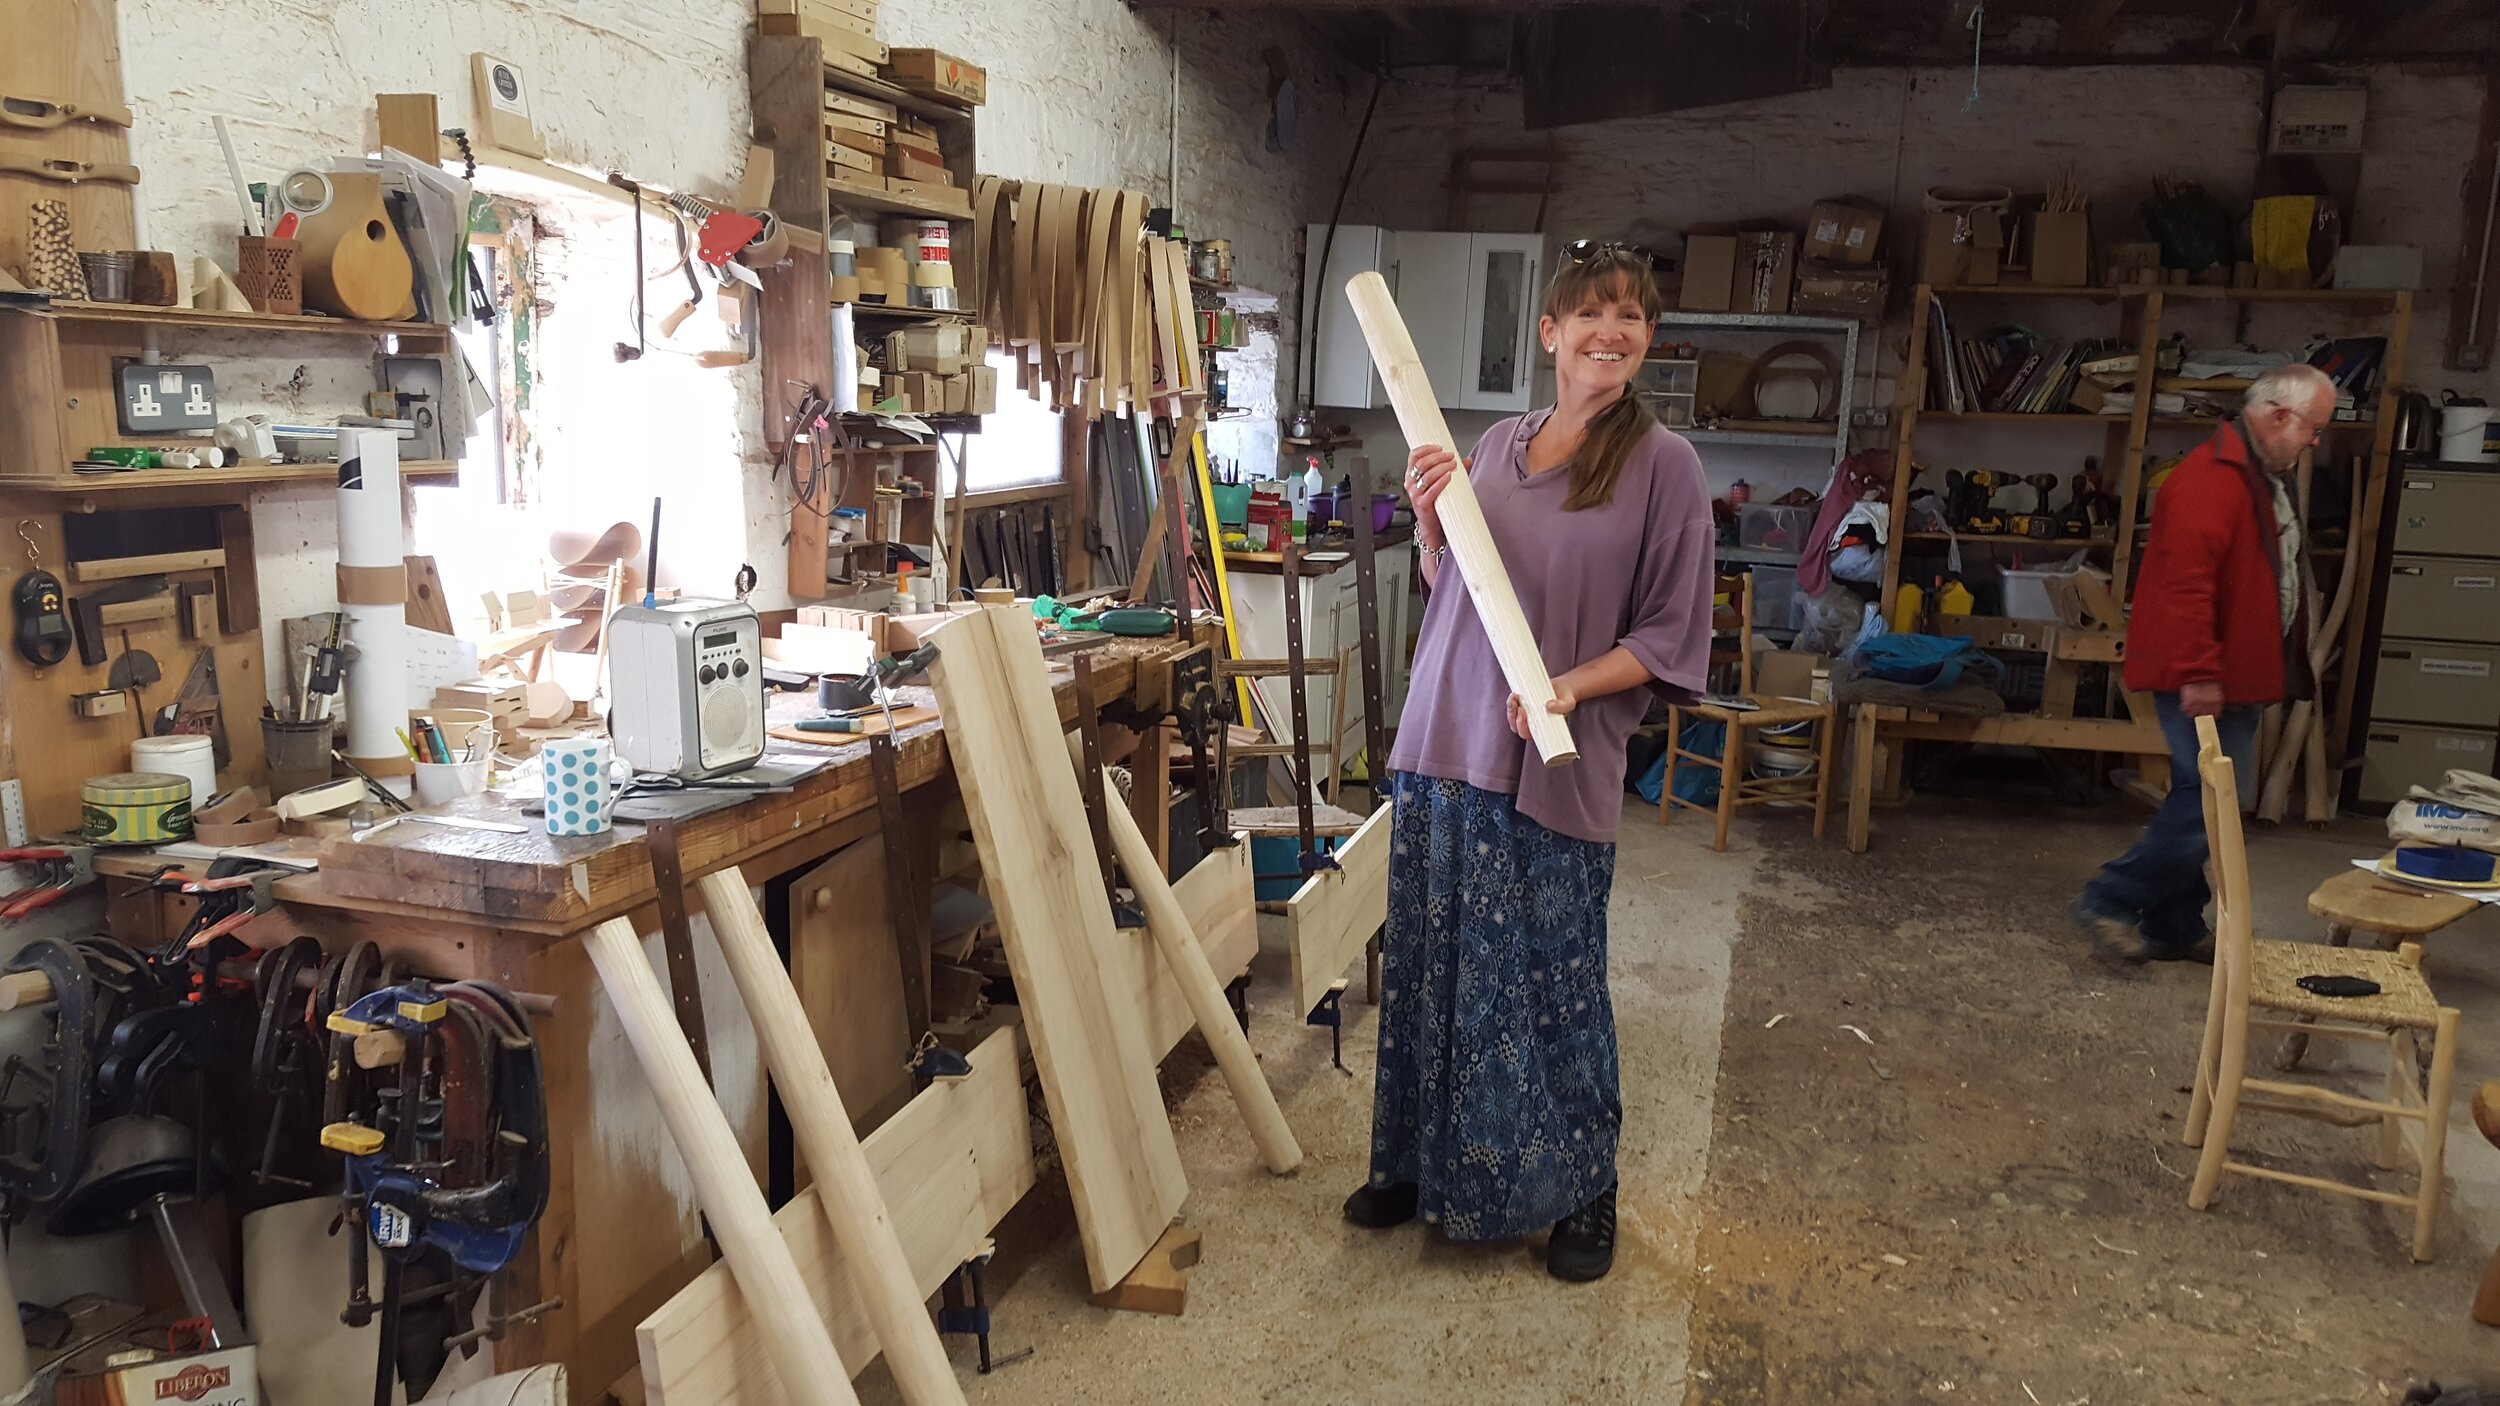
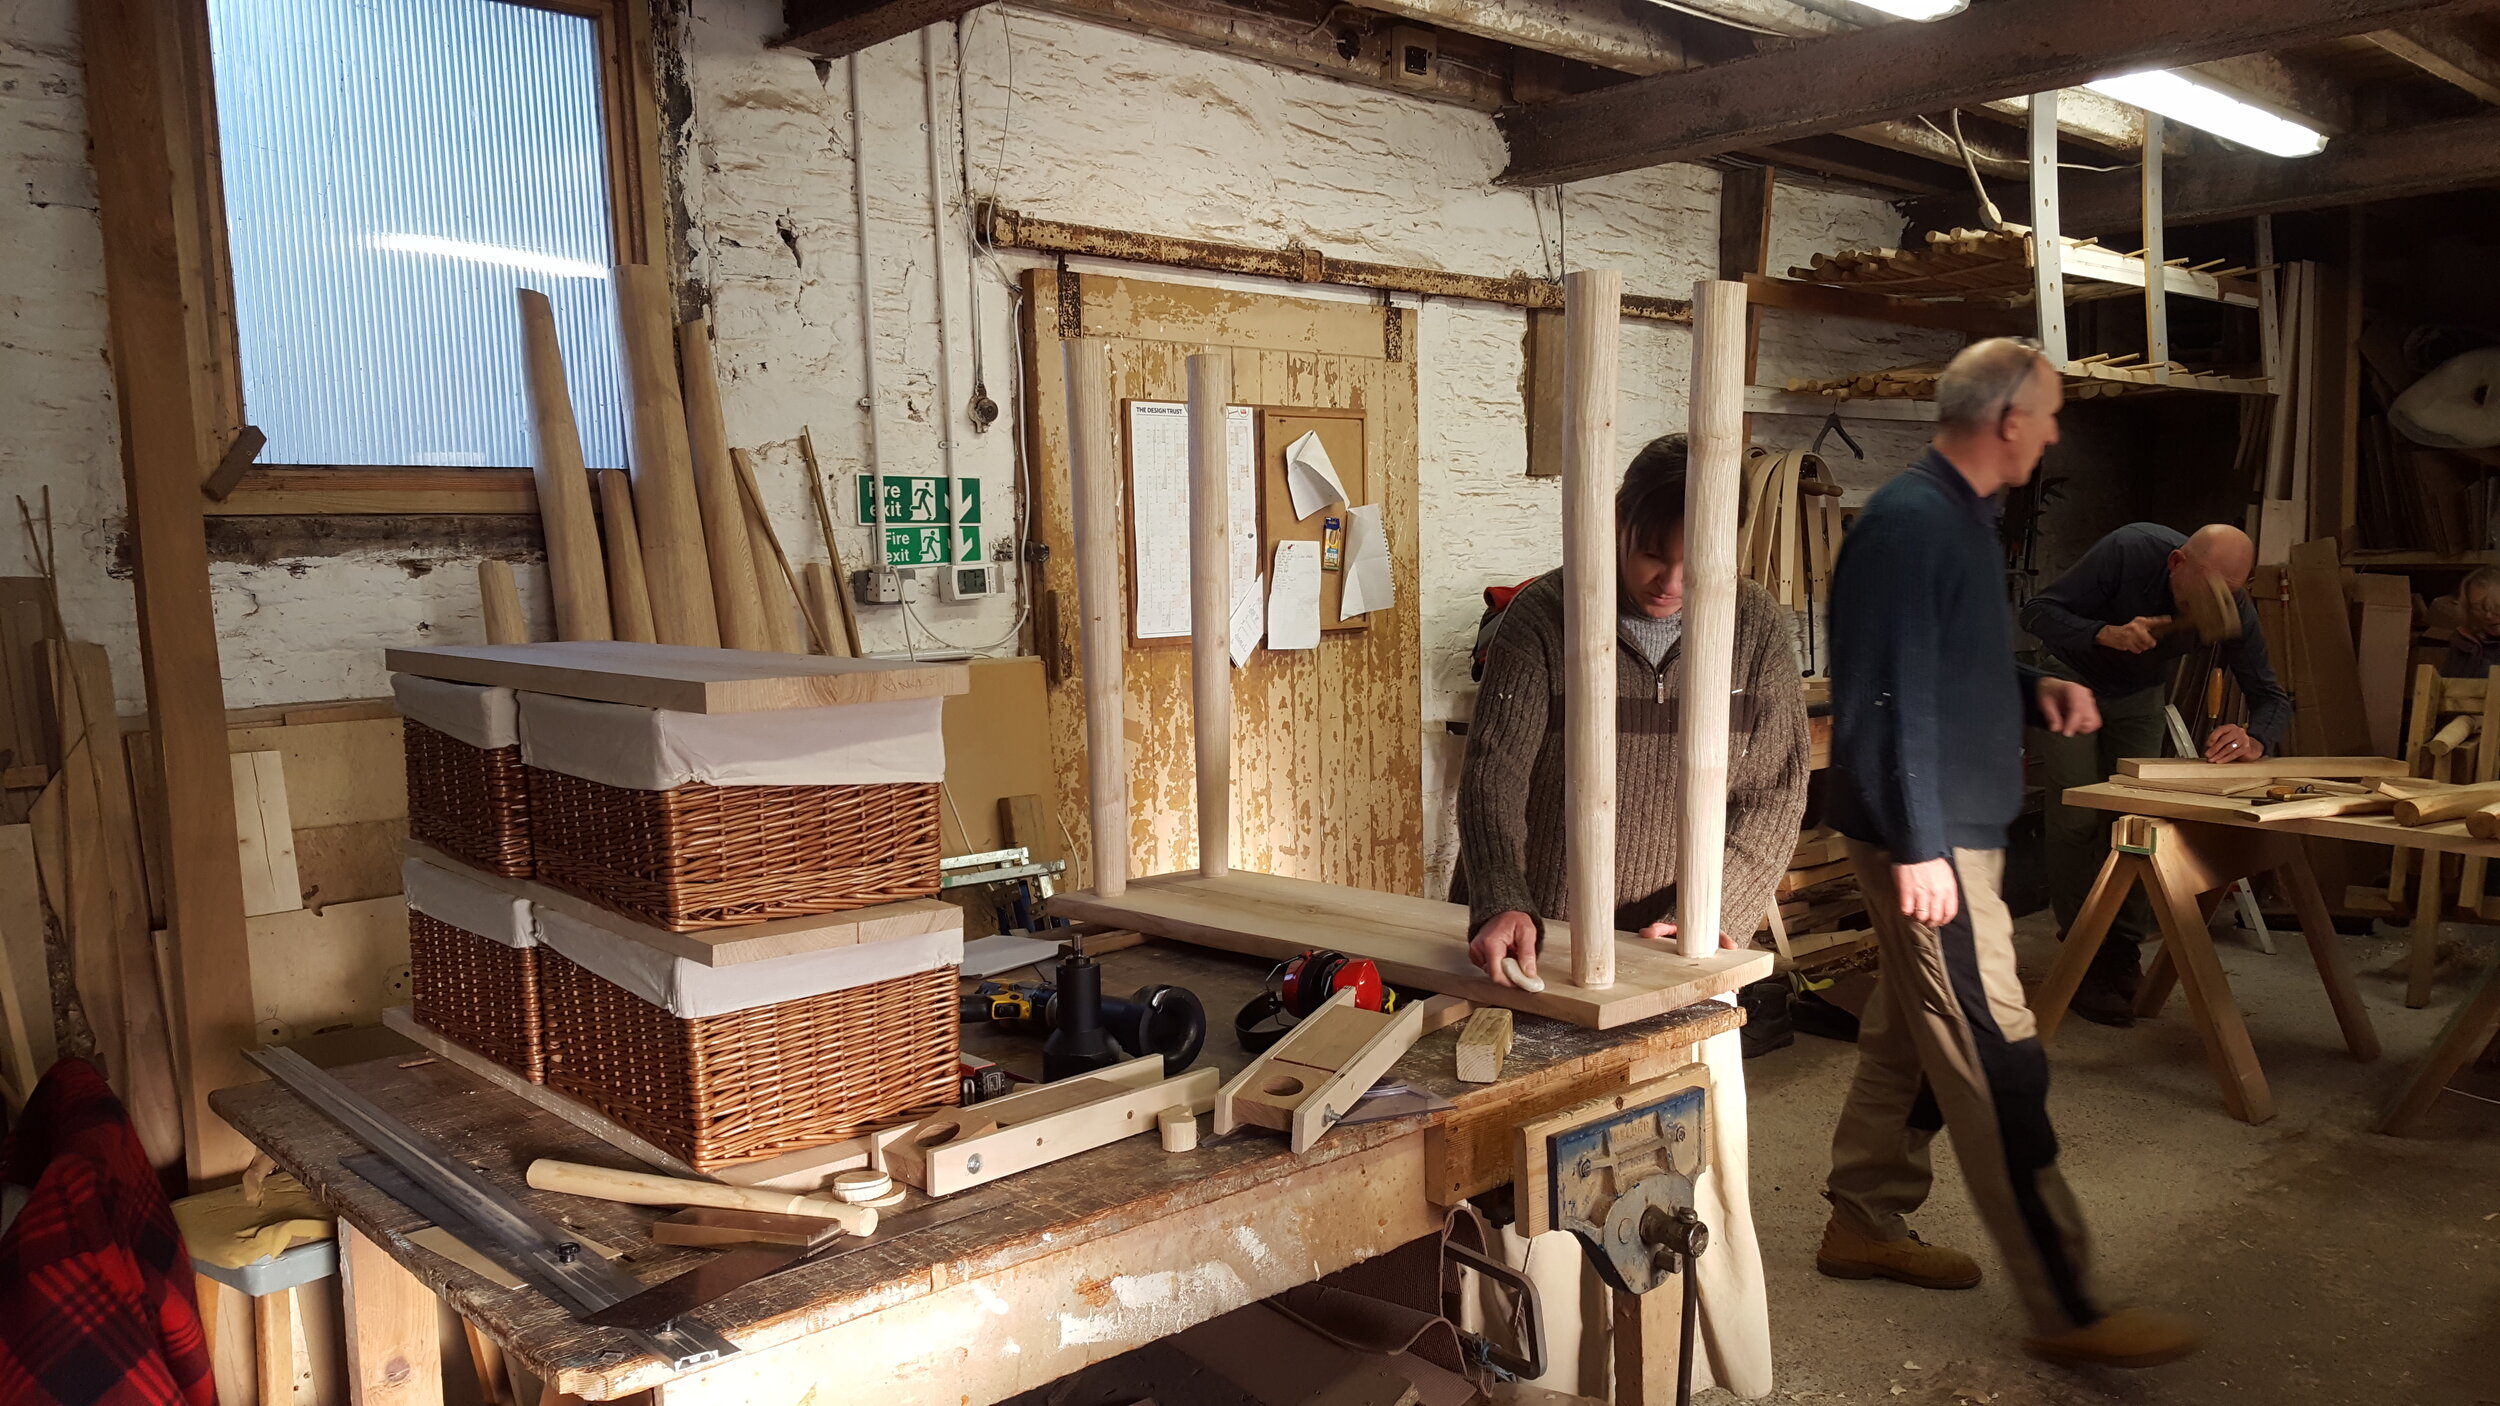
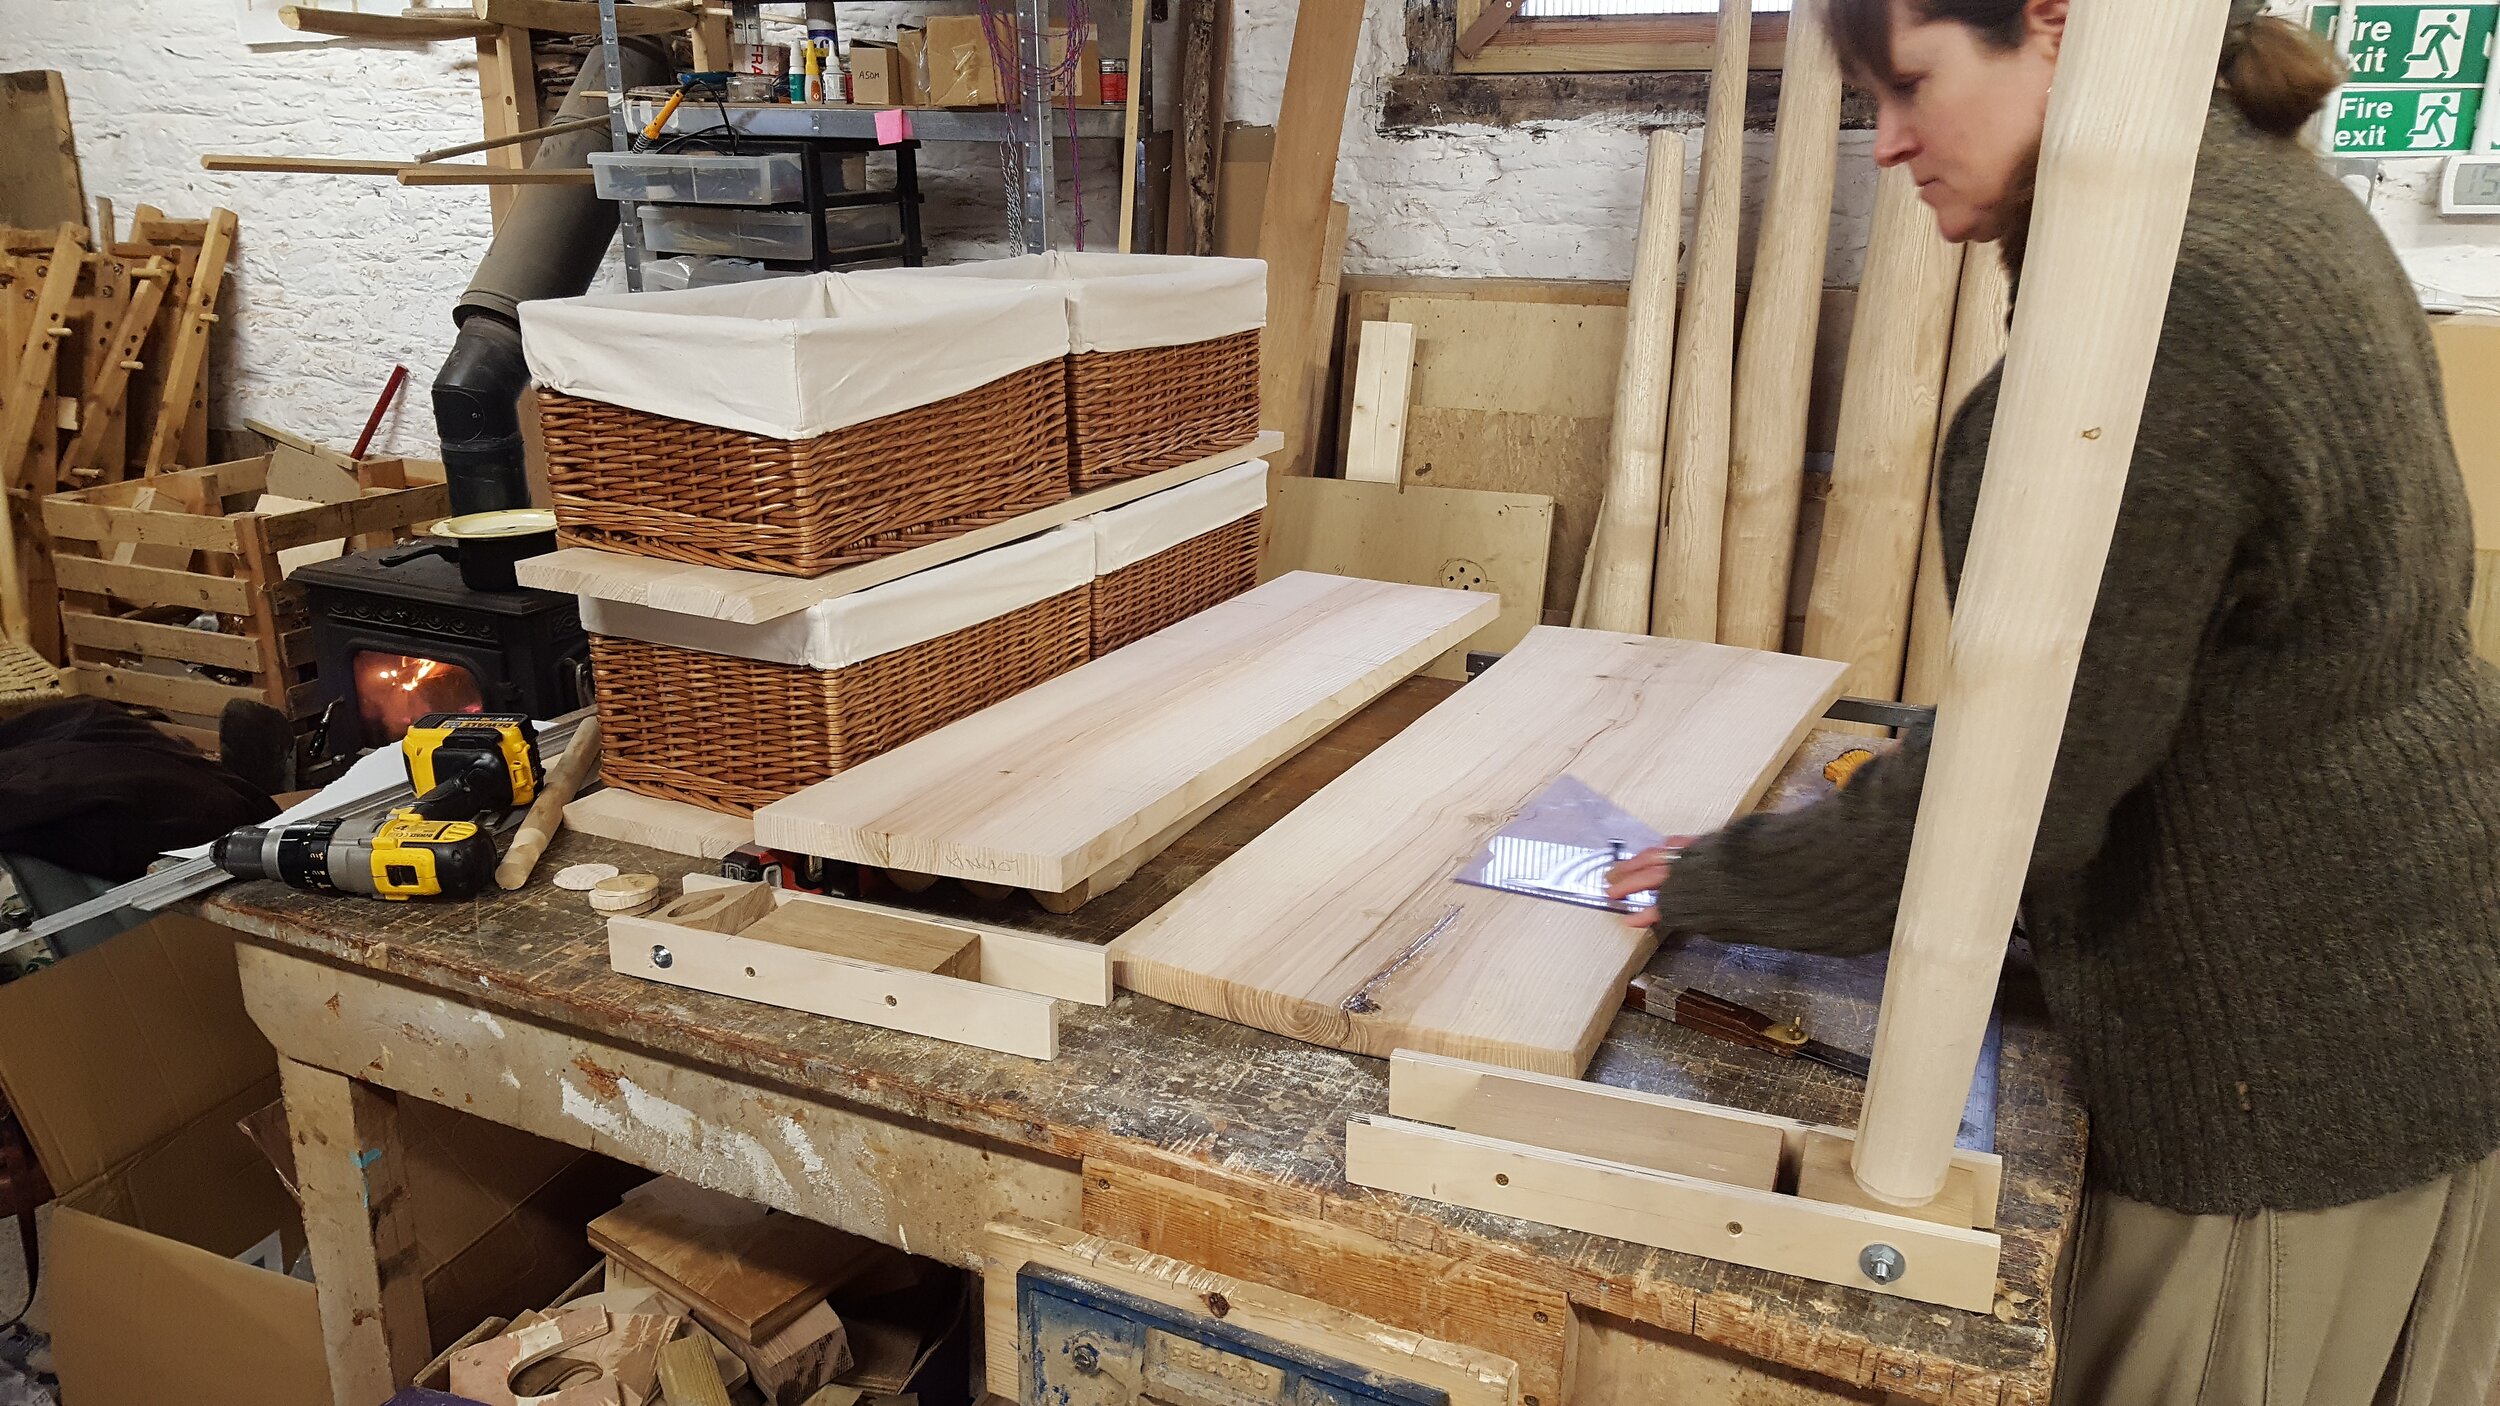
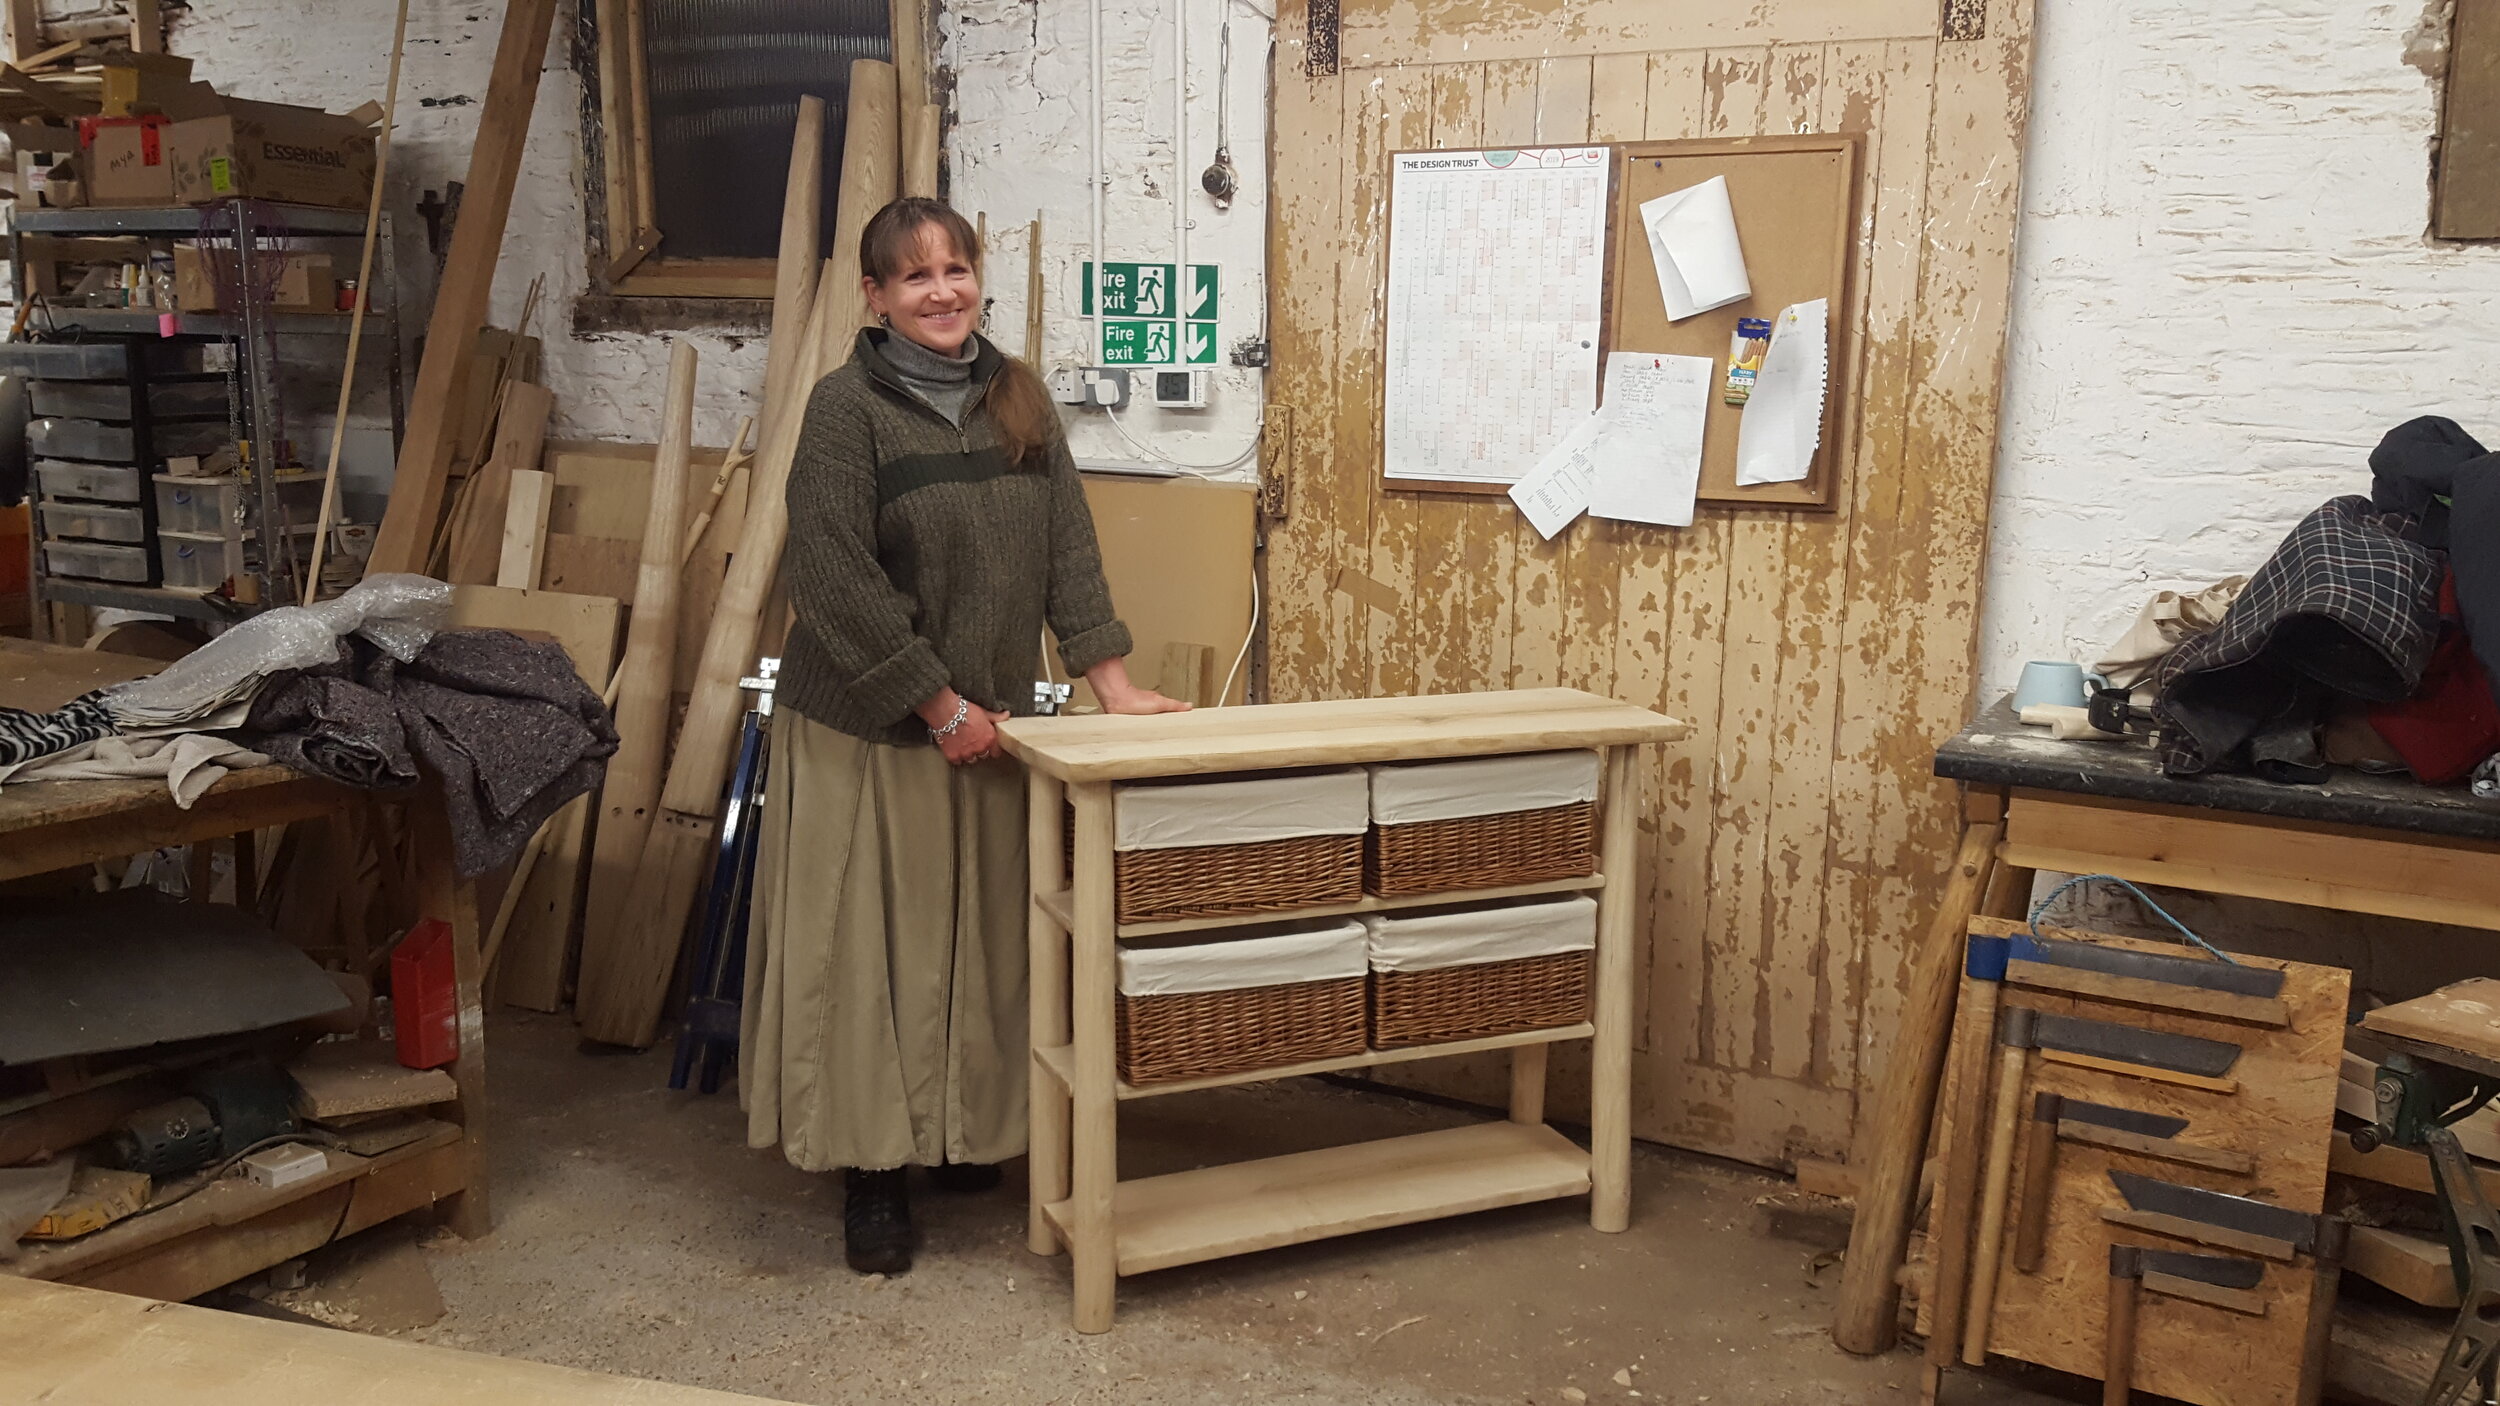
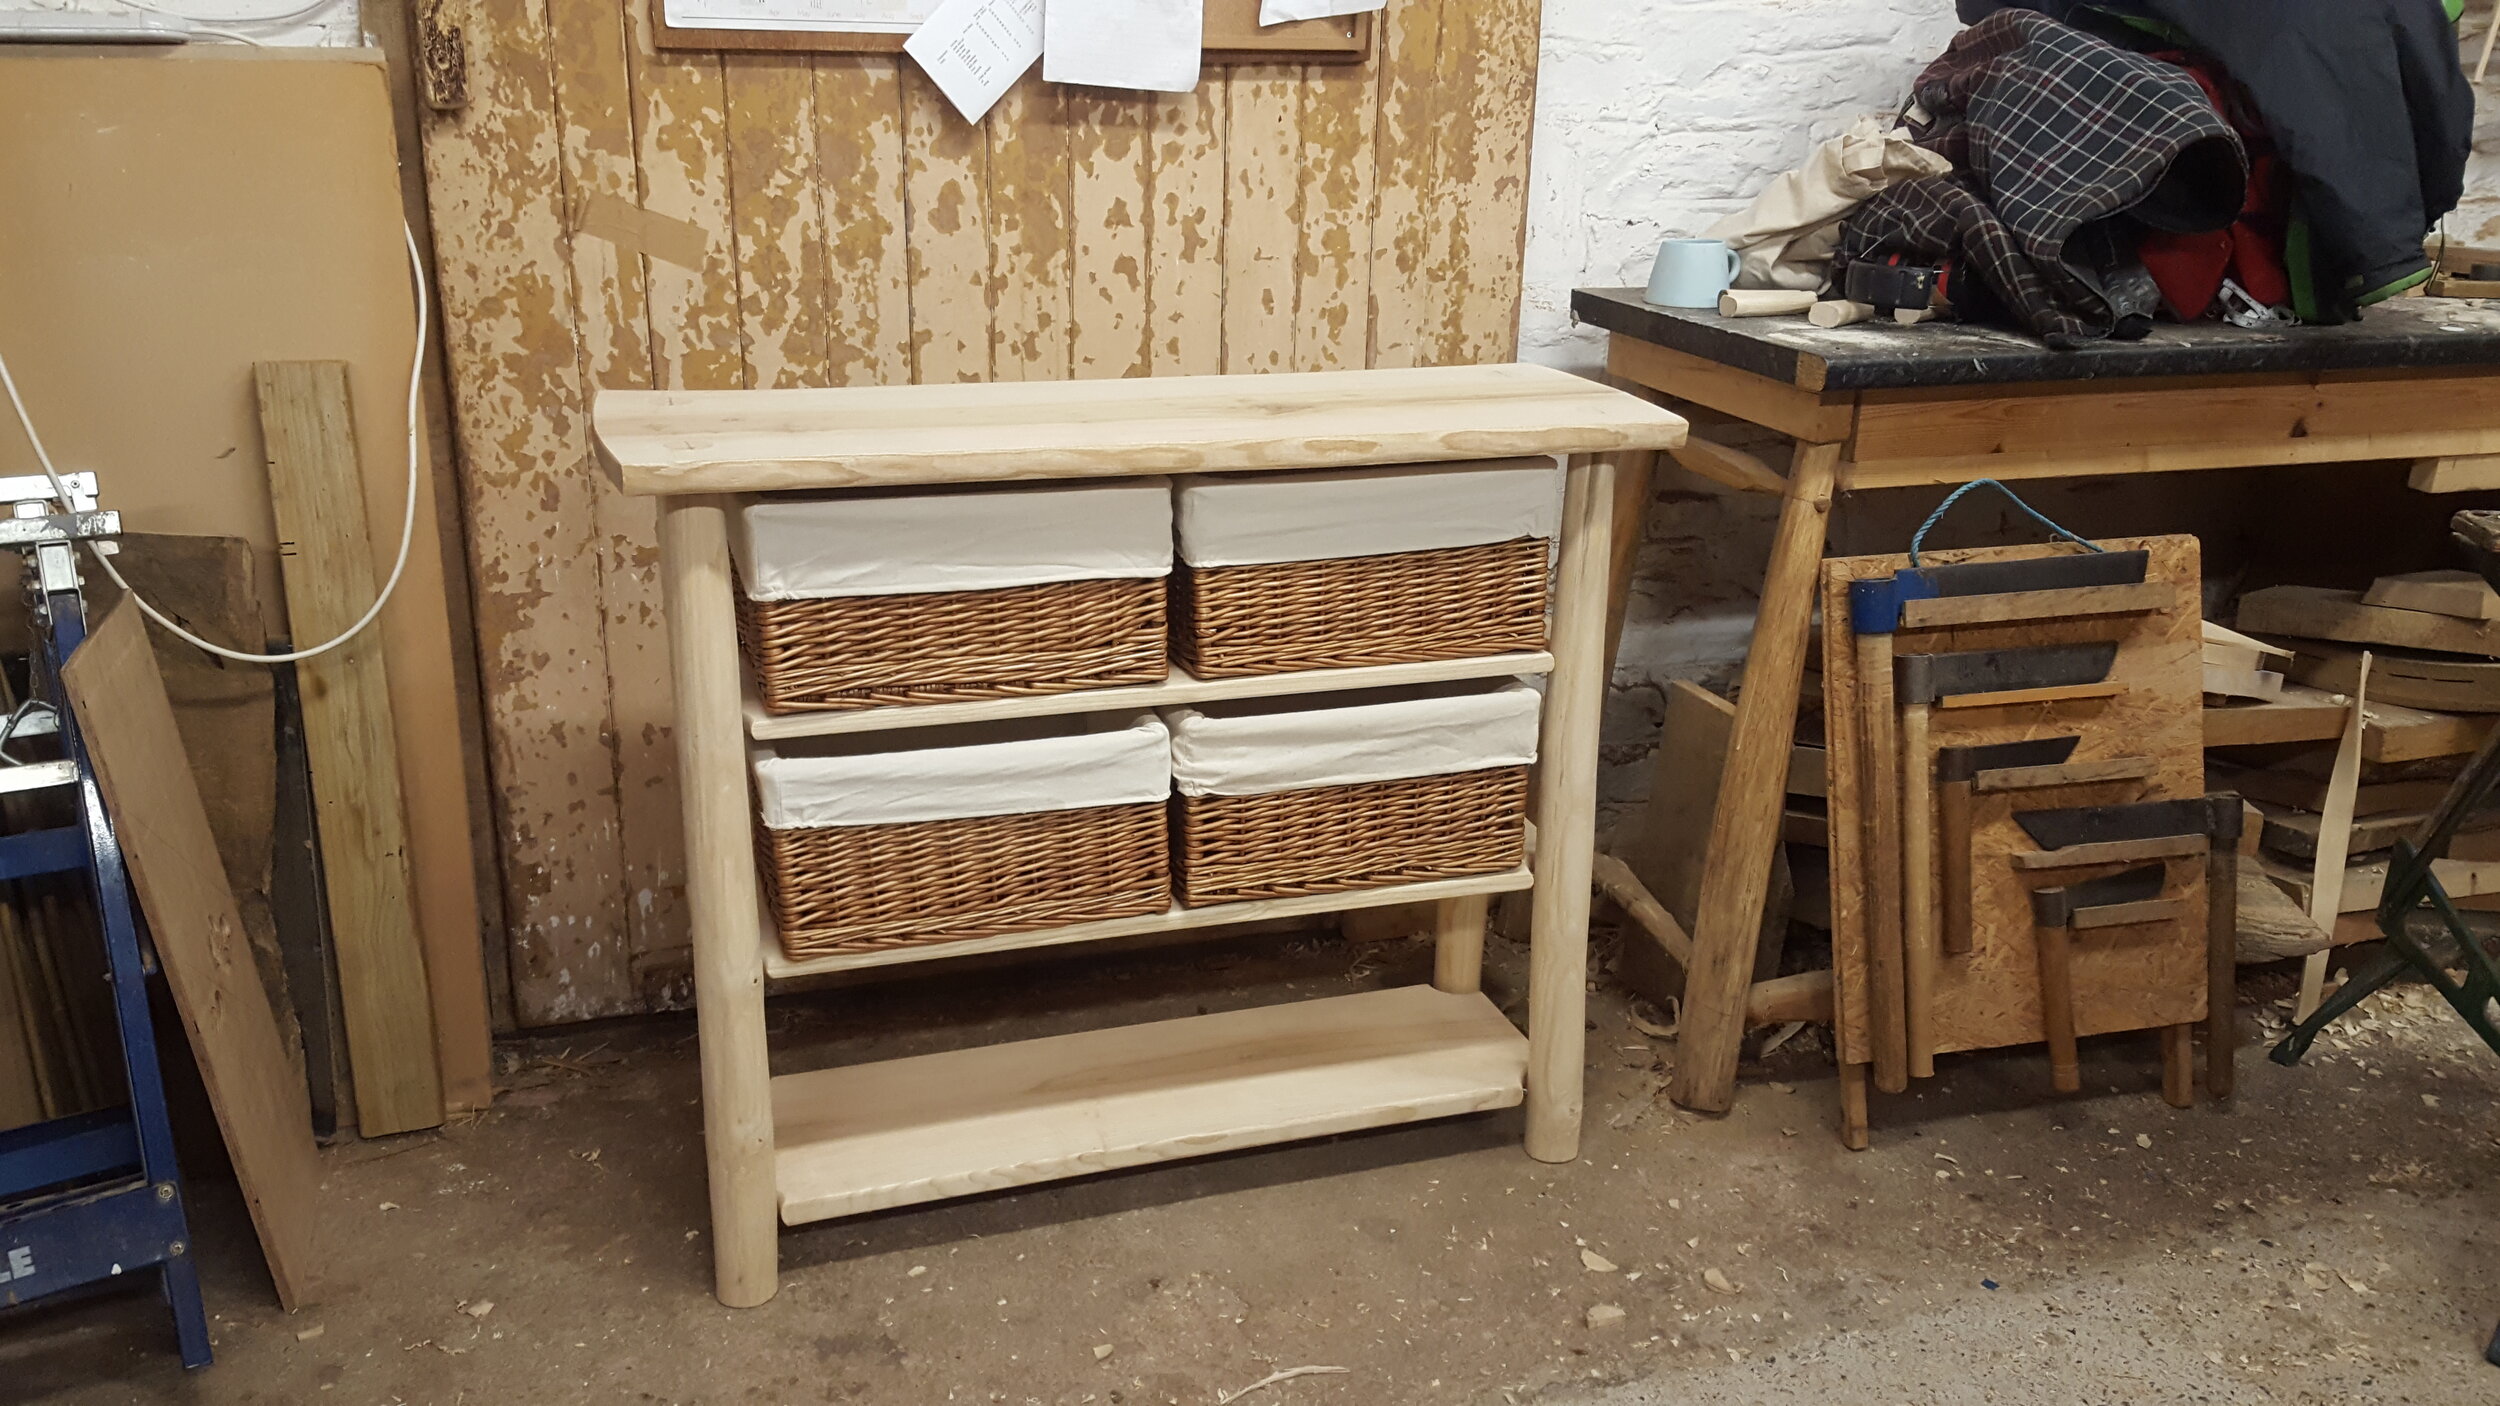
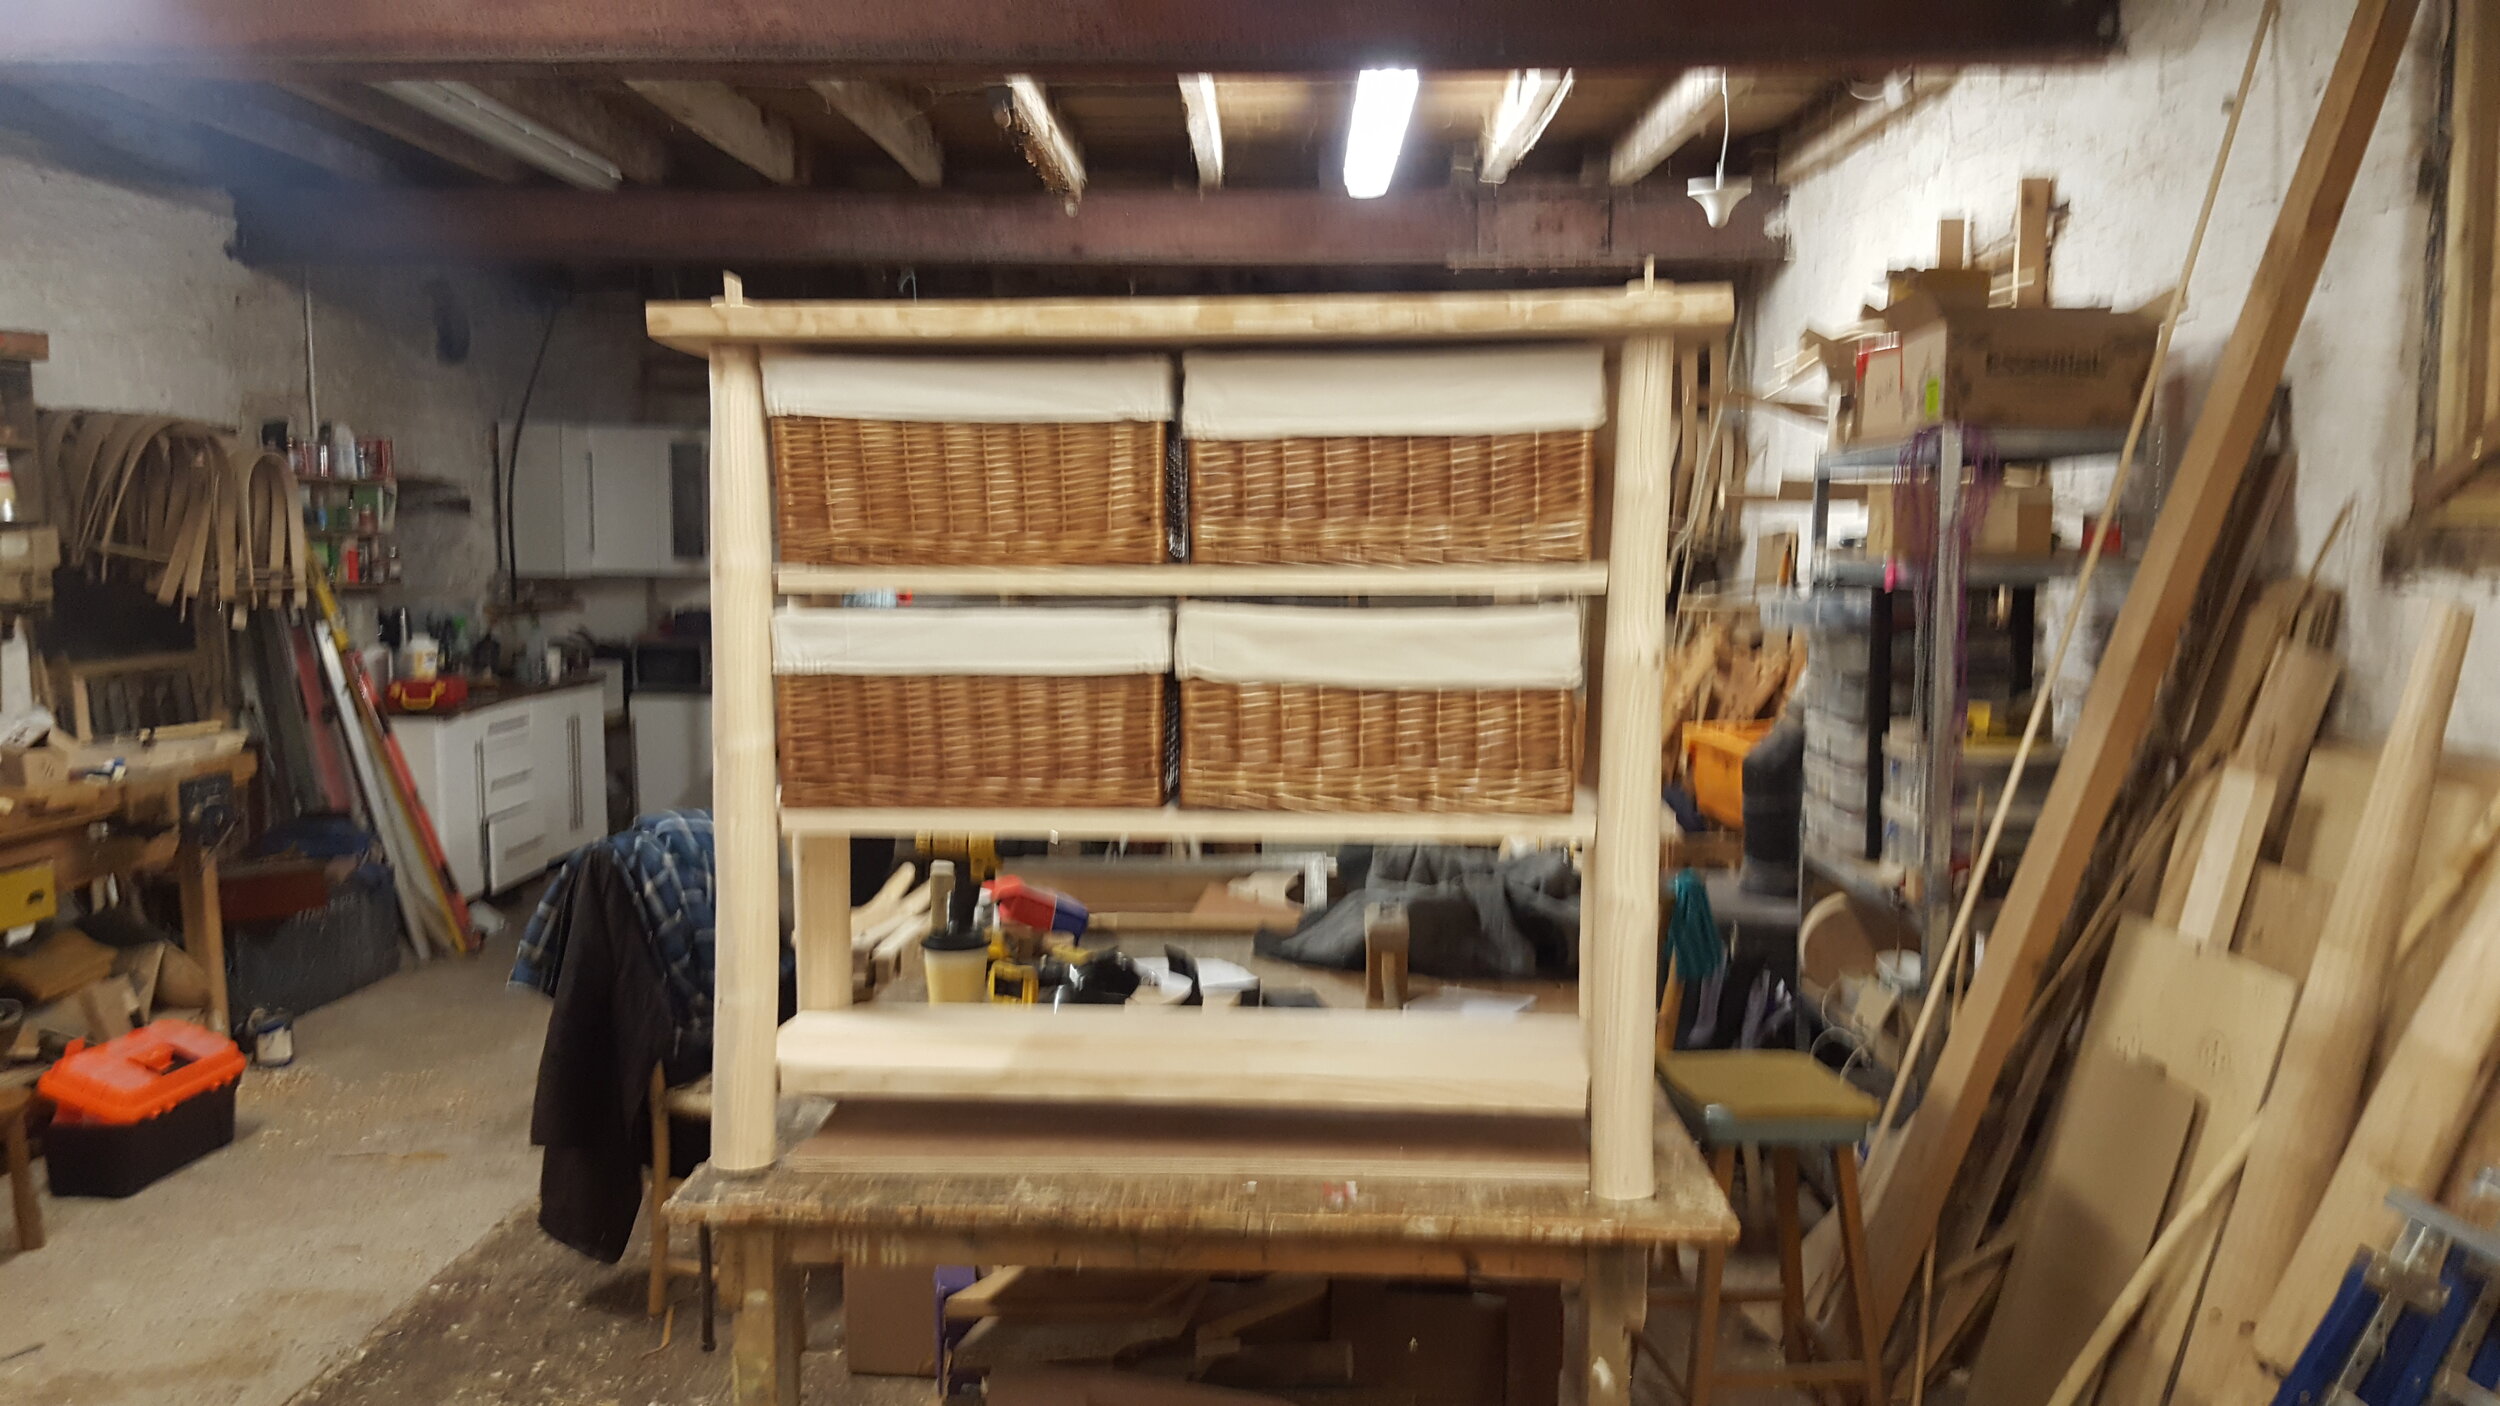
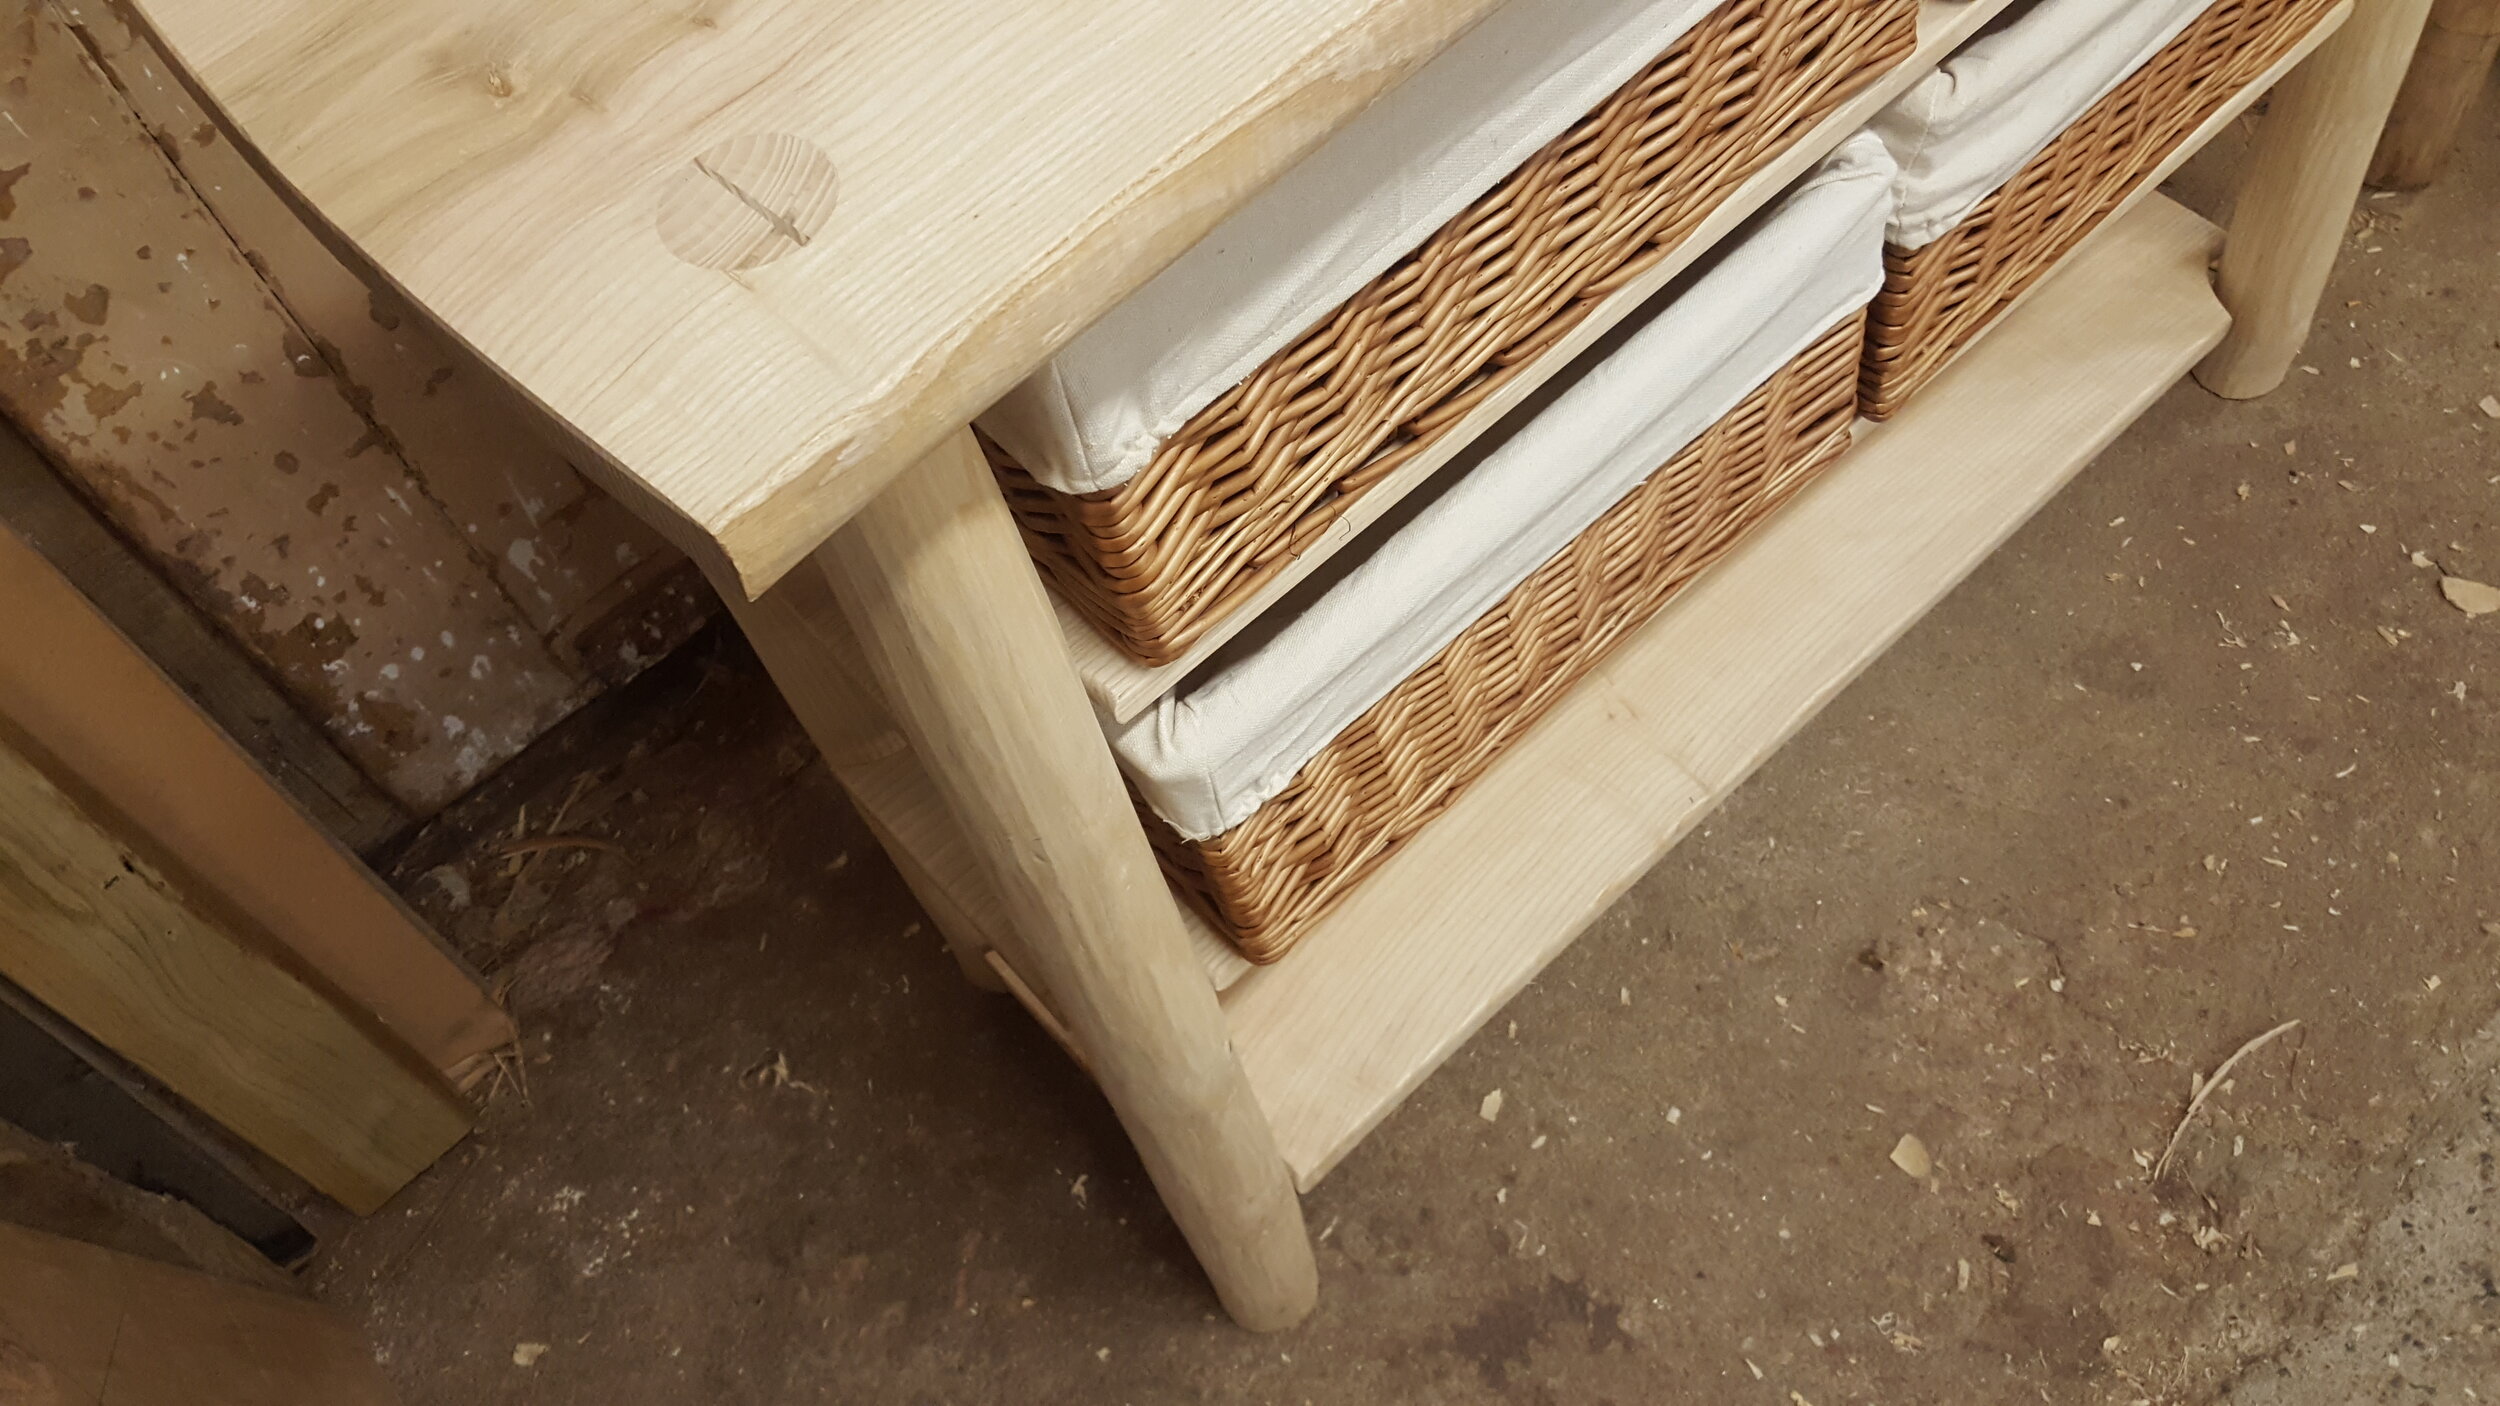
Lorna
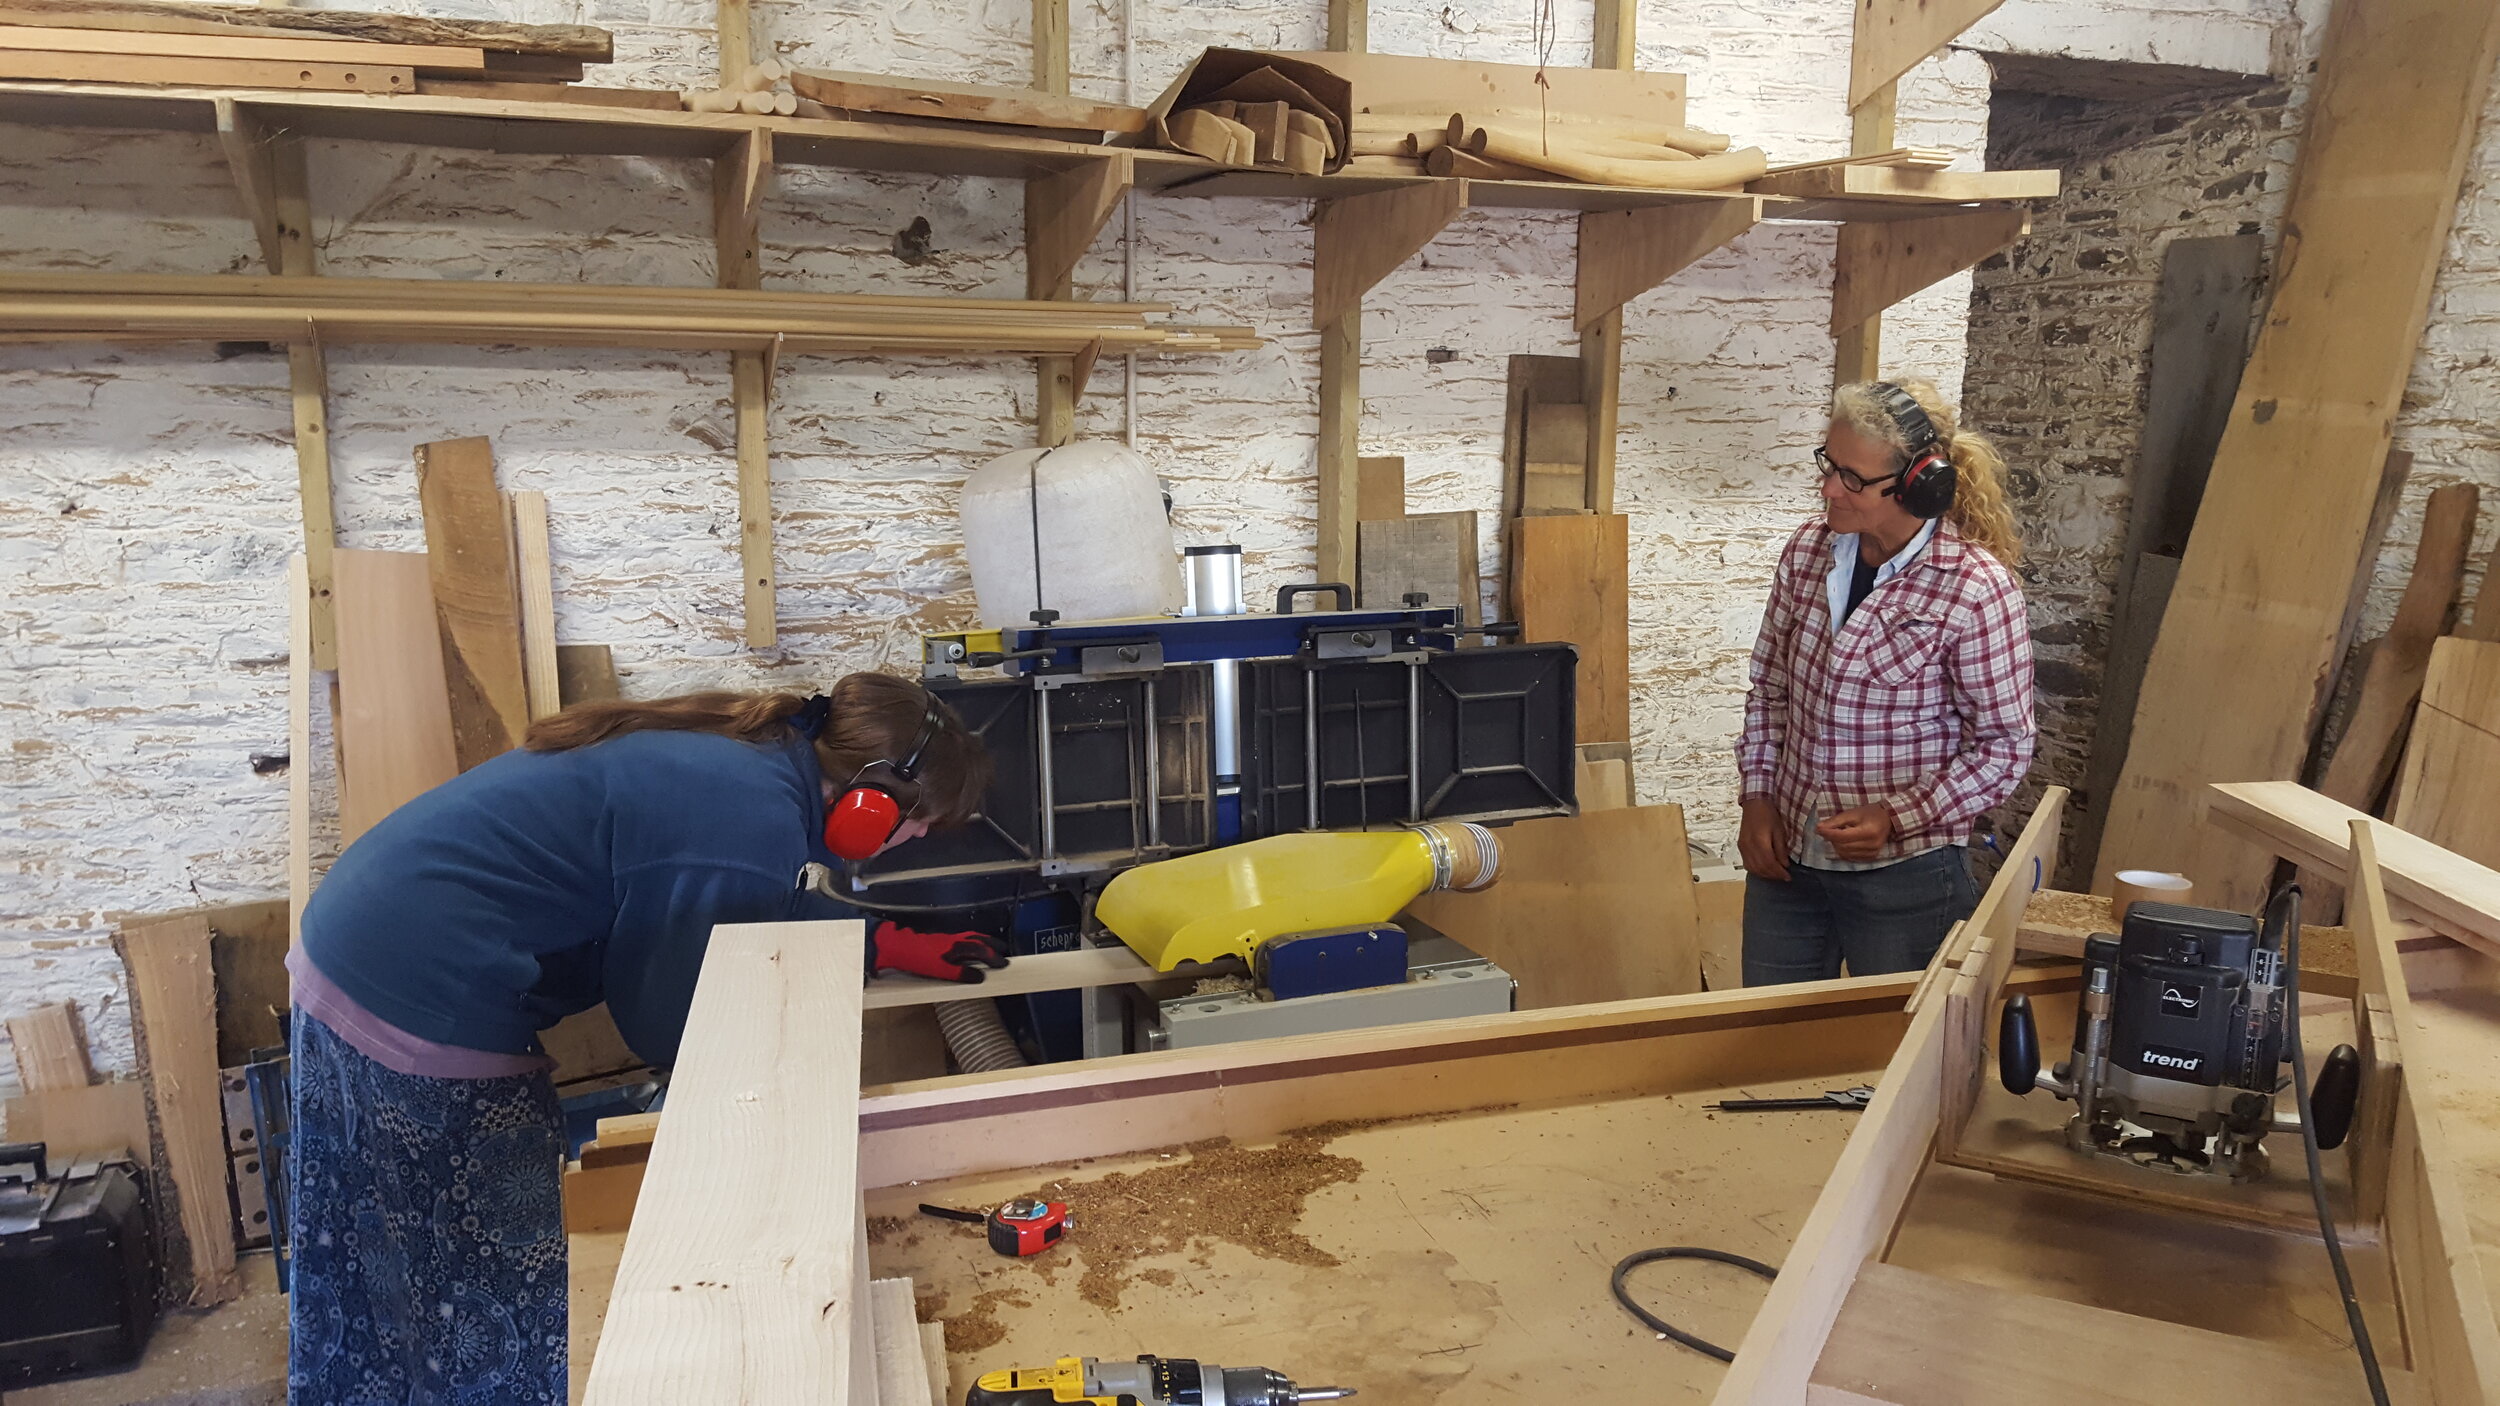
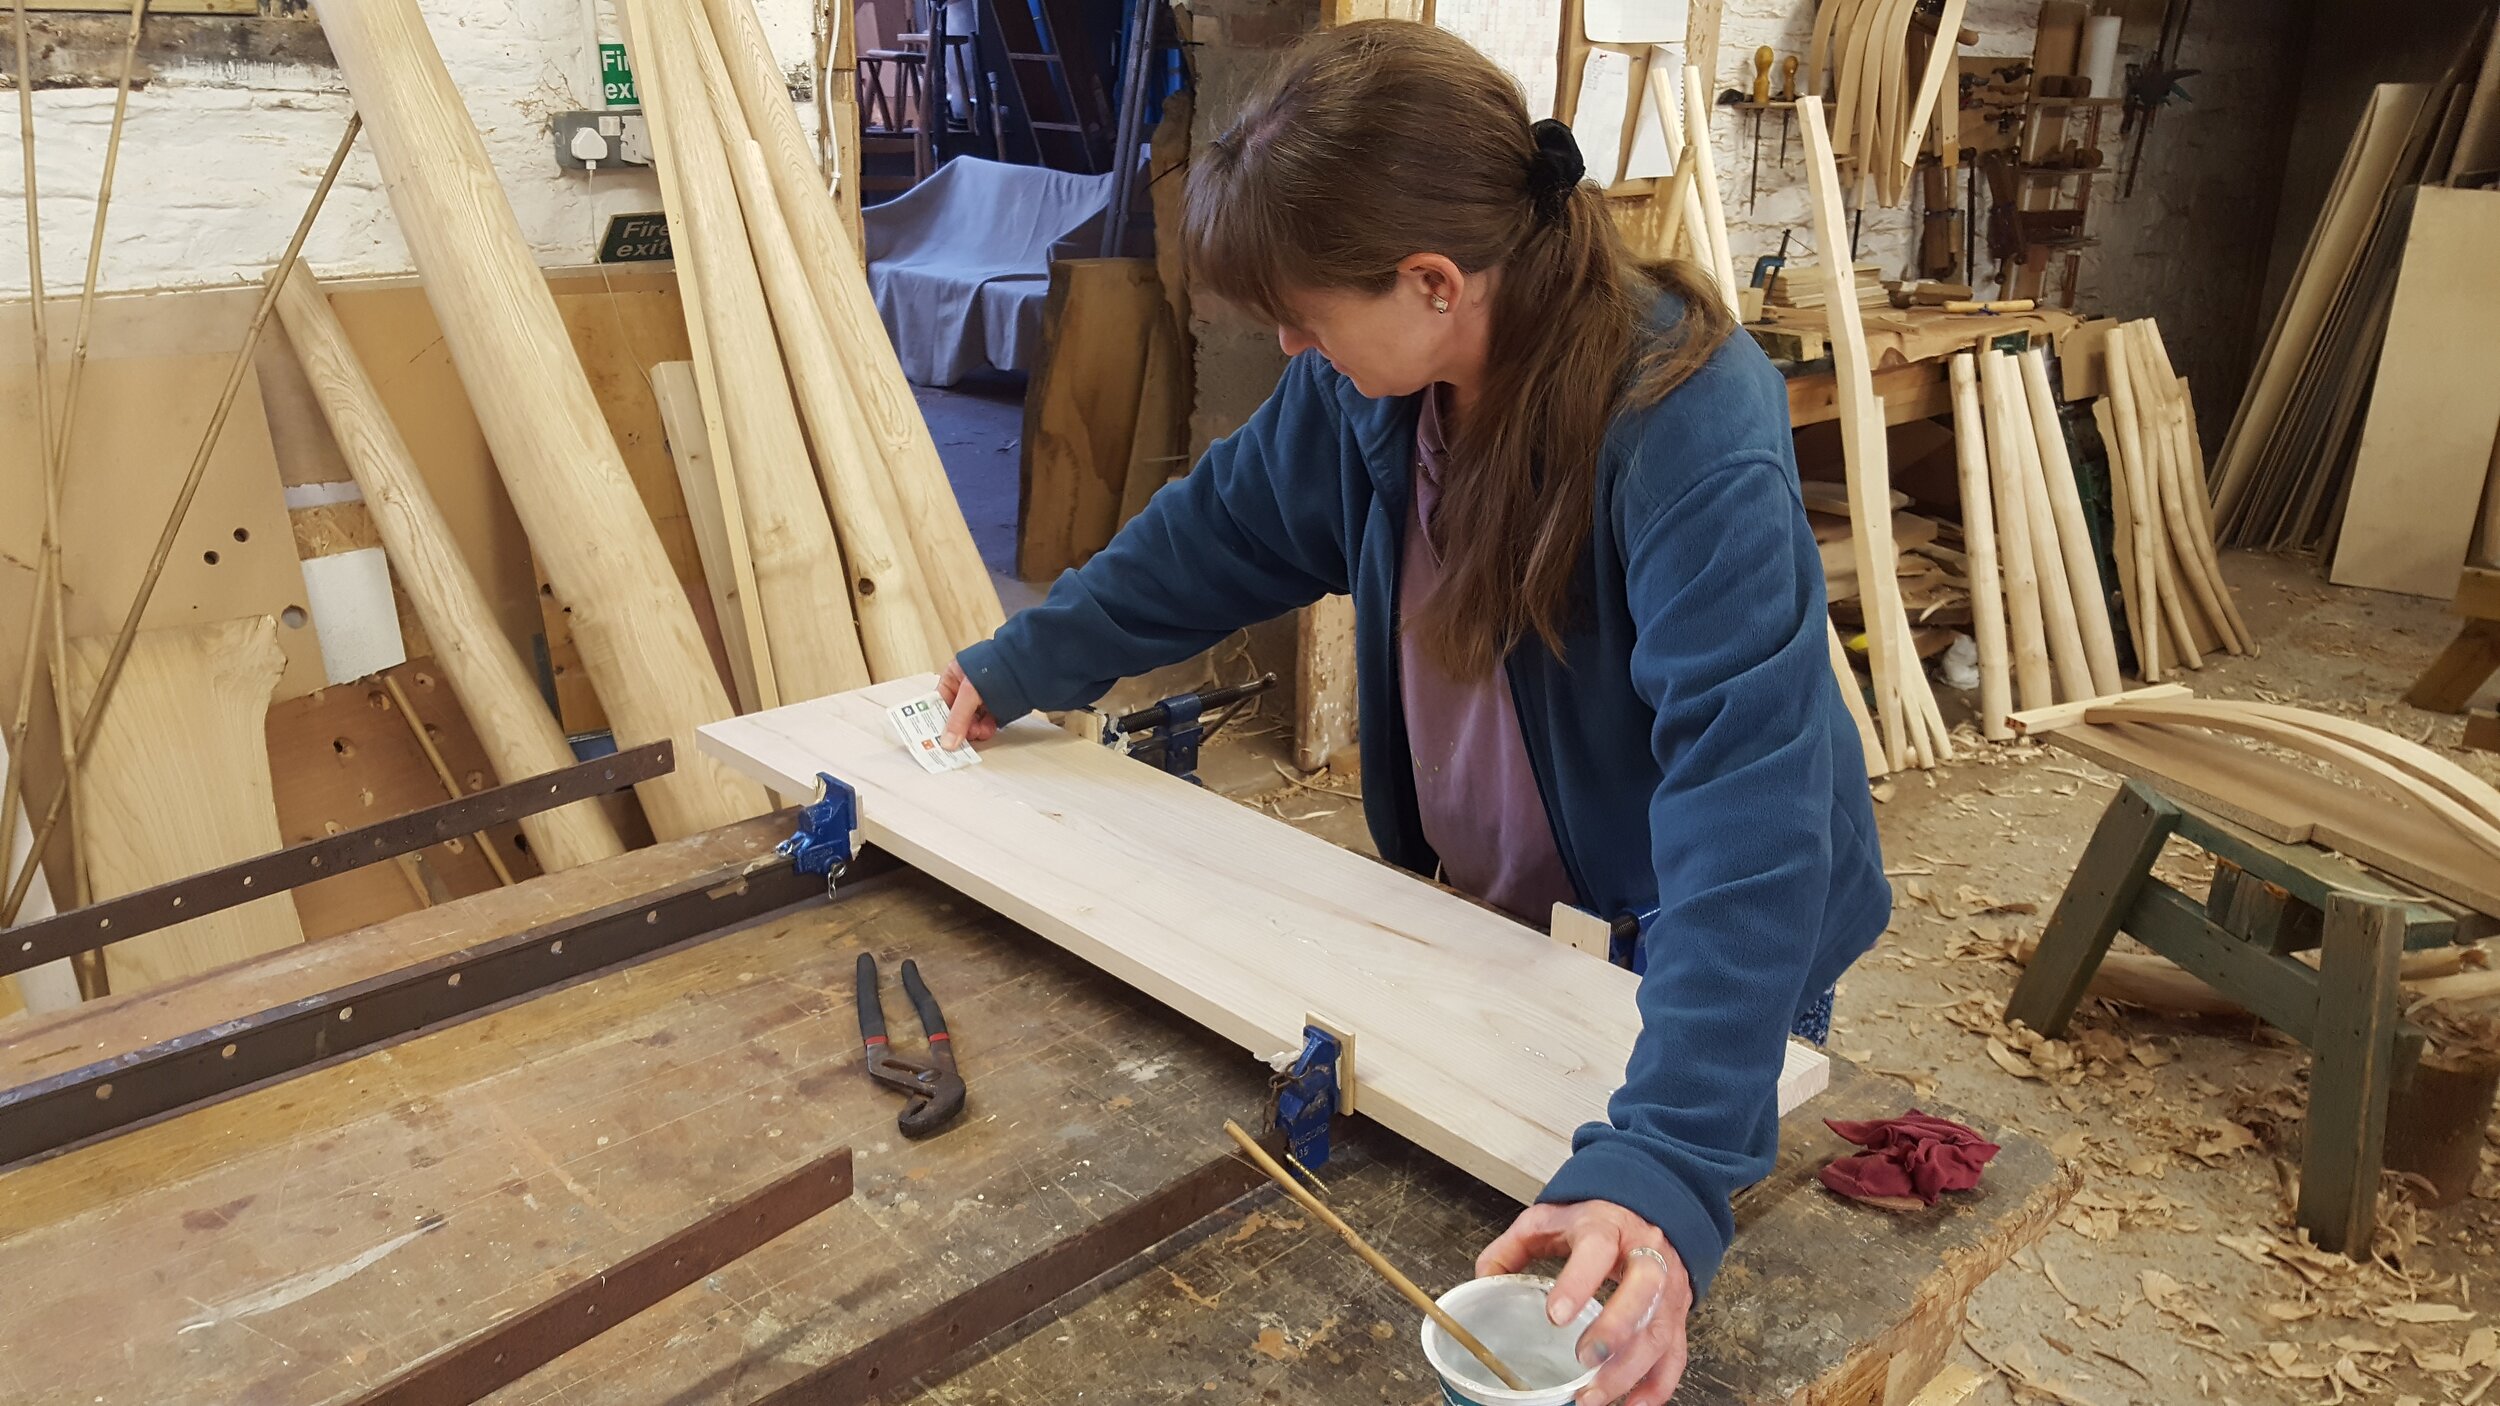
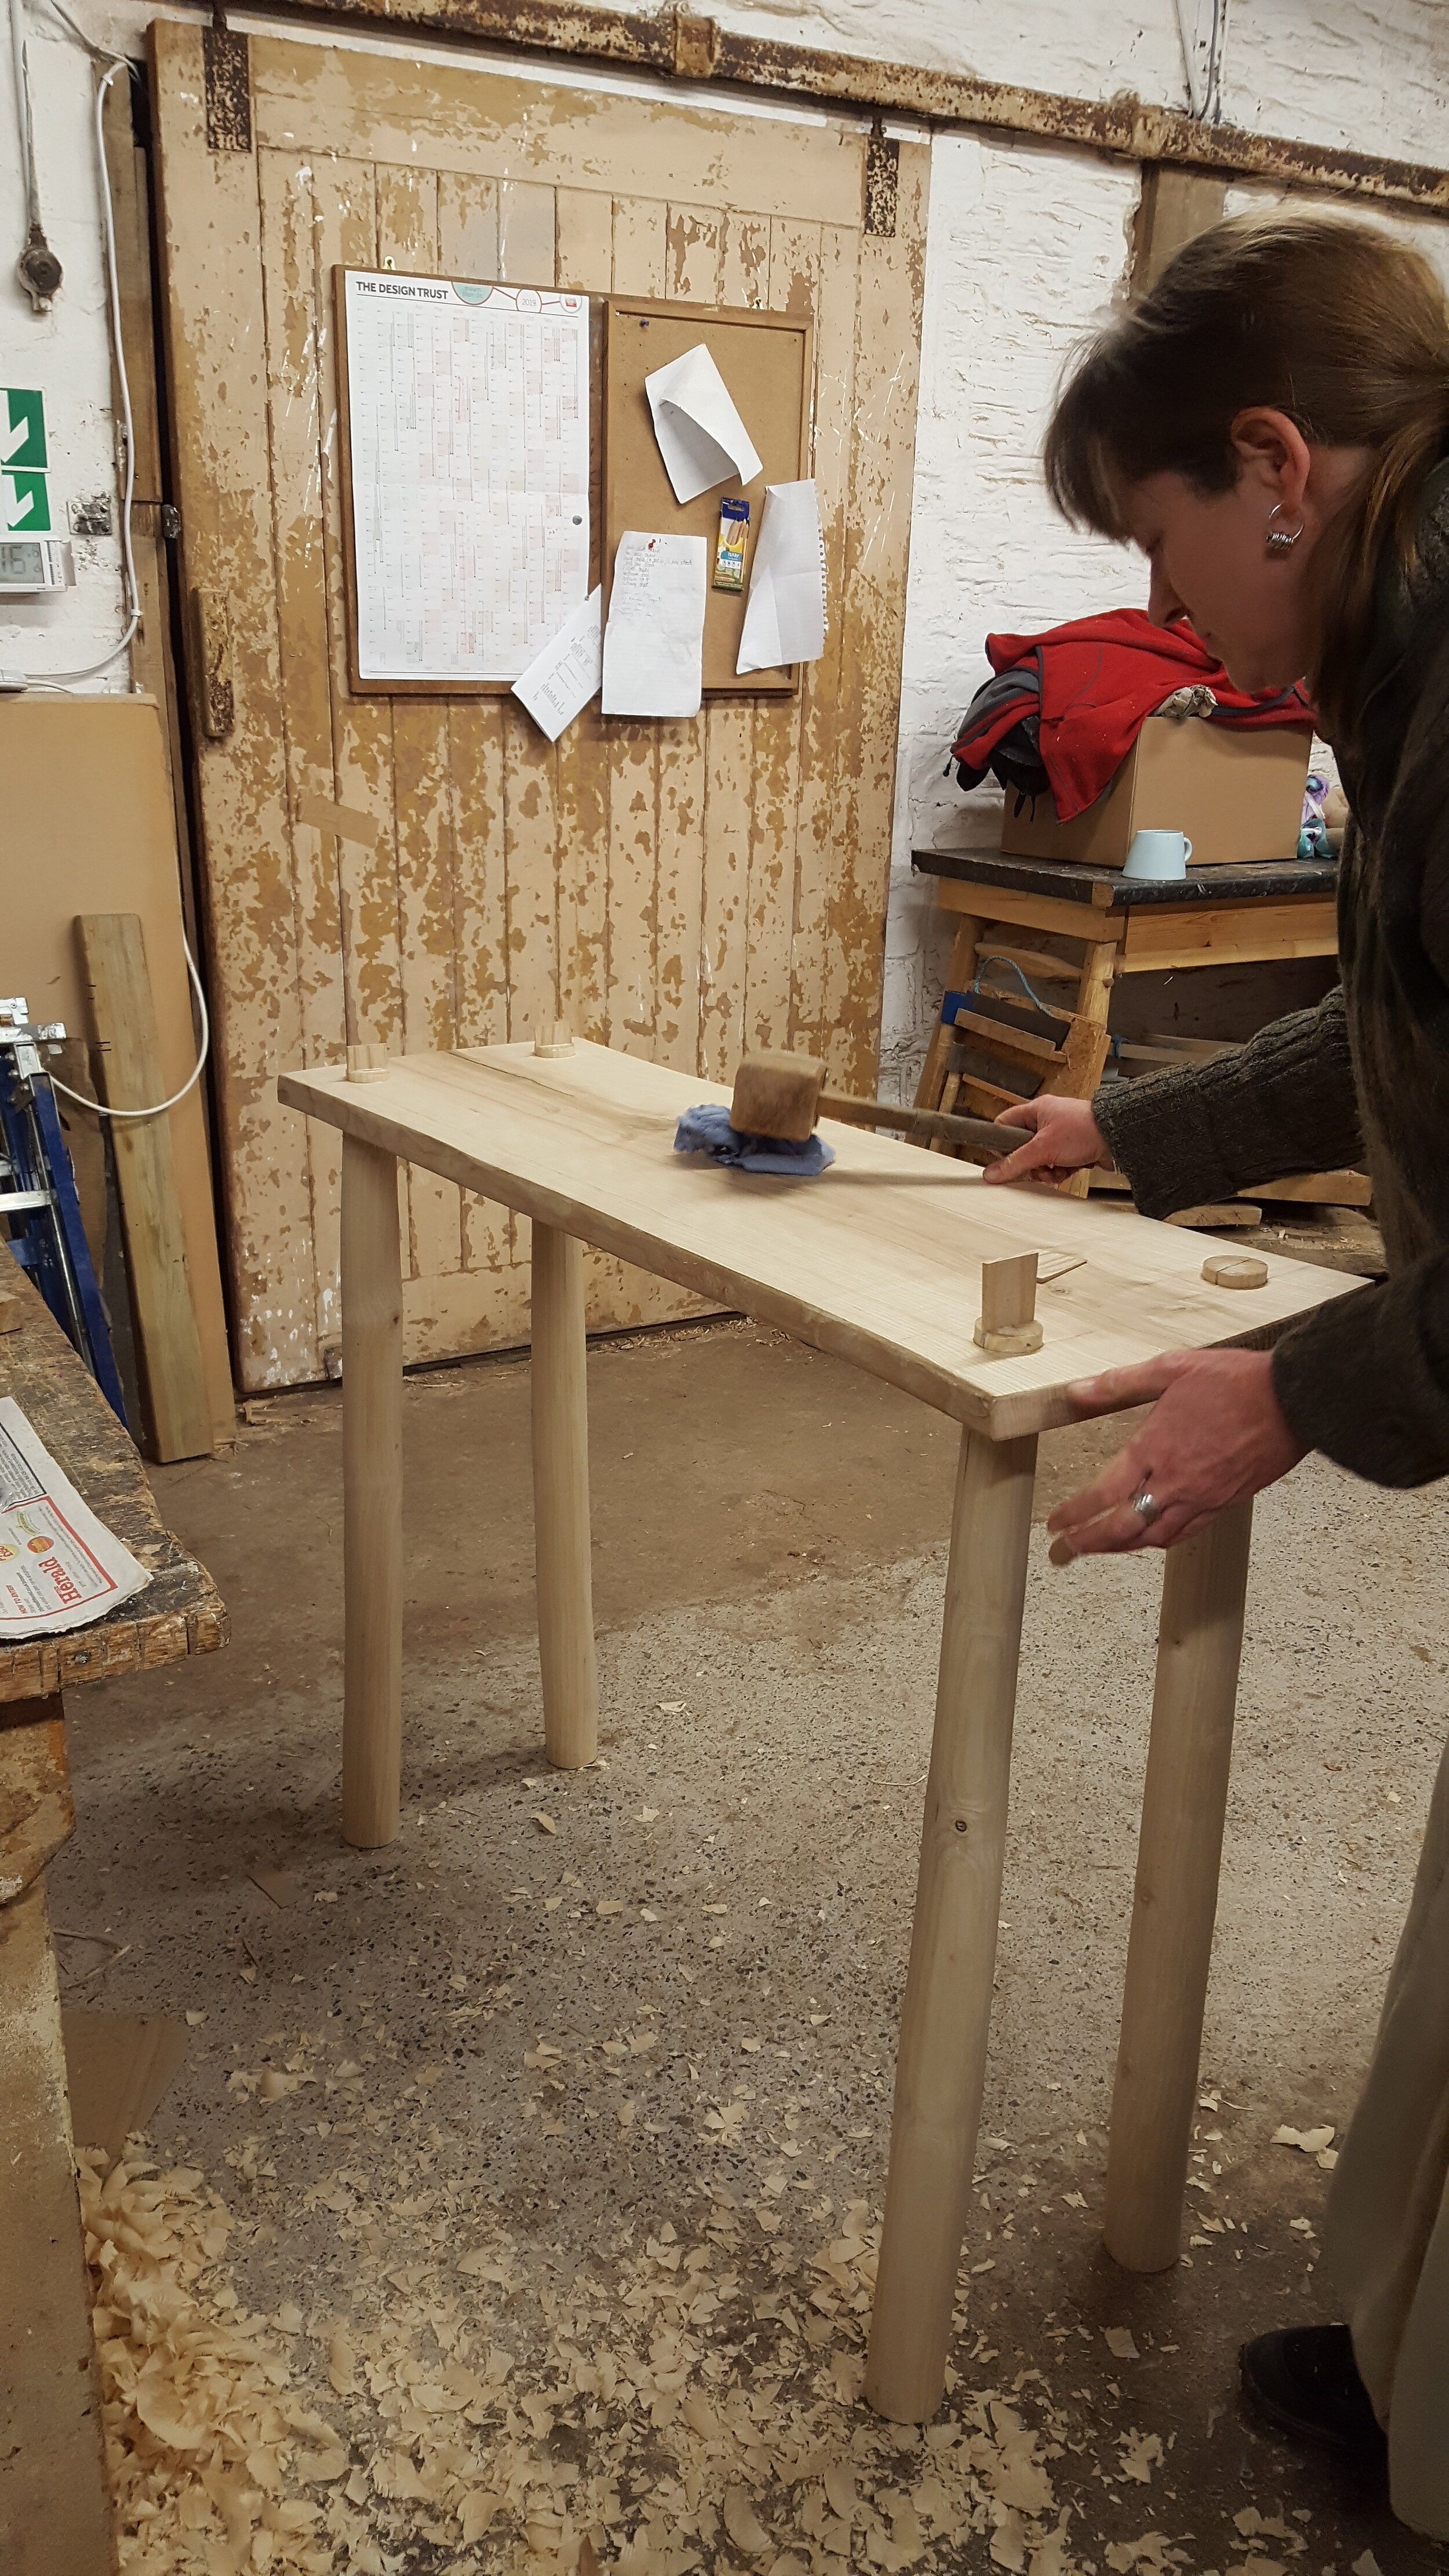
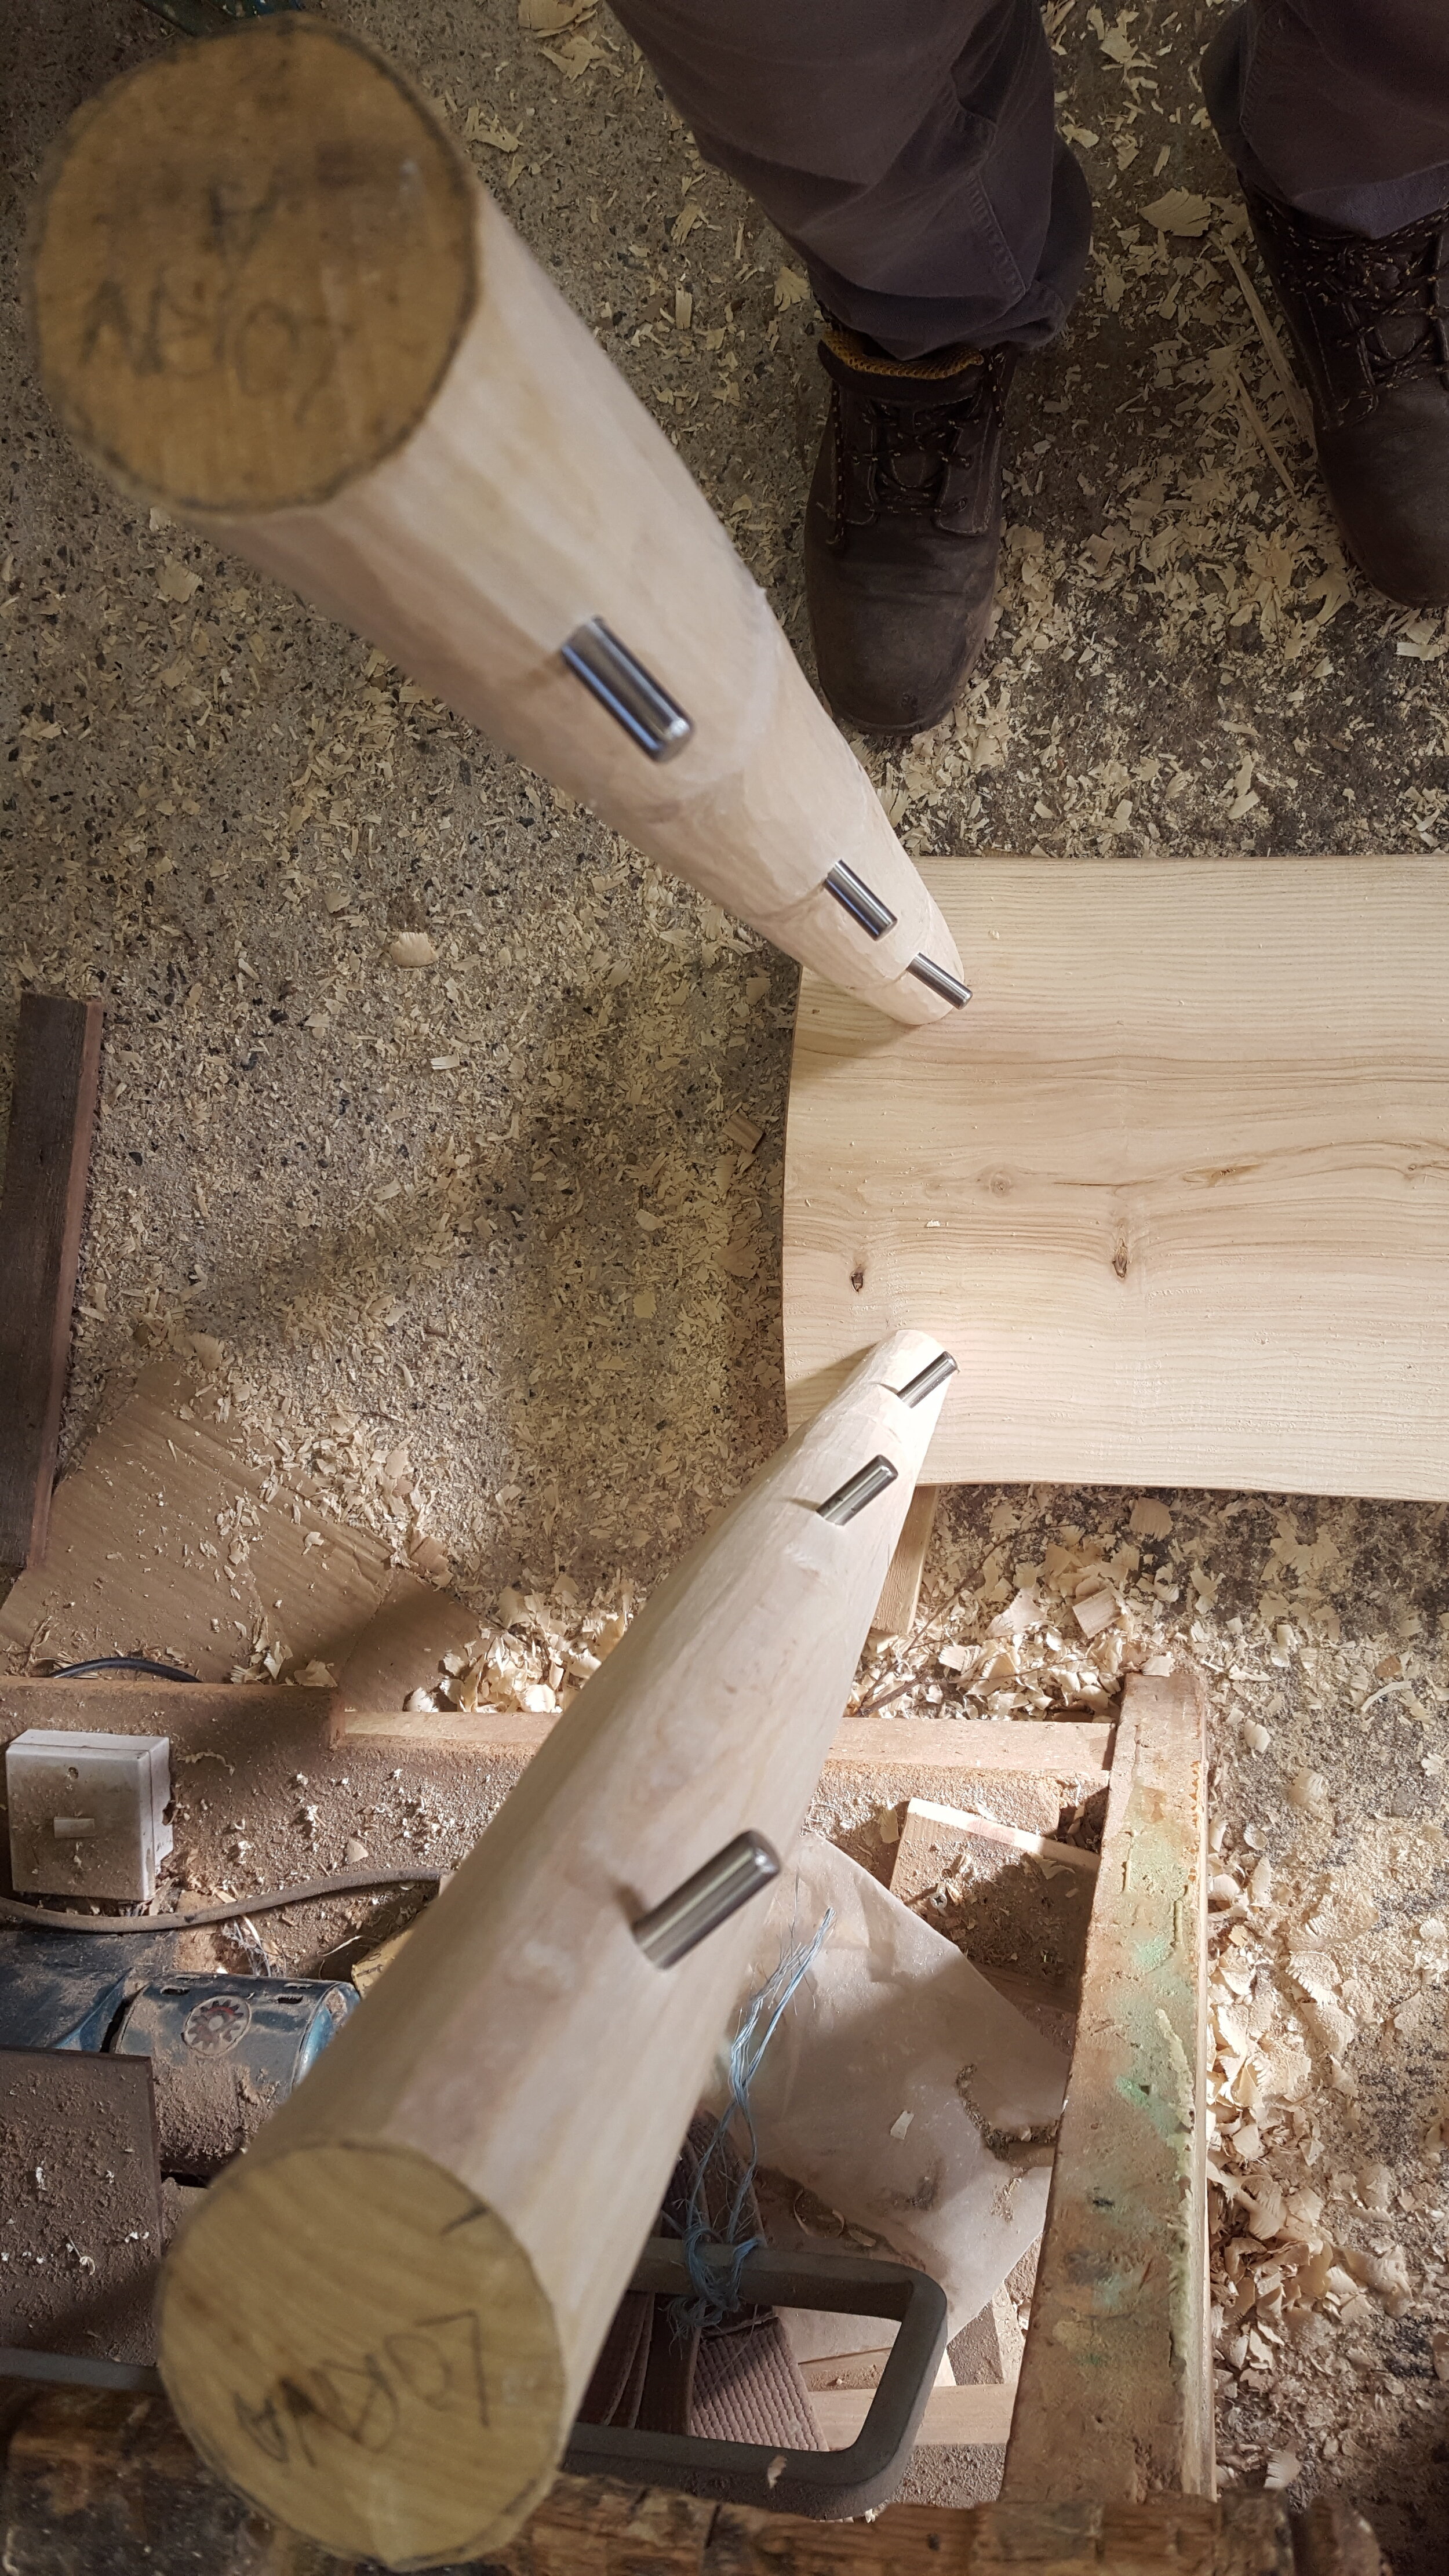
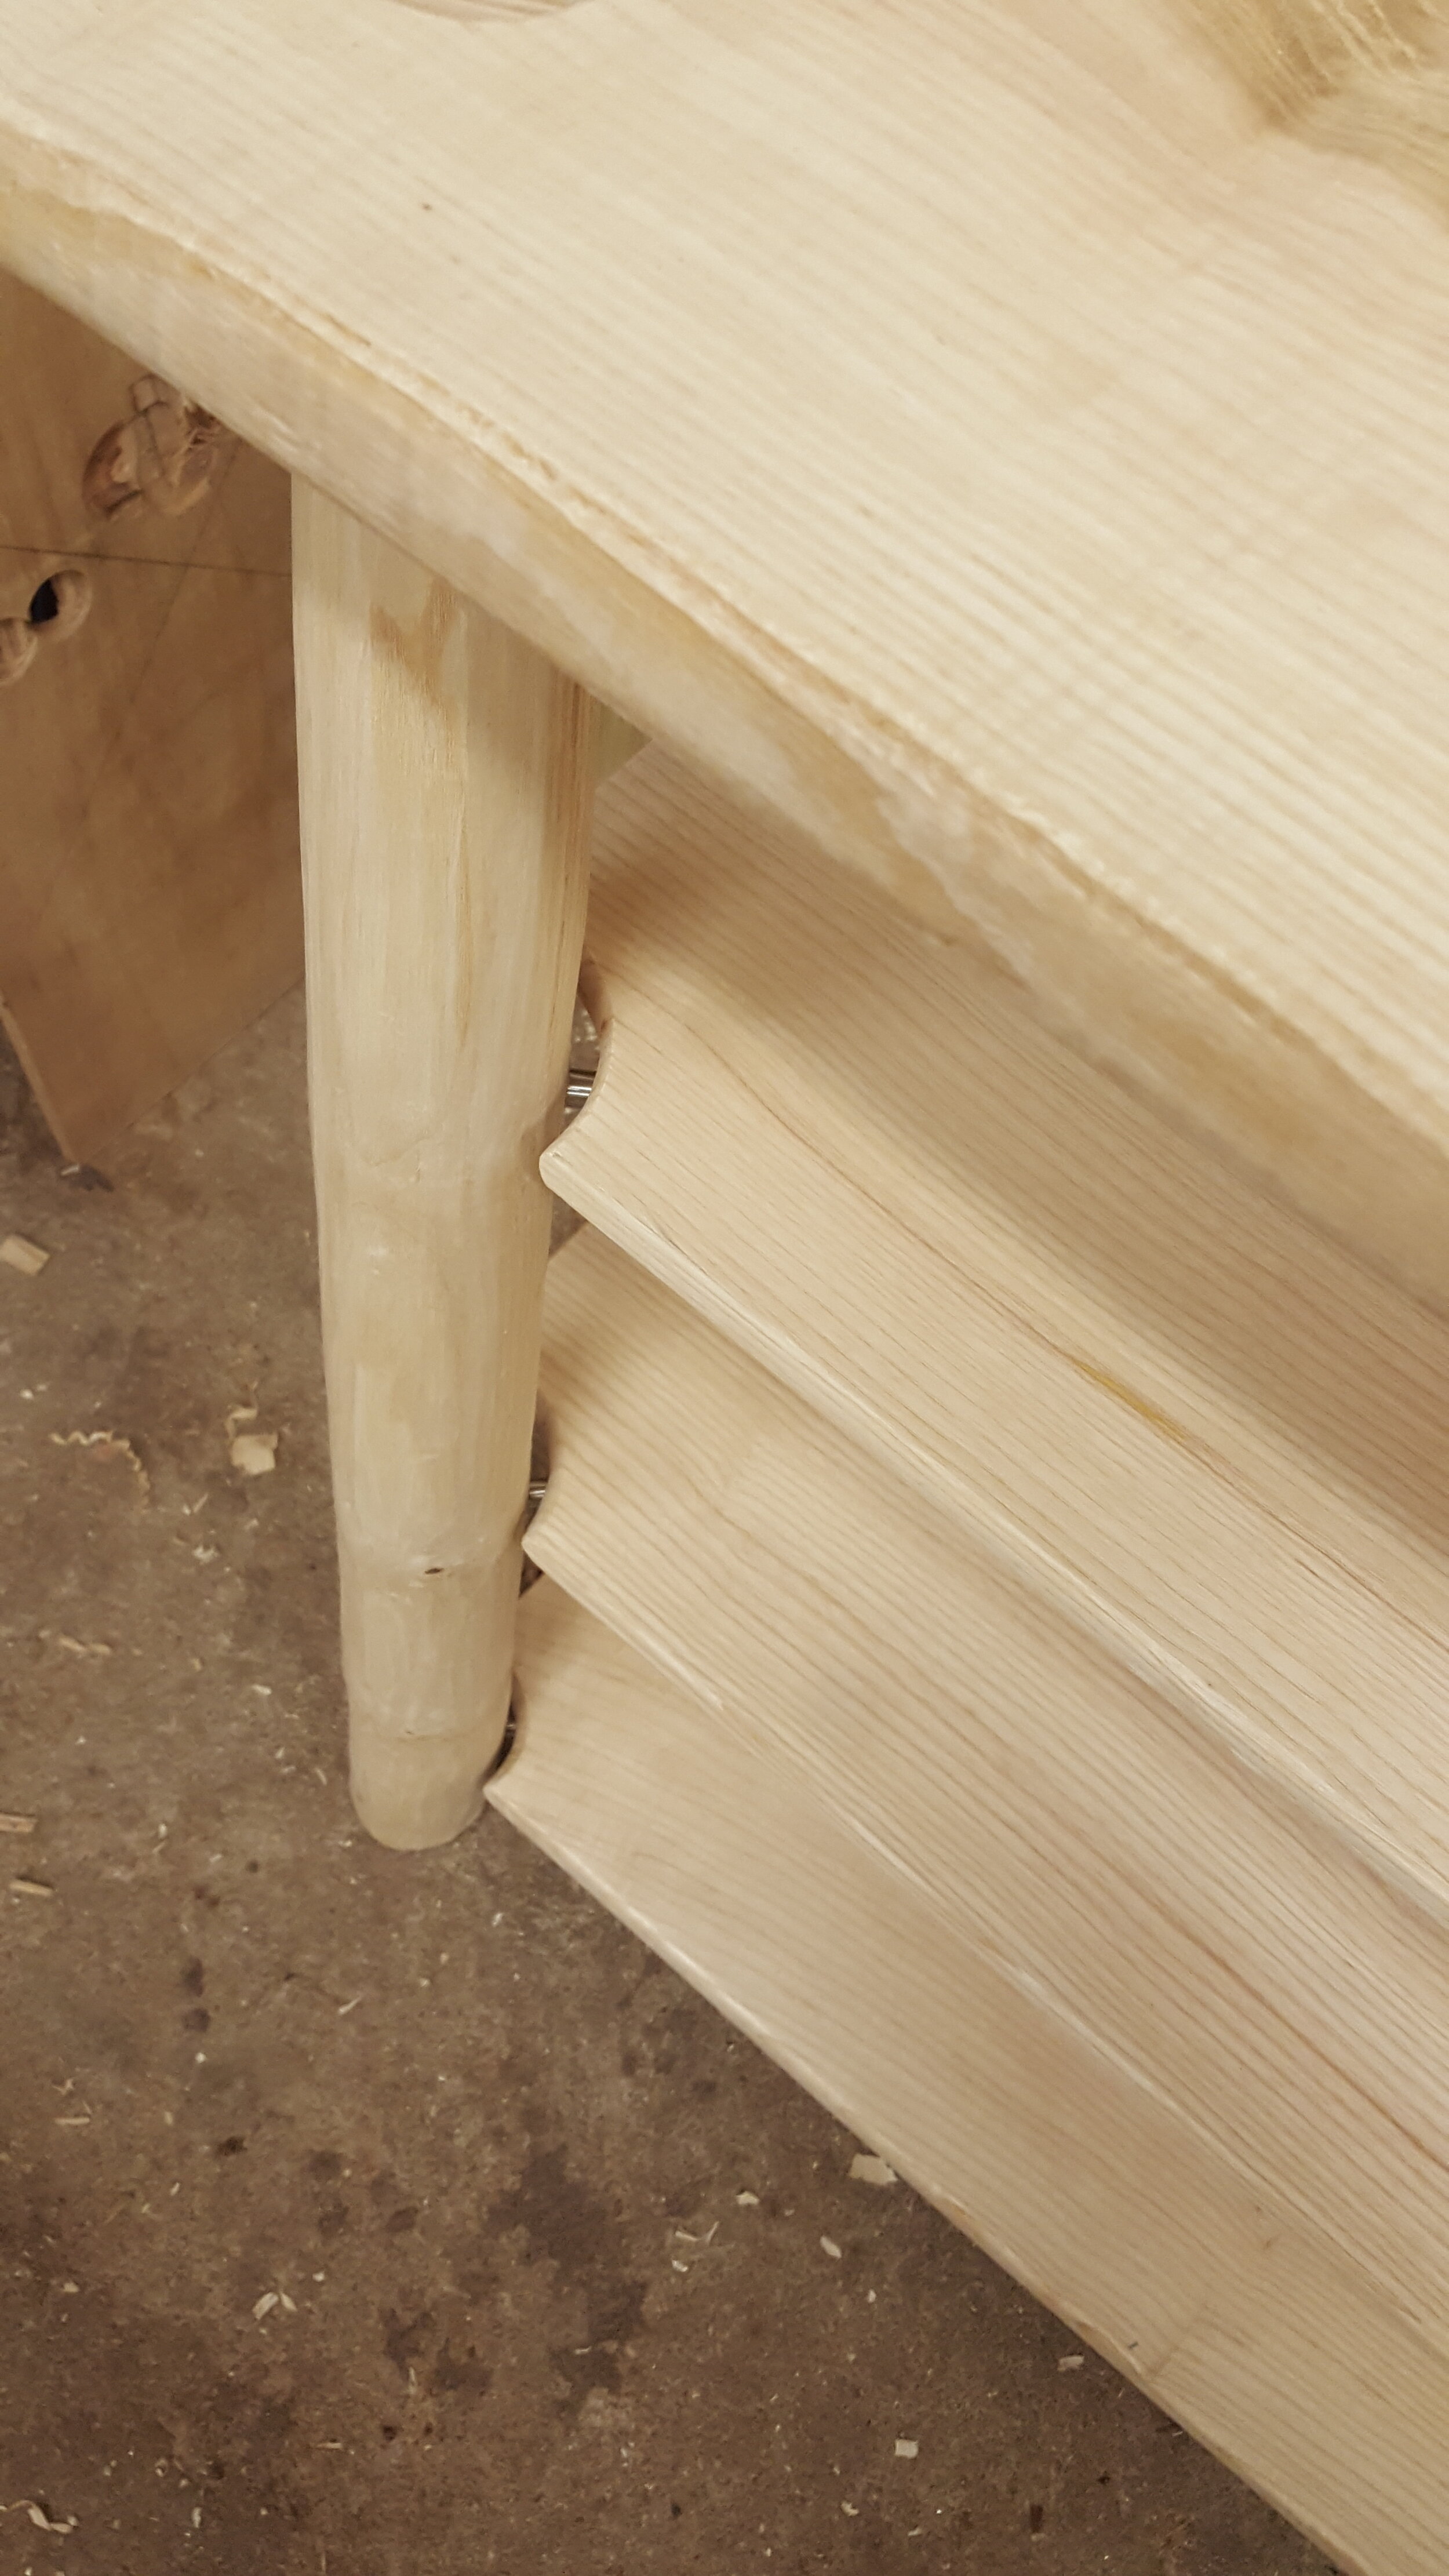
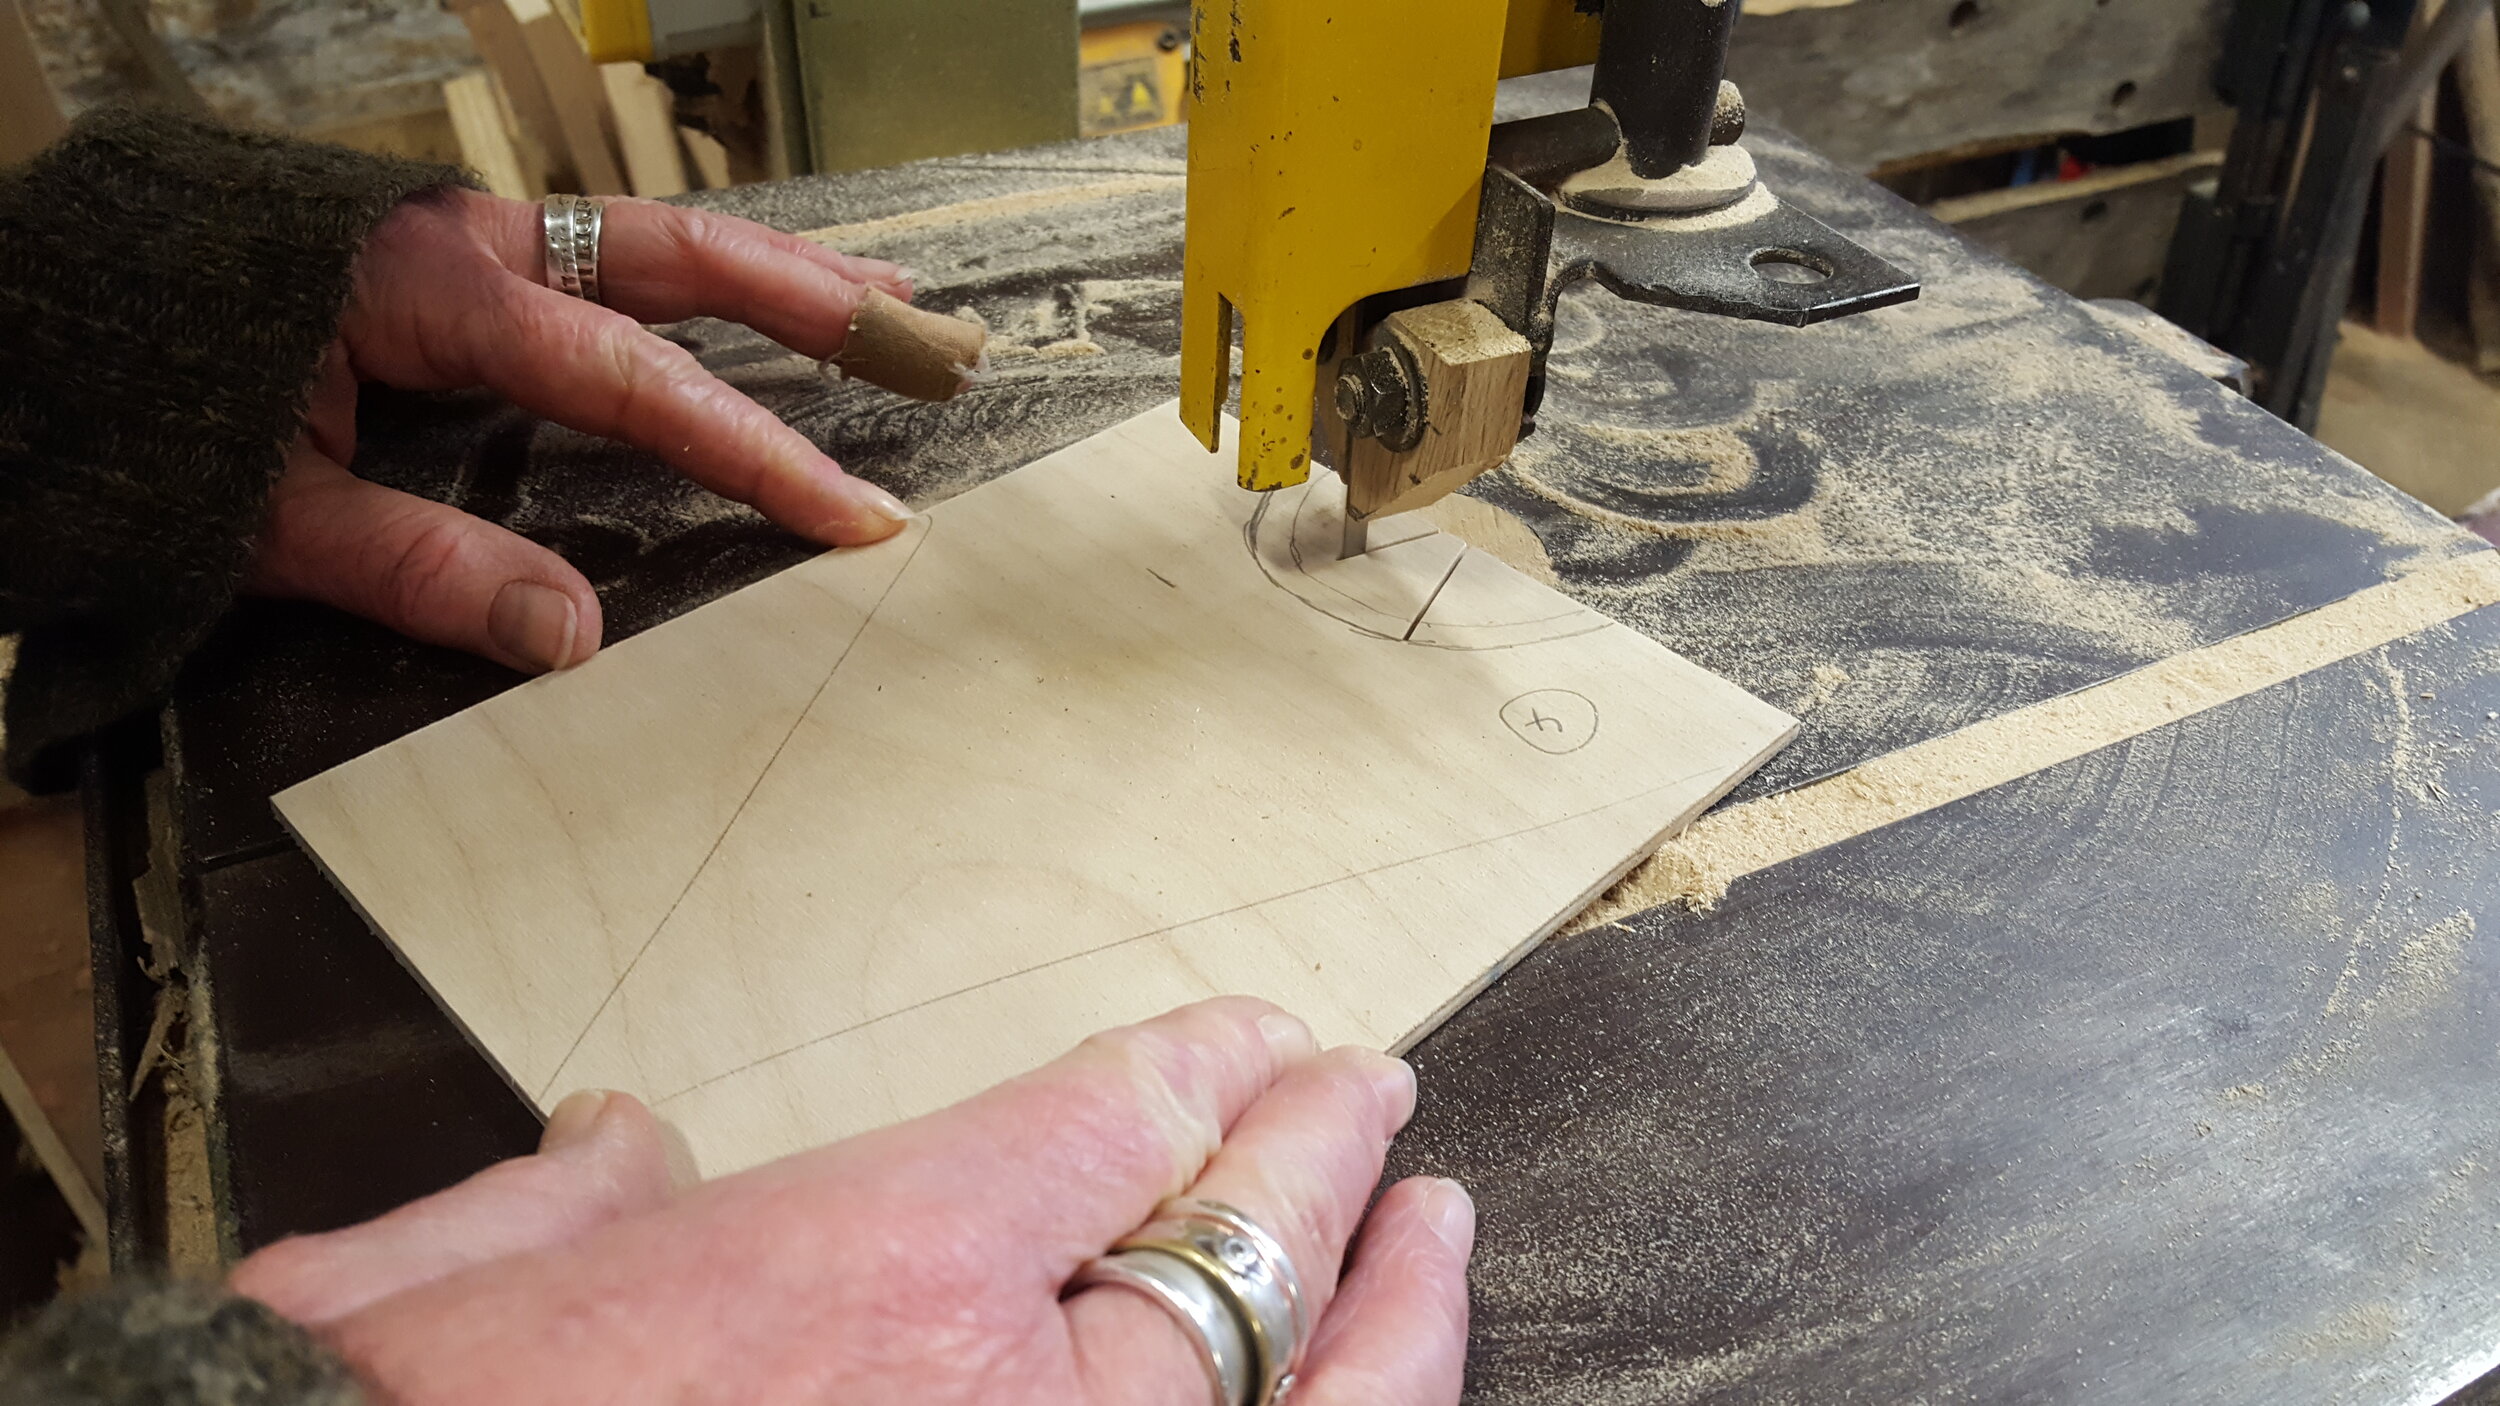
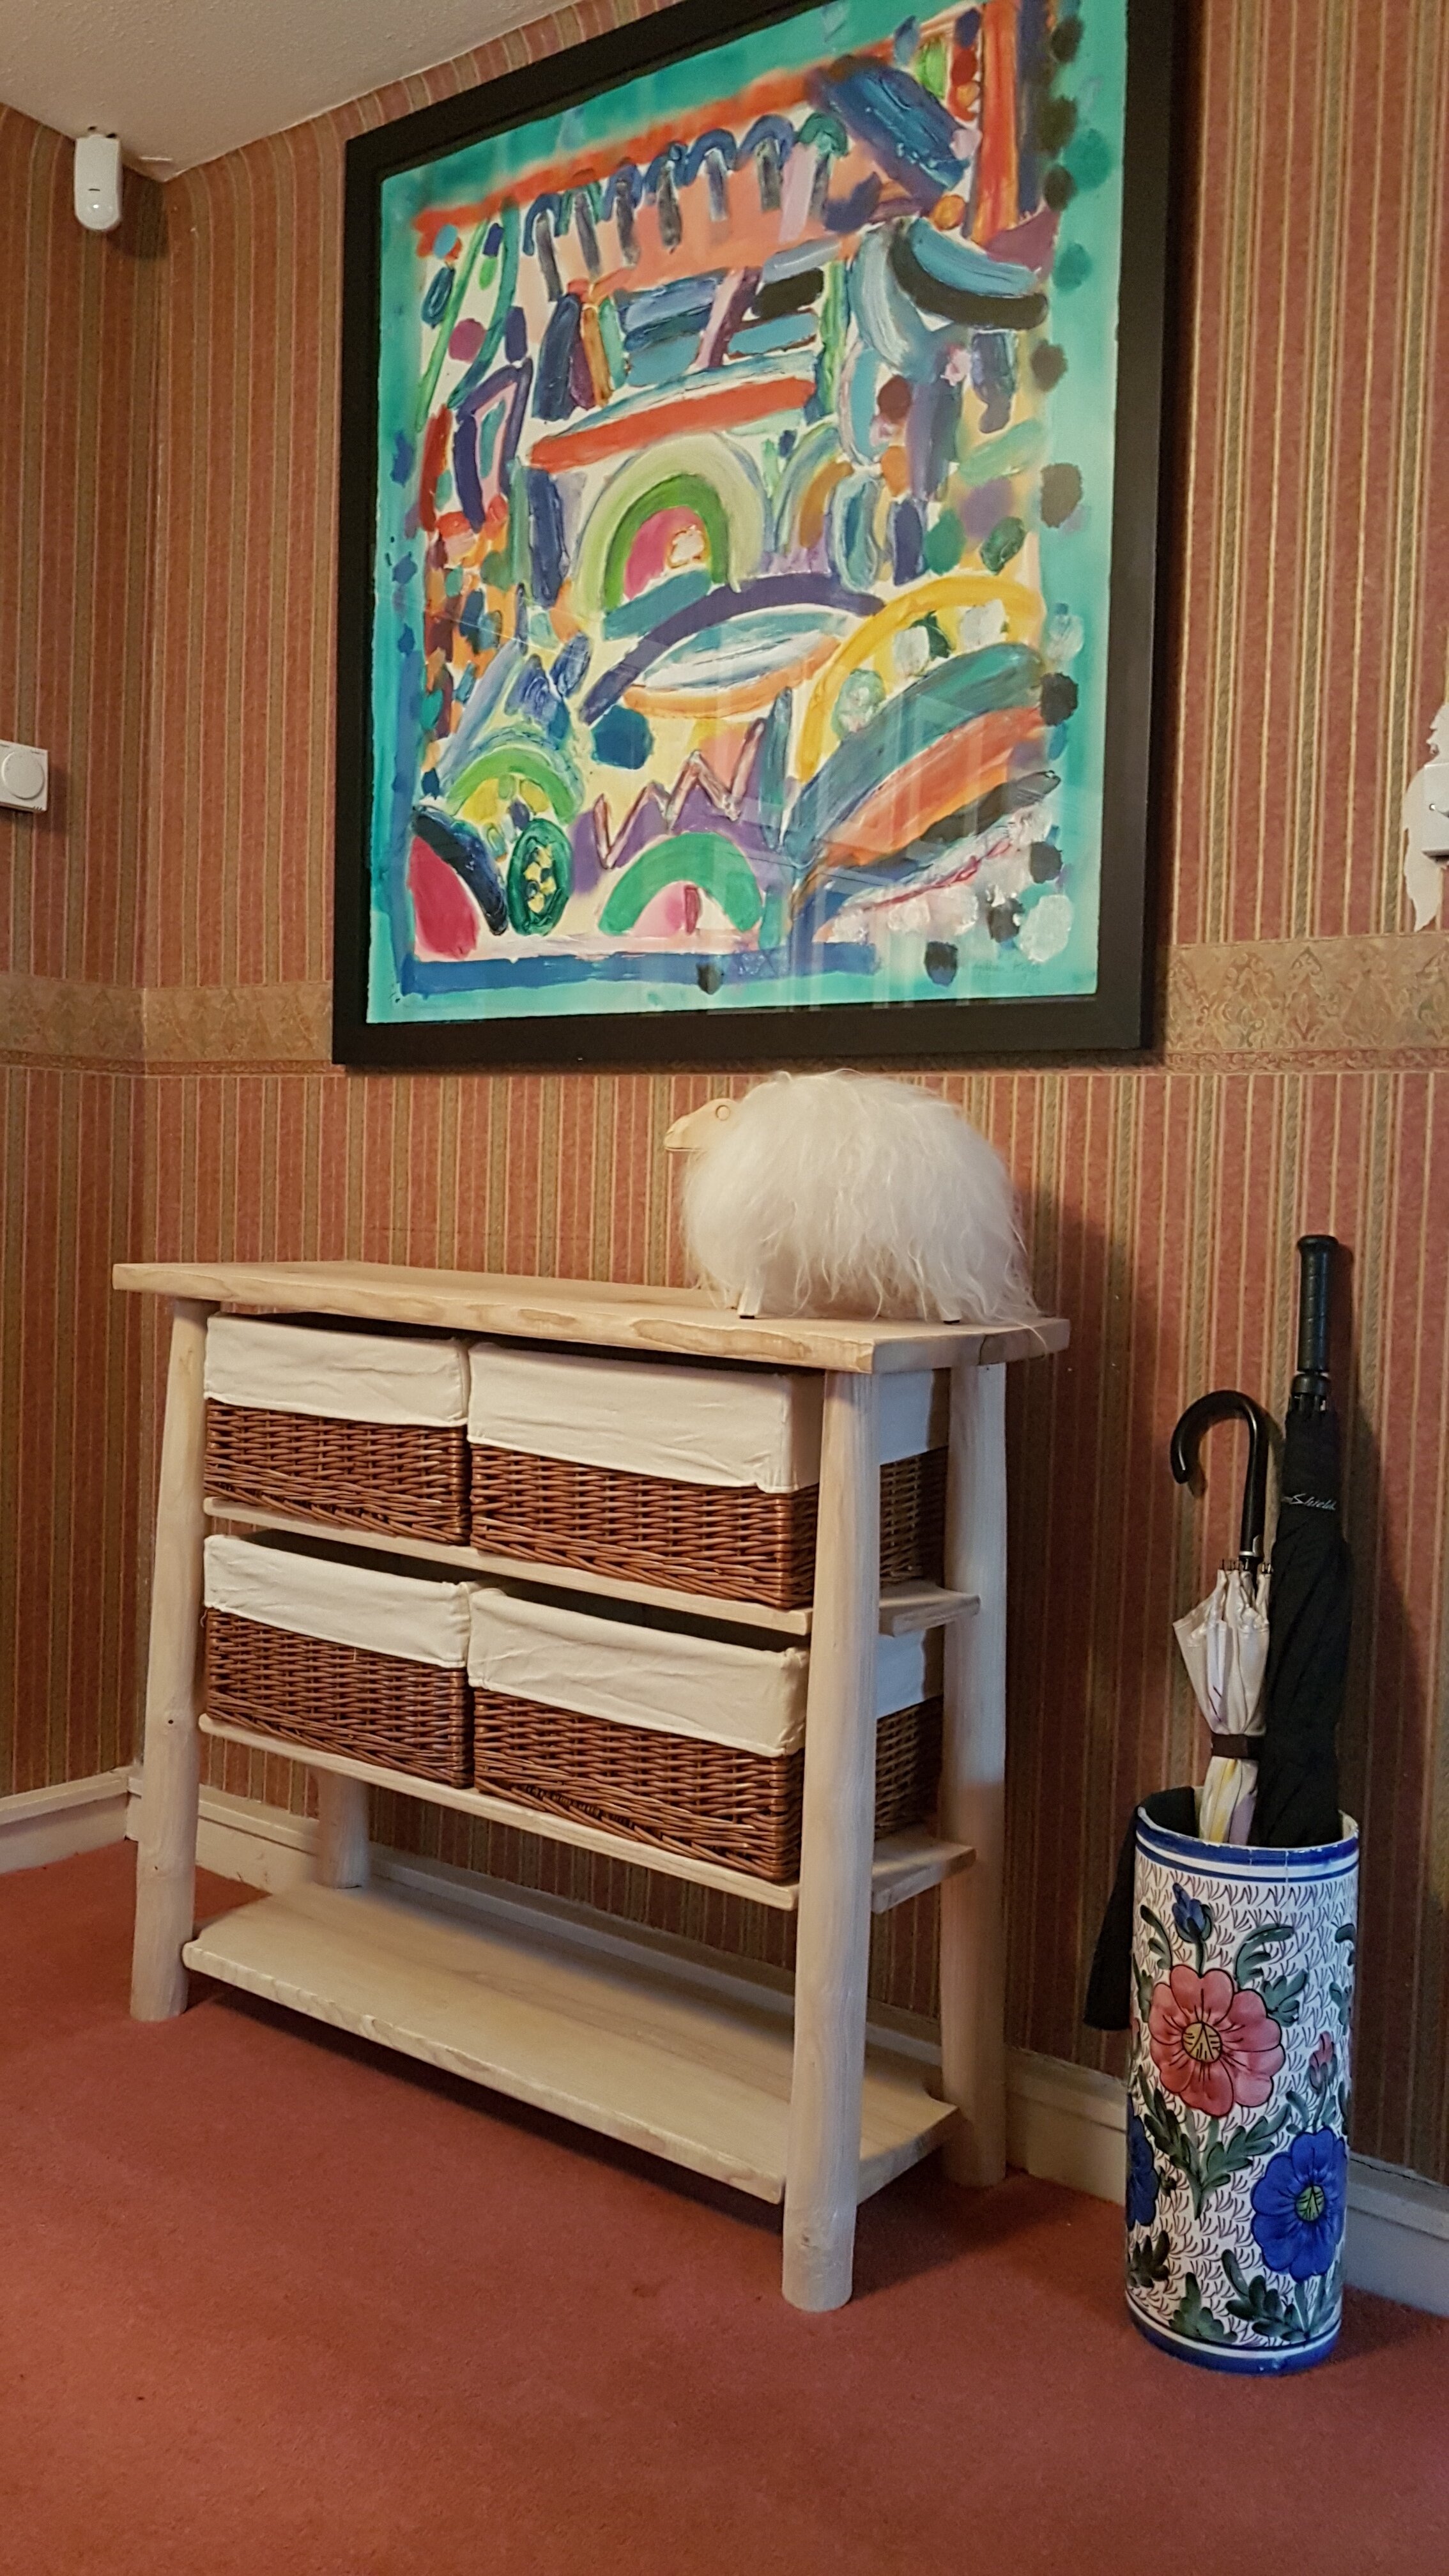
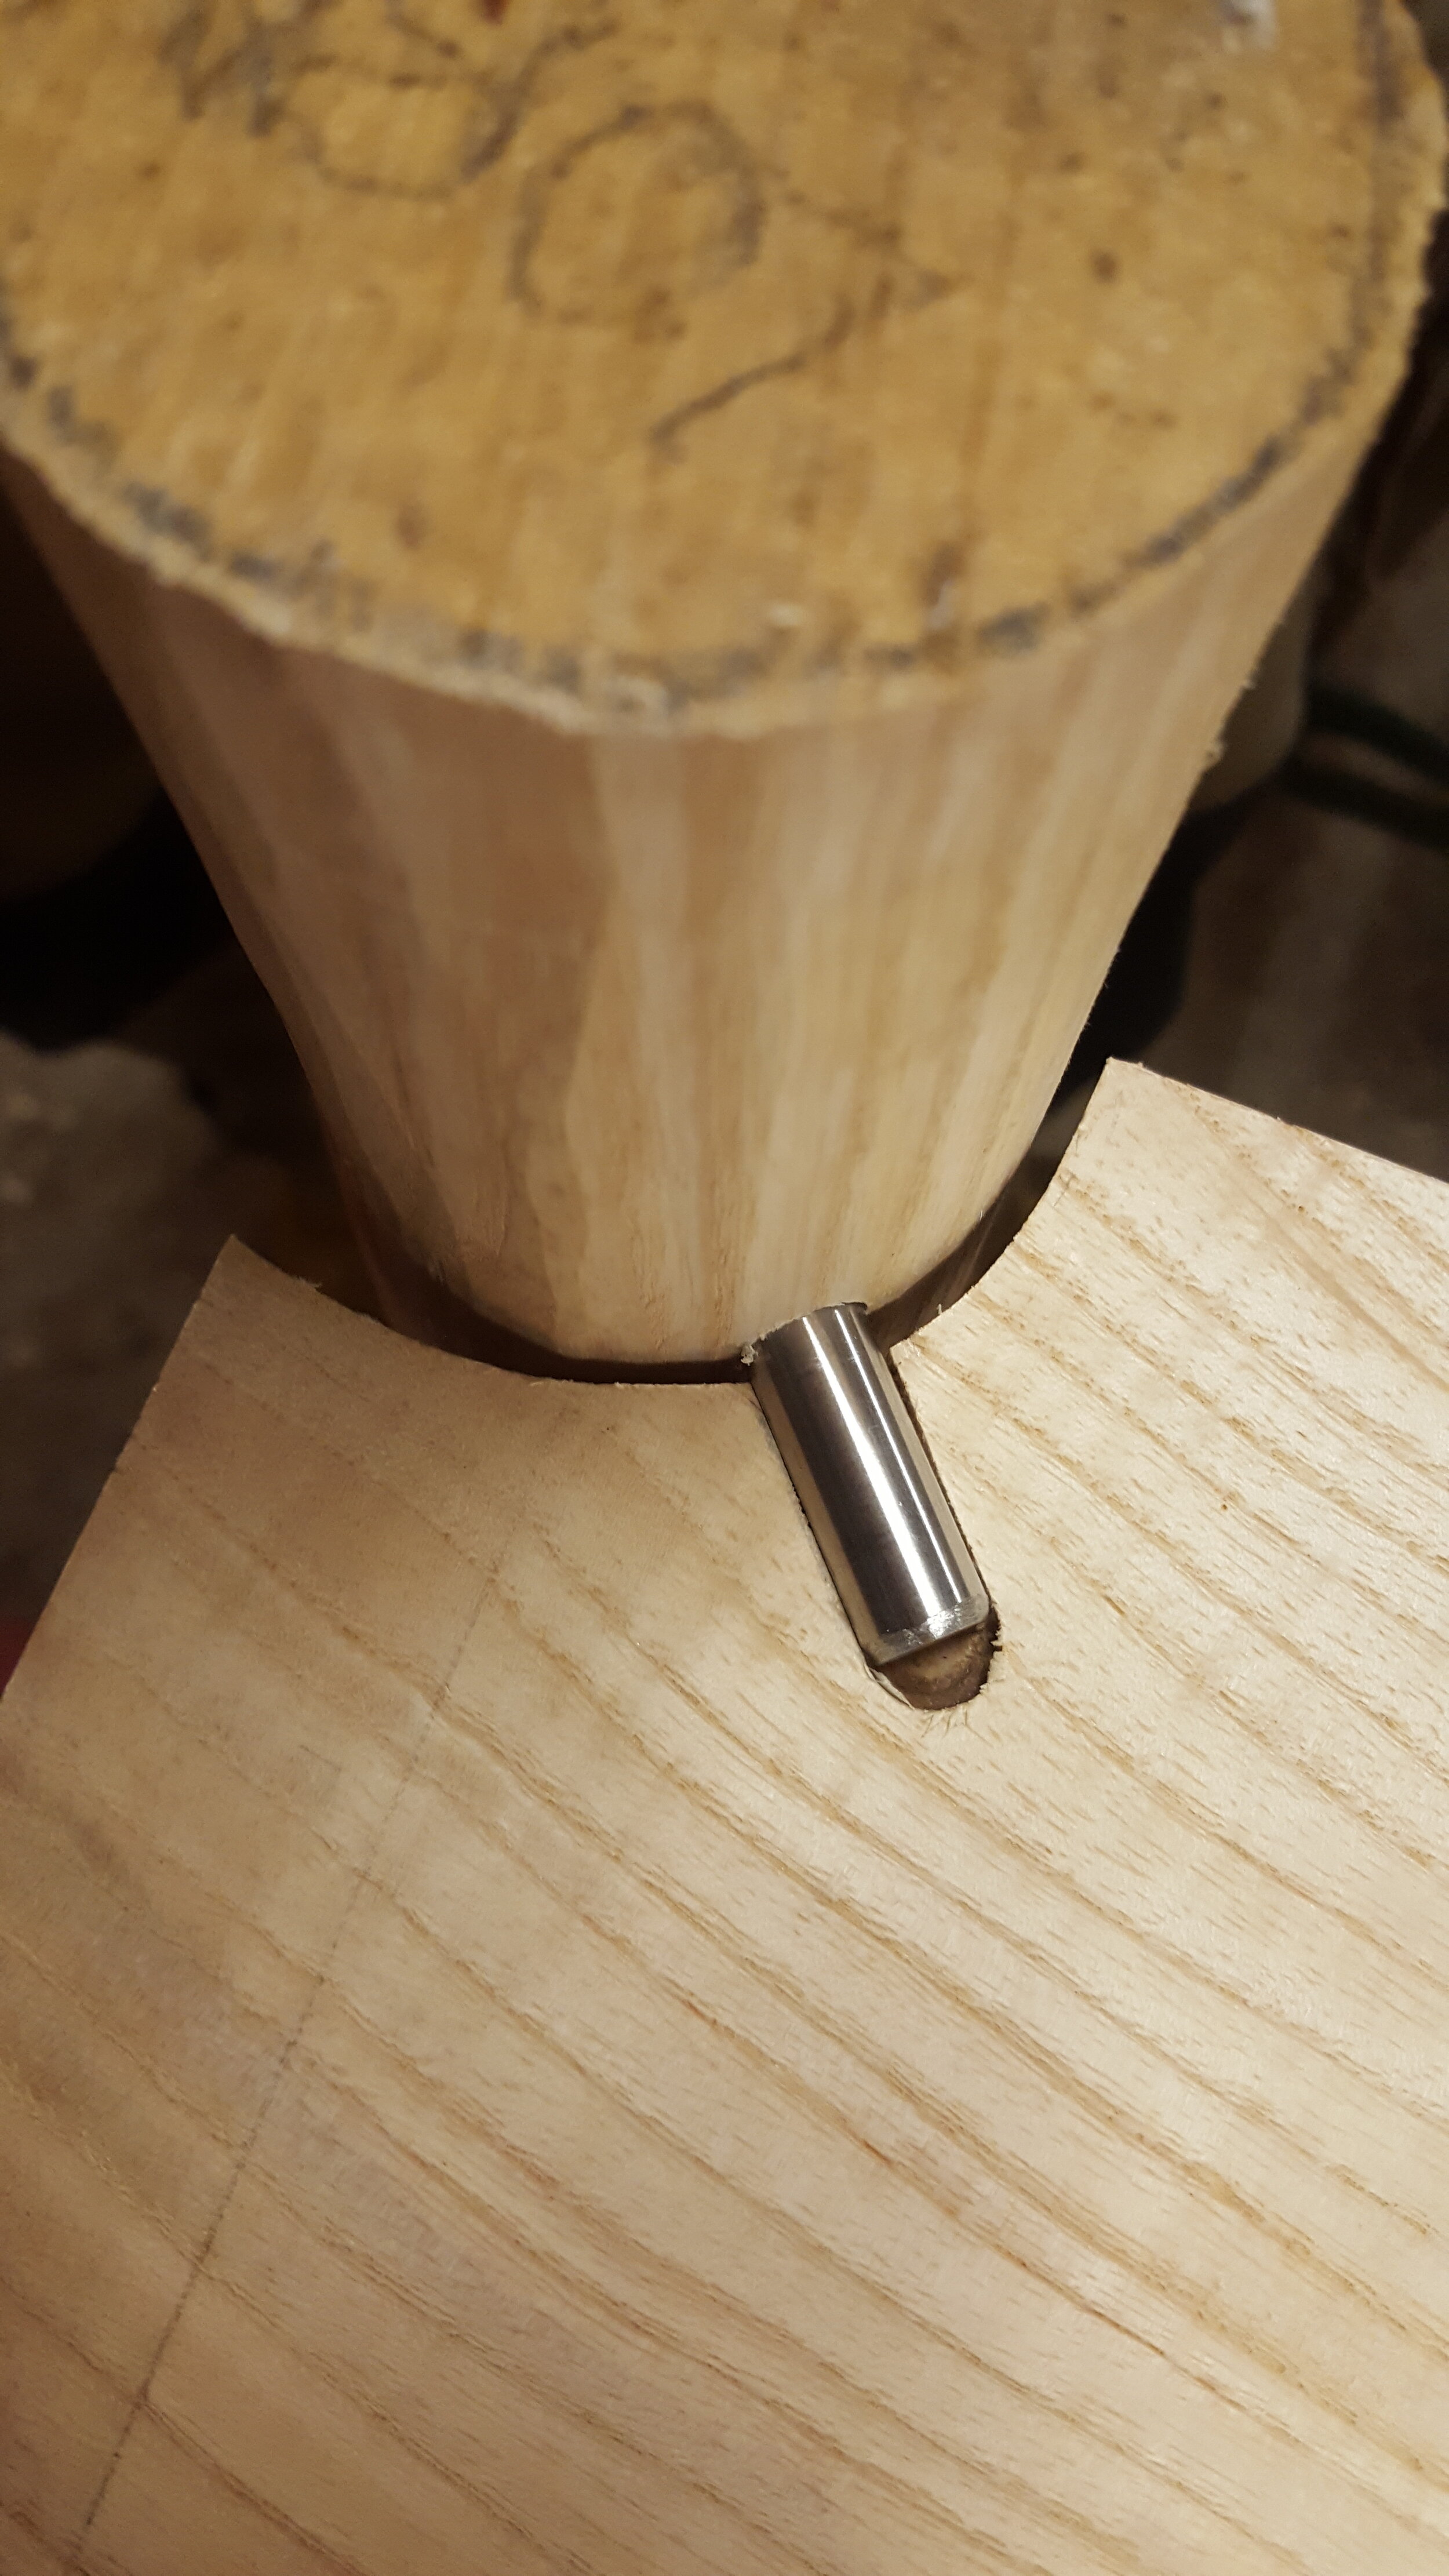
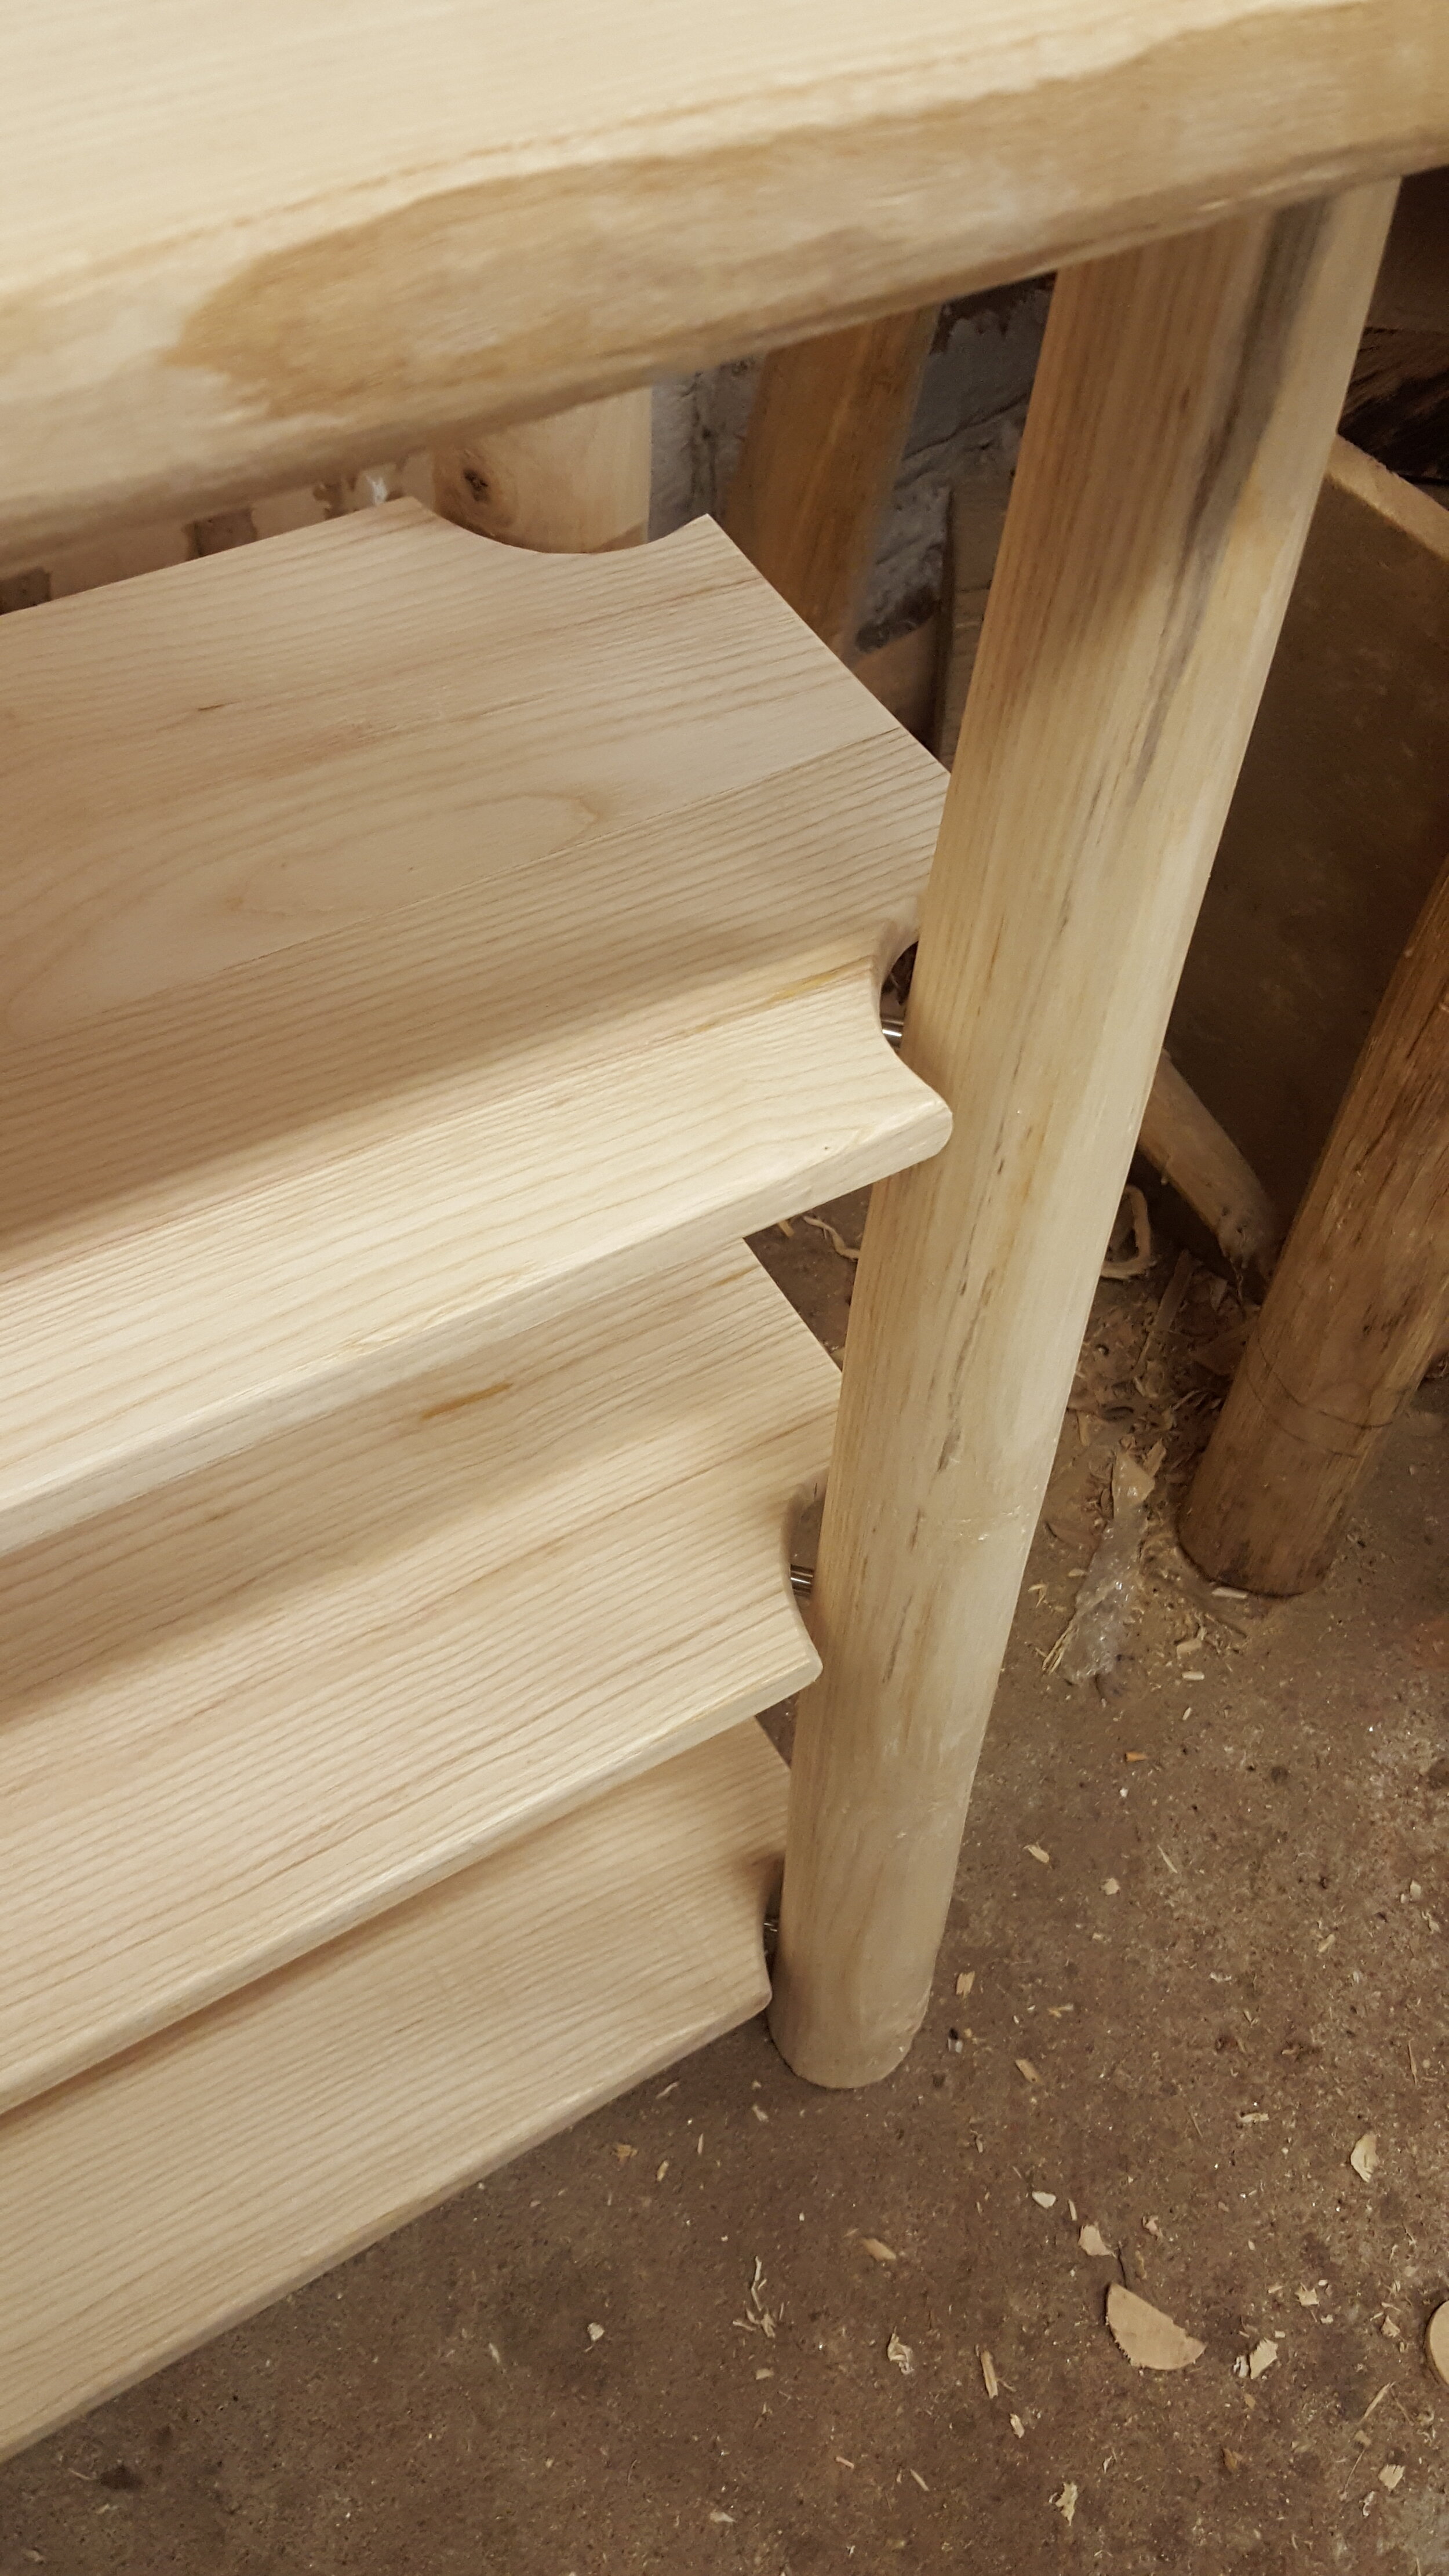
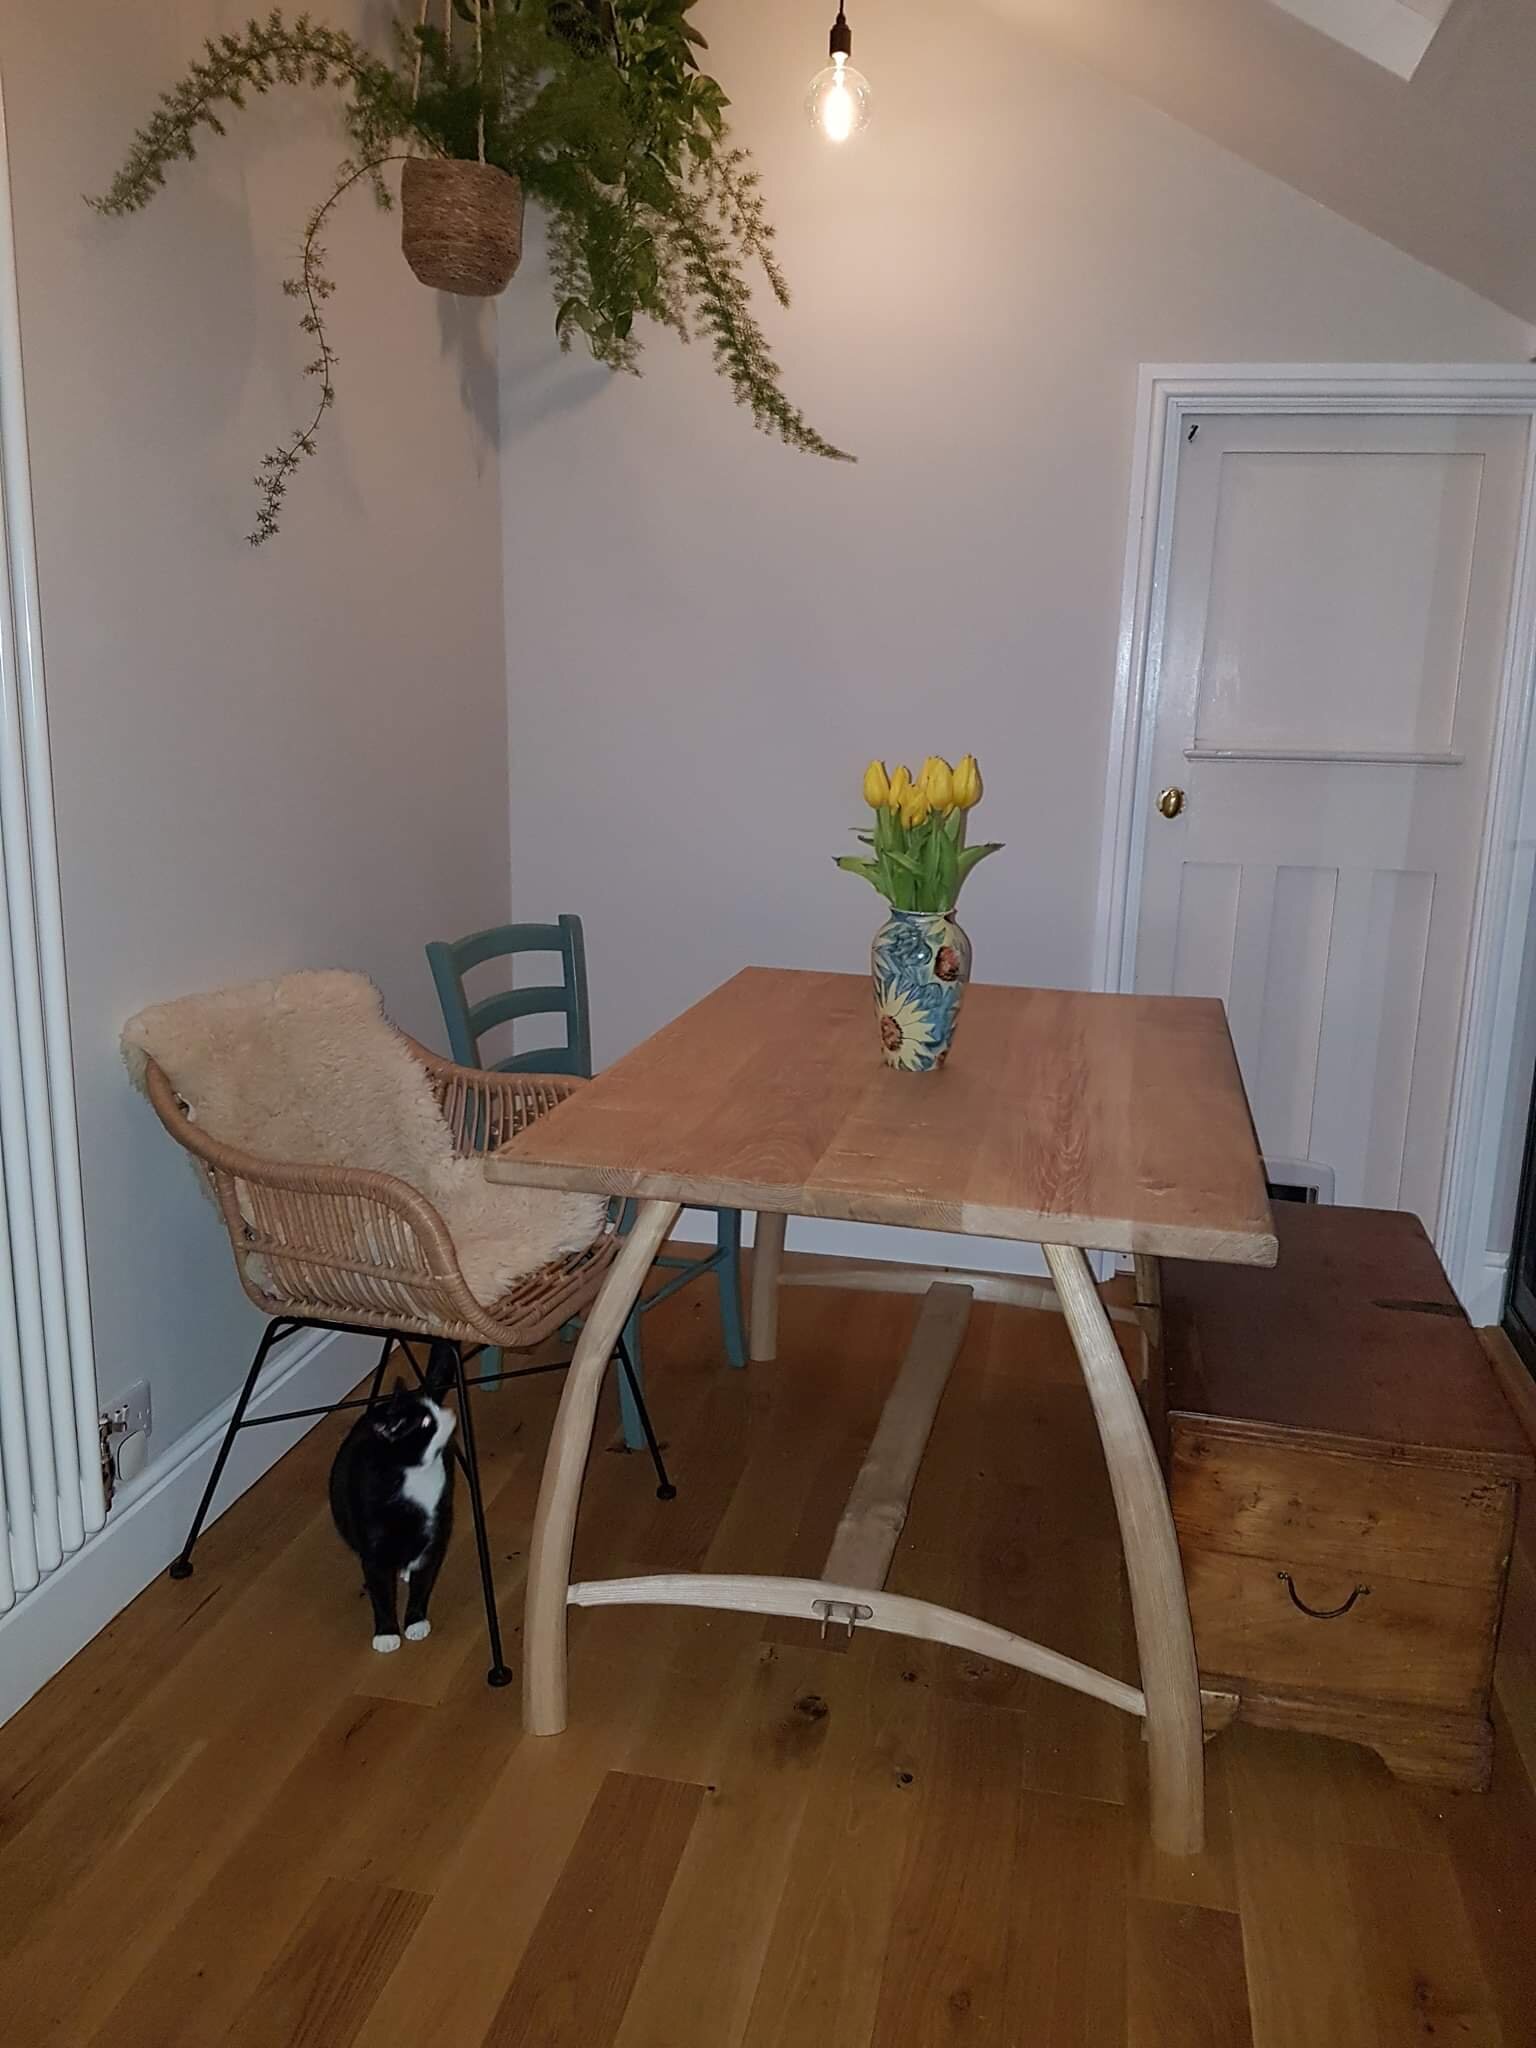
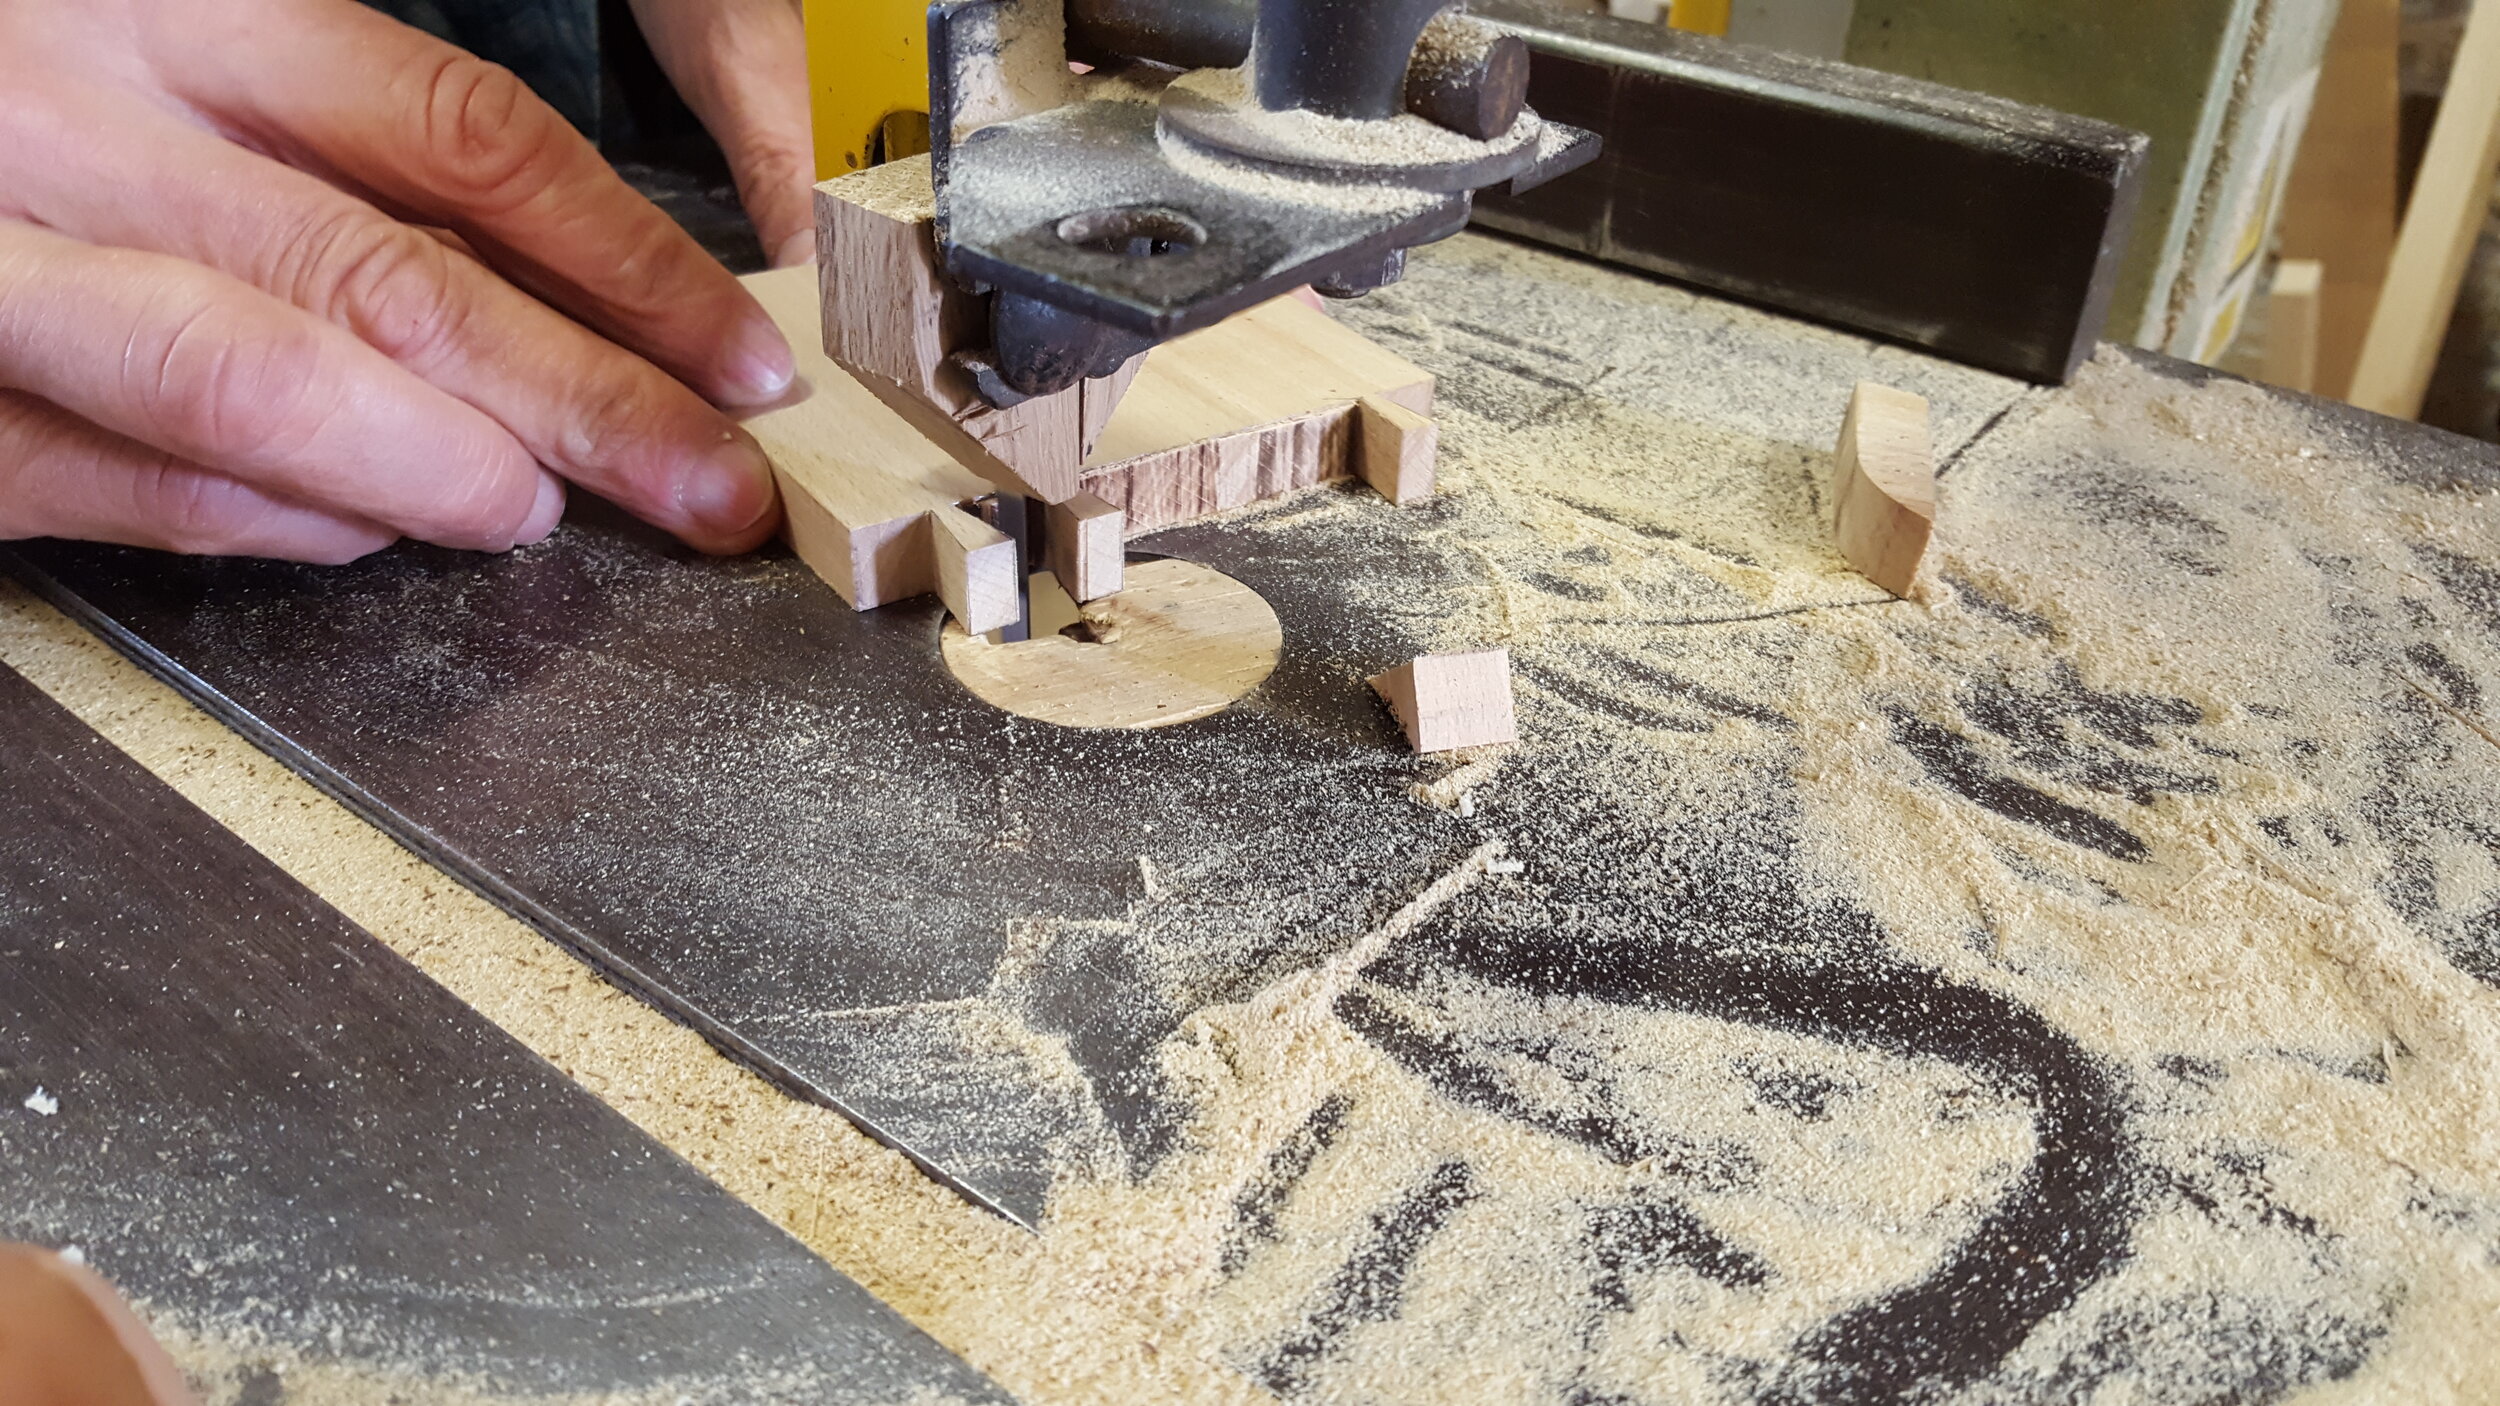
Lorna brought some baskets with her that she wished to house in a console table. The solution we came up with was to do a typical “slab and stick” construction for the top and legs, then support shelves with steel pins fixed into the legs. We routed slots in the underside of the shelves so they cannot slide around on the pins. We needed to make templates of the cross-sections of the legs, in order to accurately notch each shelf around the legs. Lorna used the slab flattening jig, a planer thicknesser, jigsaw, bandsaw, pillar drill and loads of other green woodworking kit. The table now takes pride of place in her hallway. (She didn’t choose the wallpaper!)


Peter and Sue
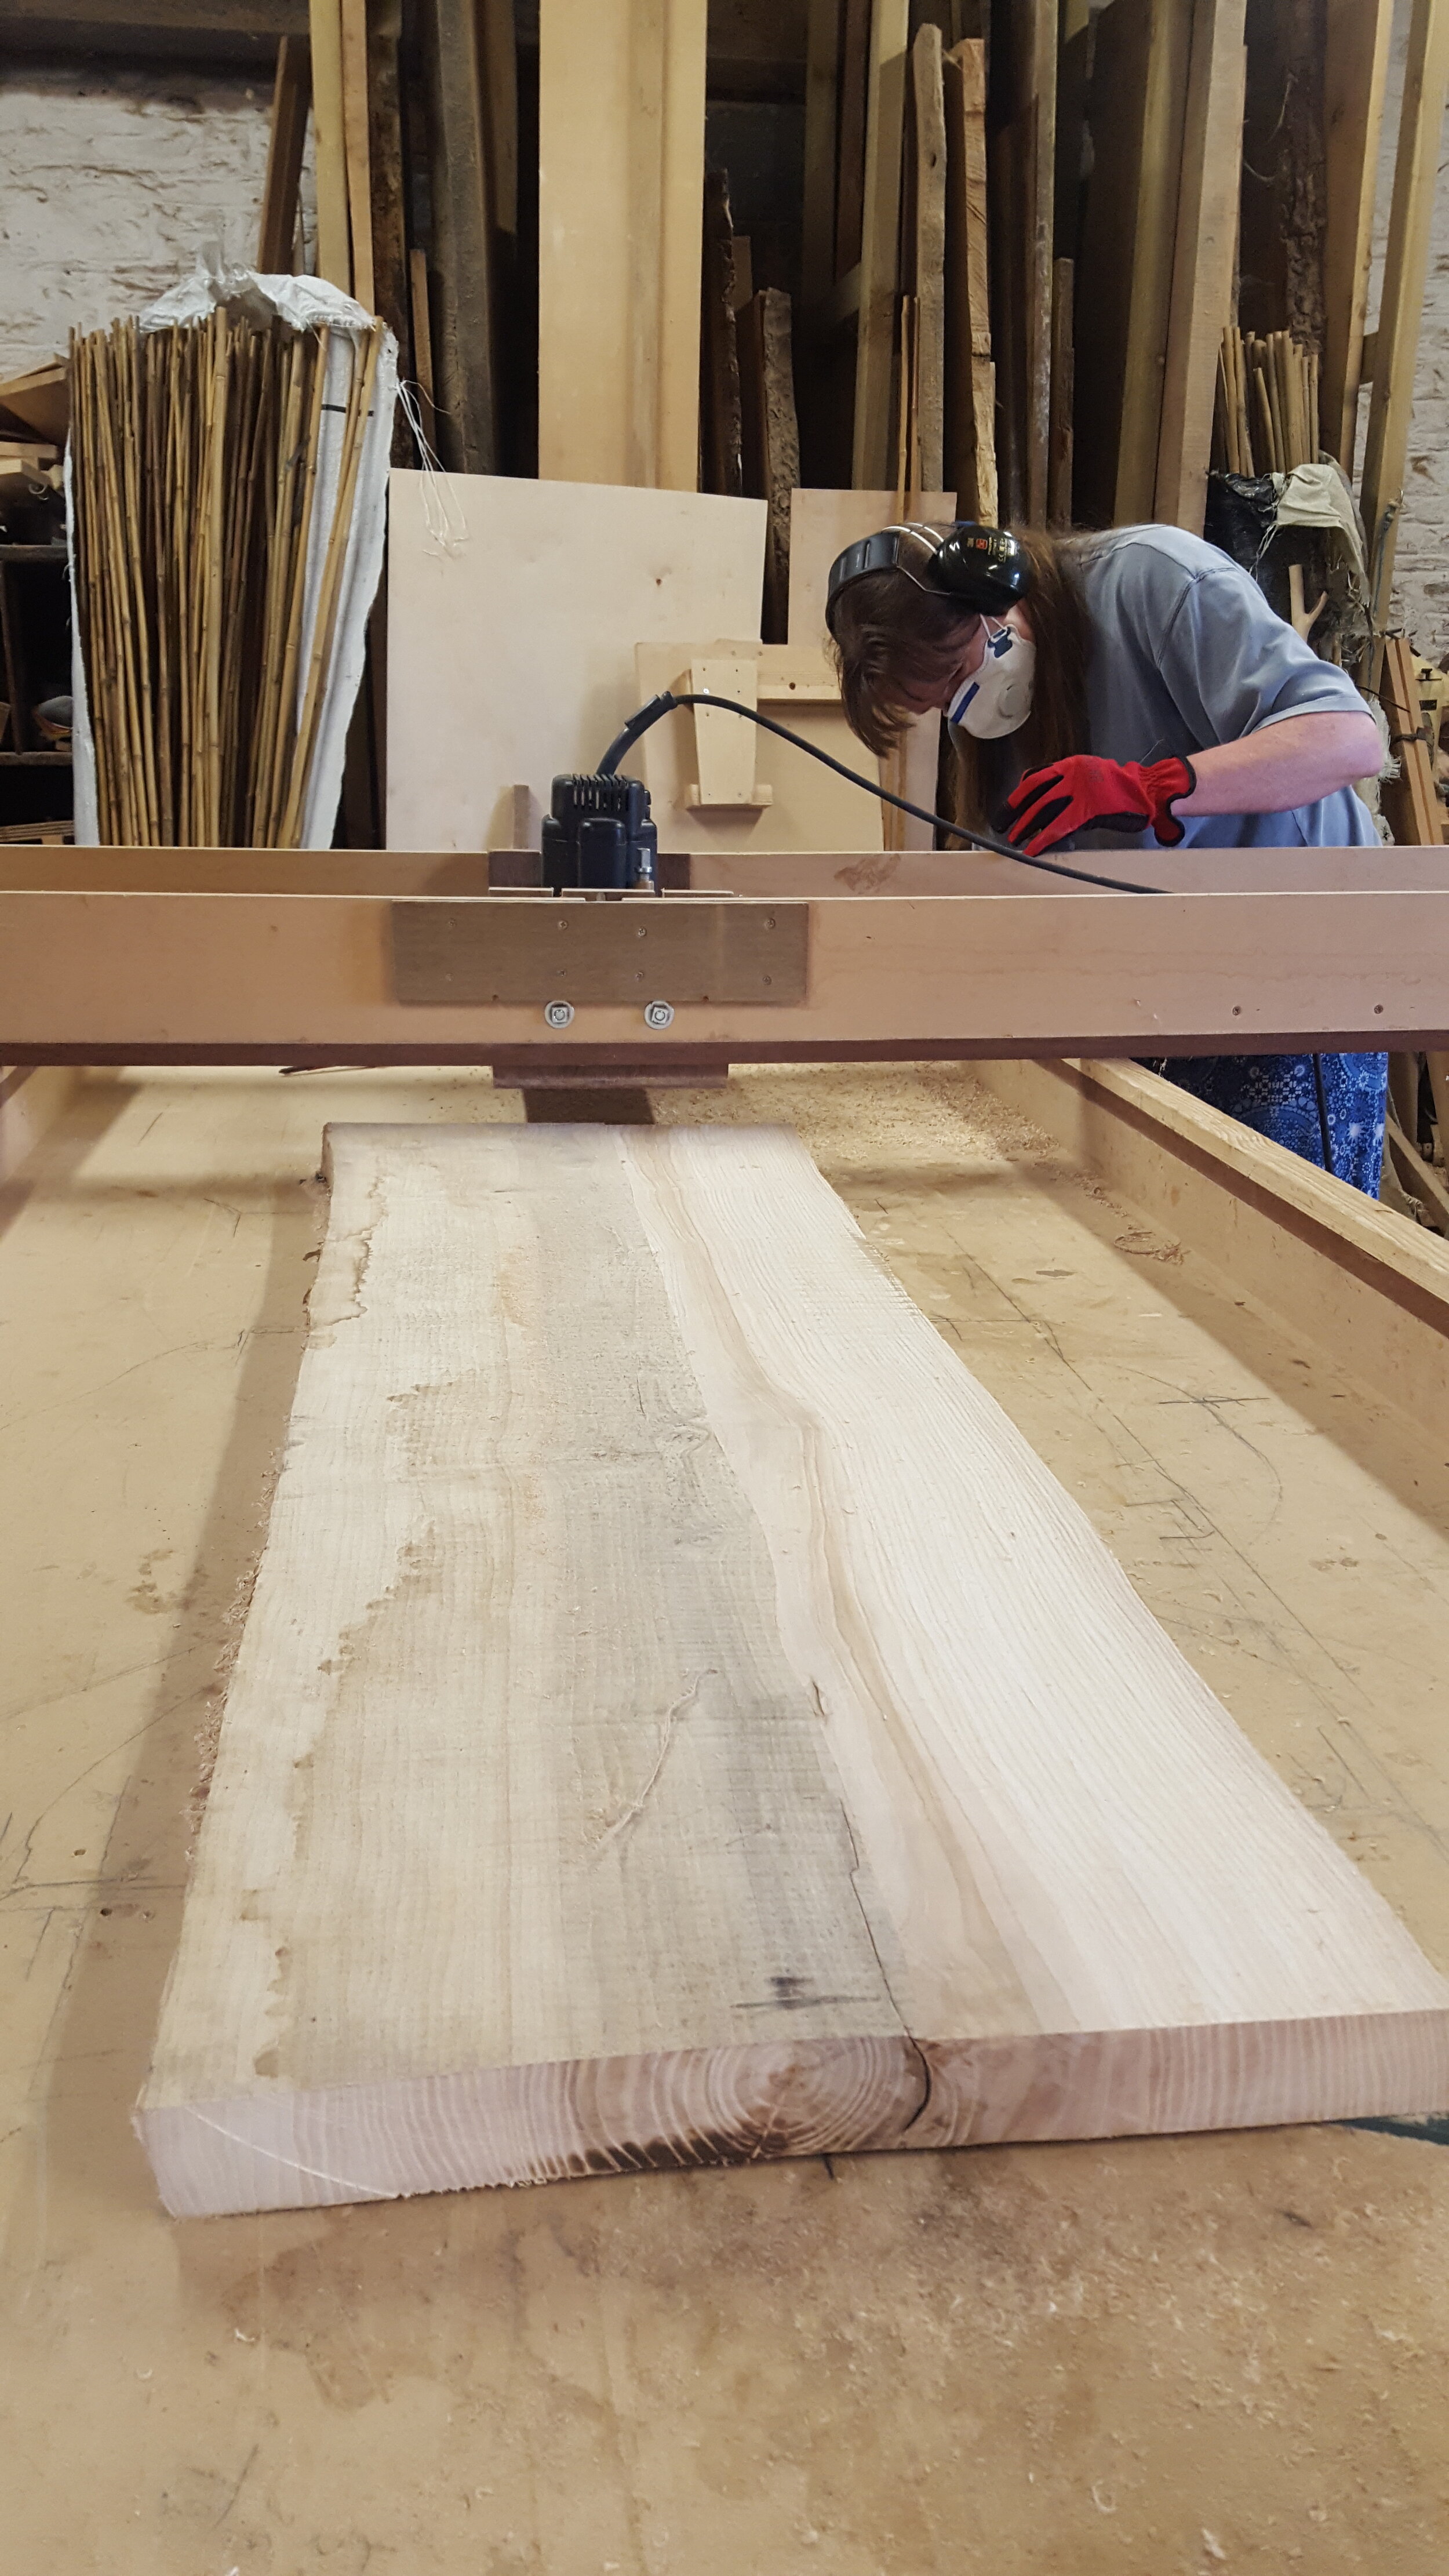
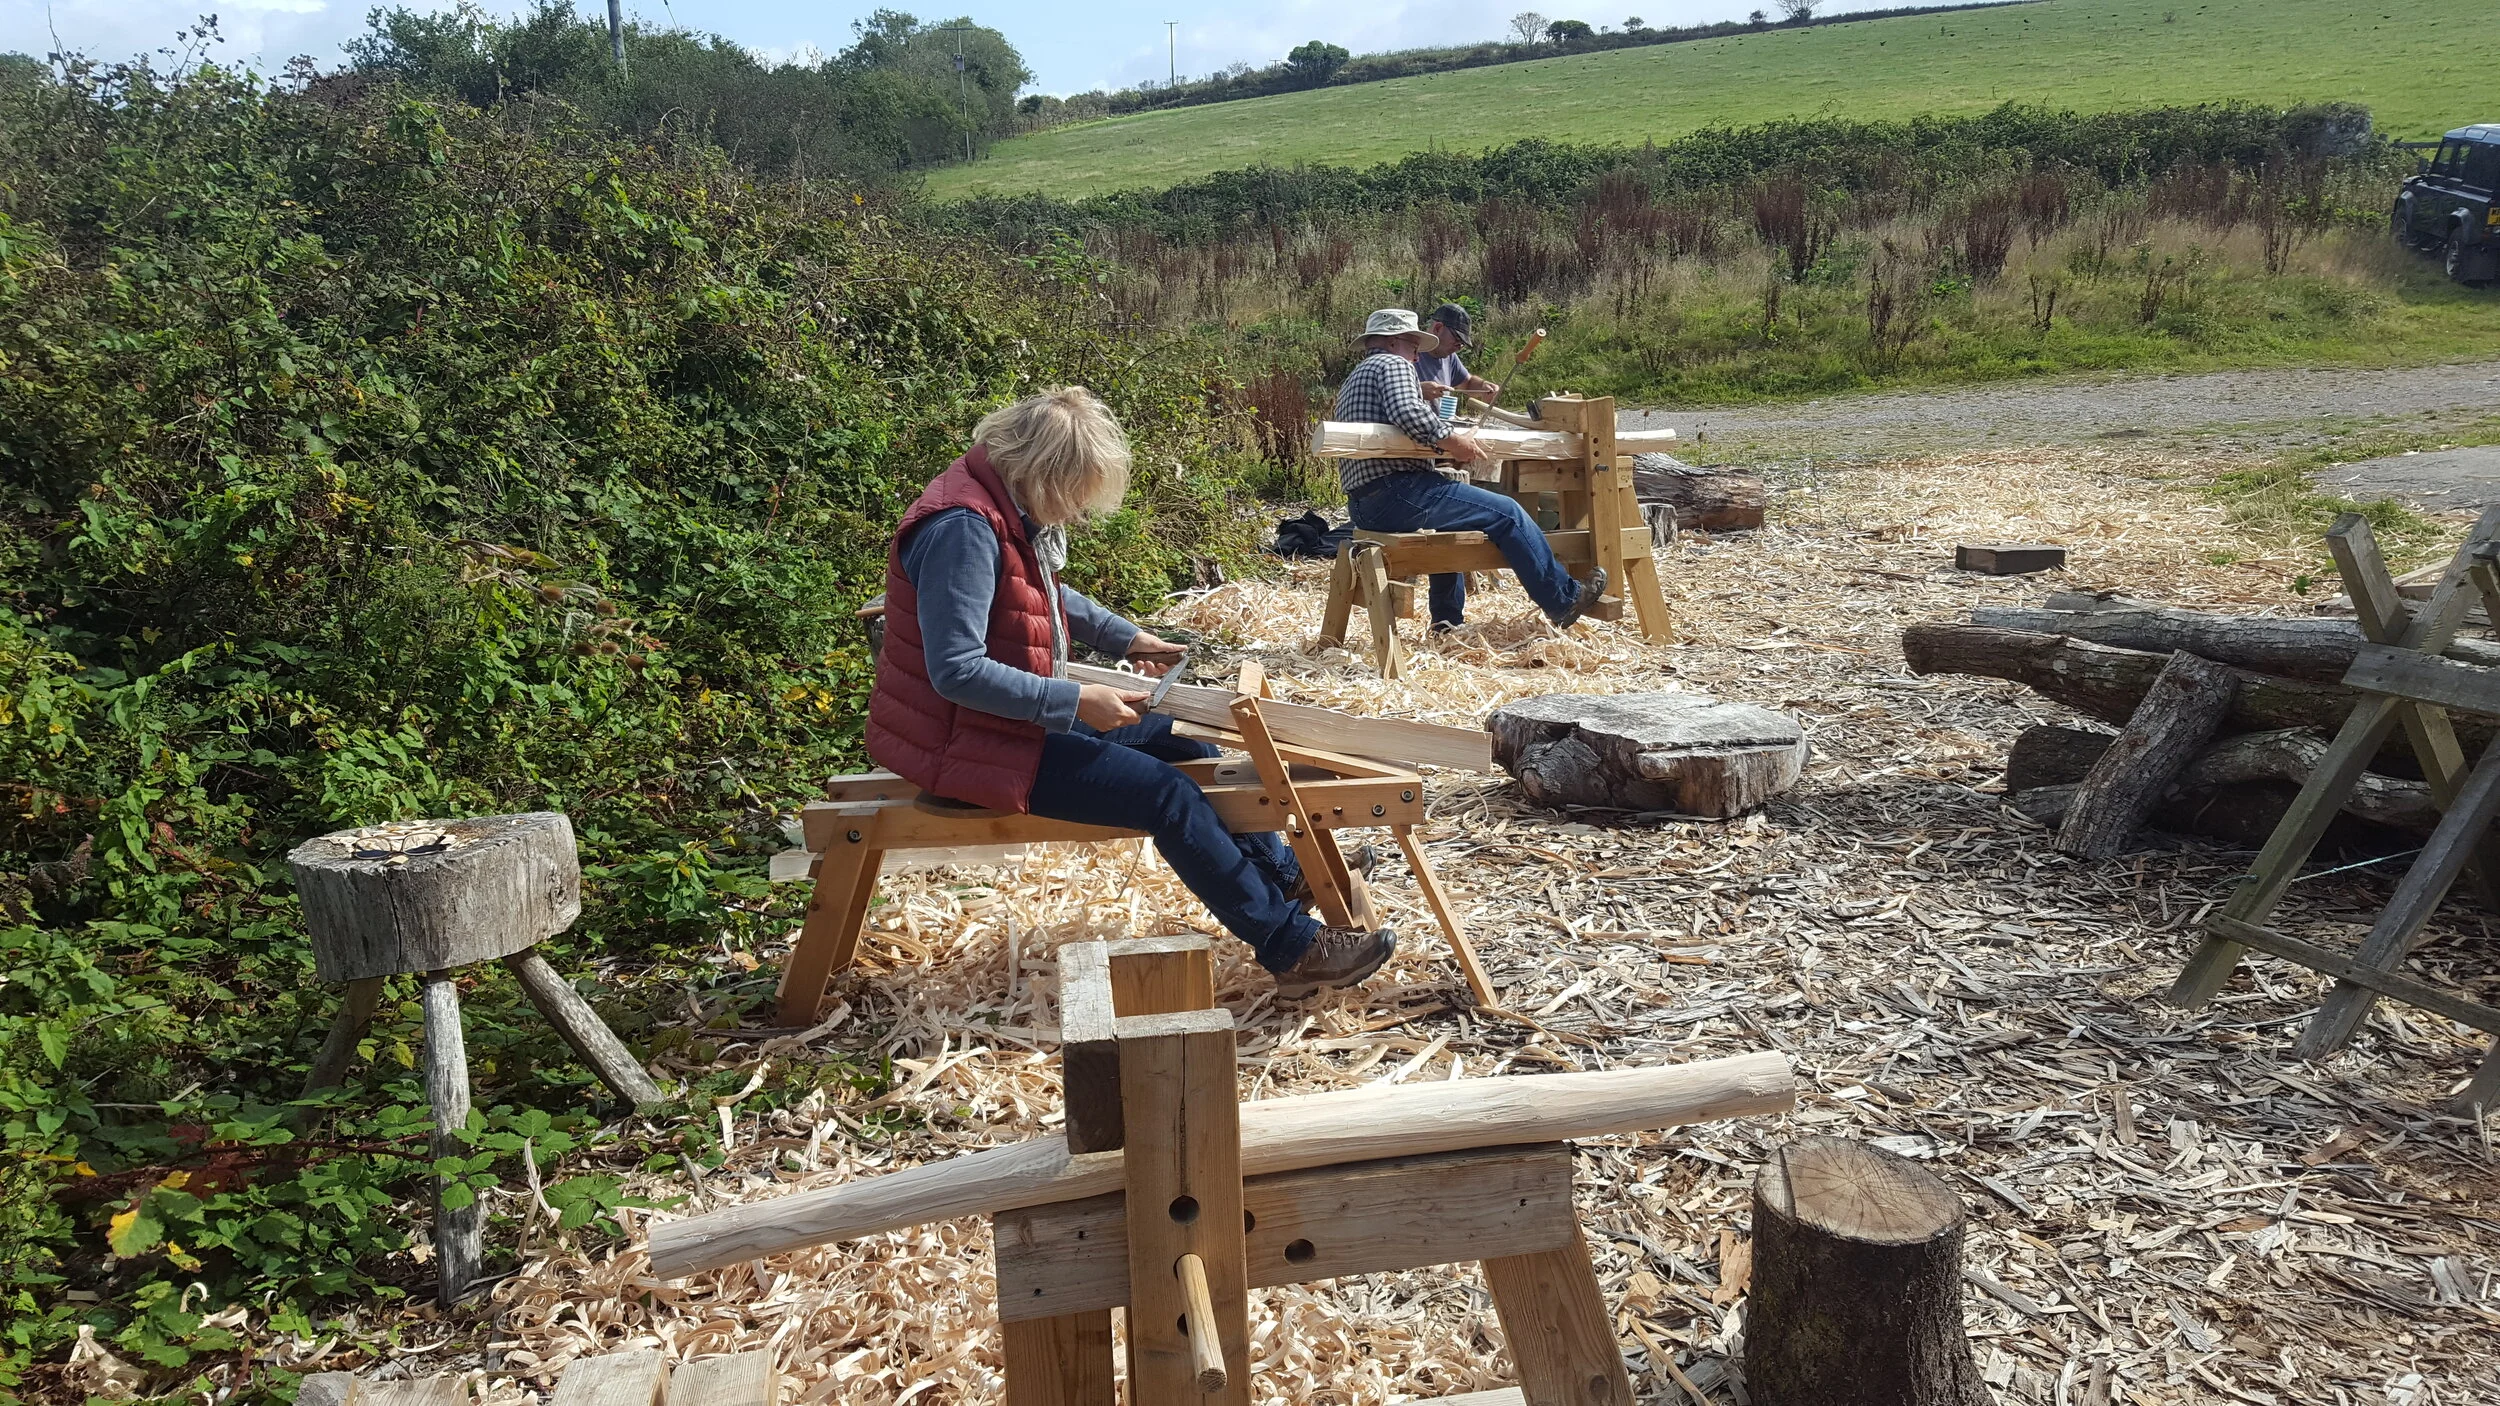
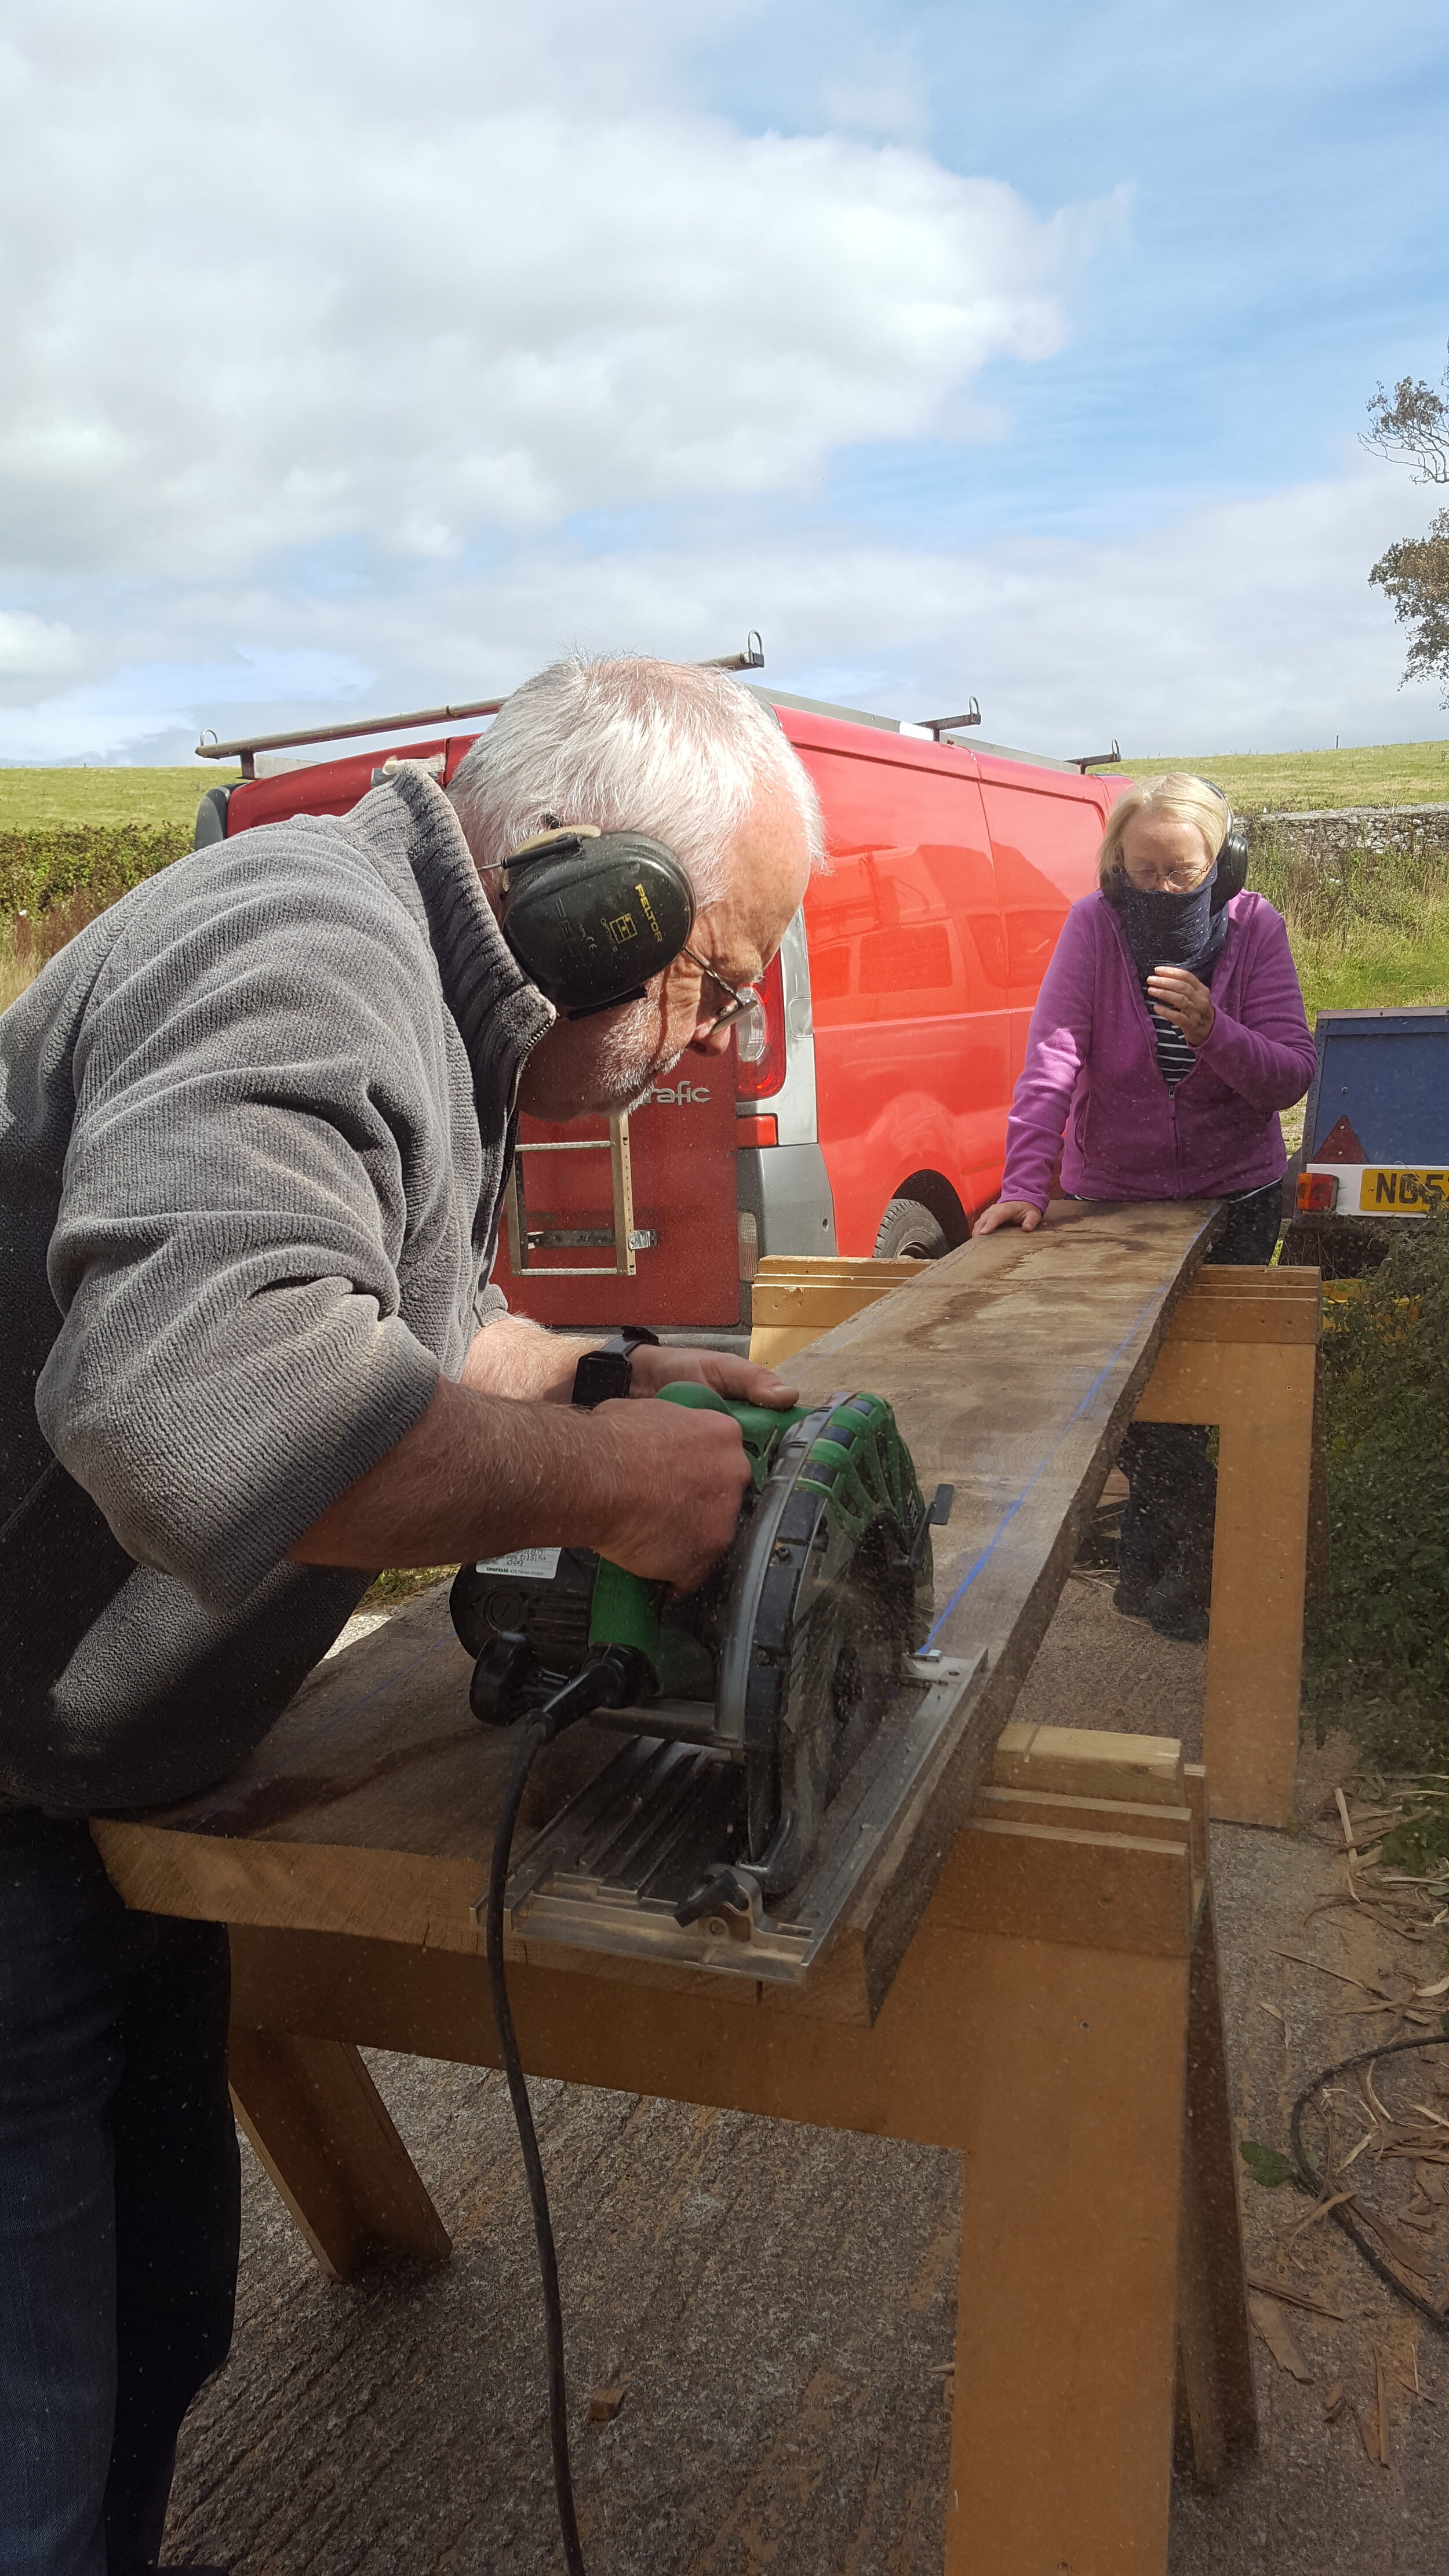
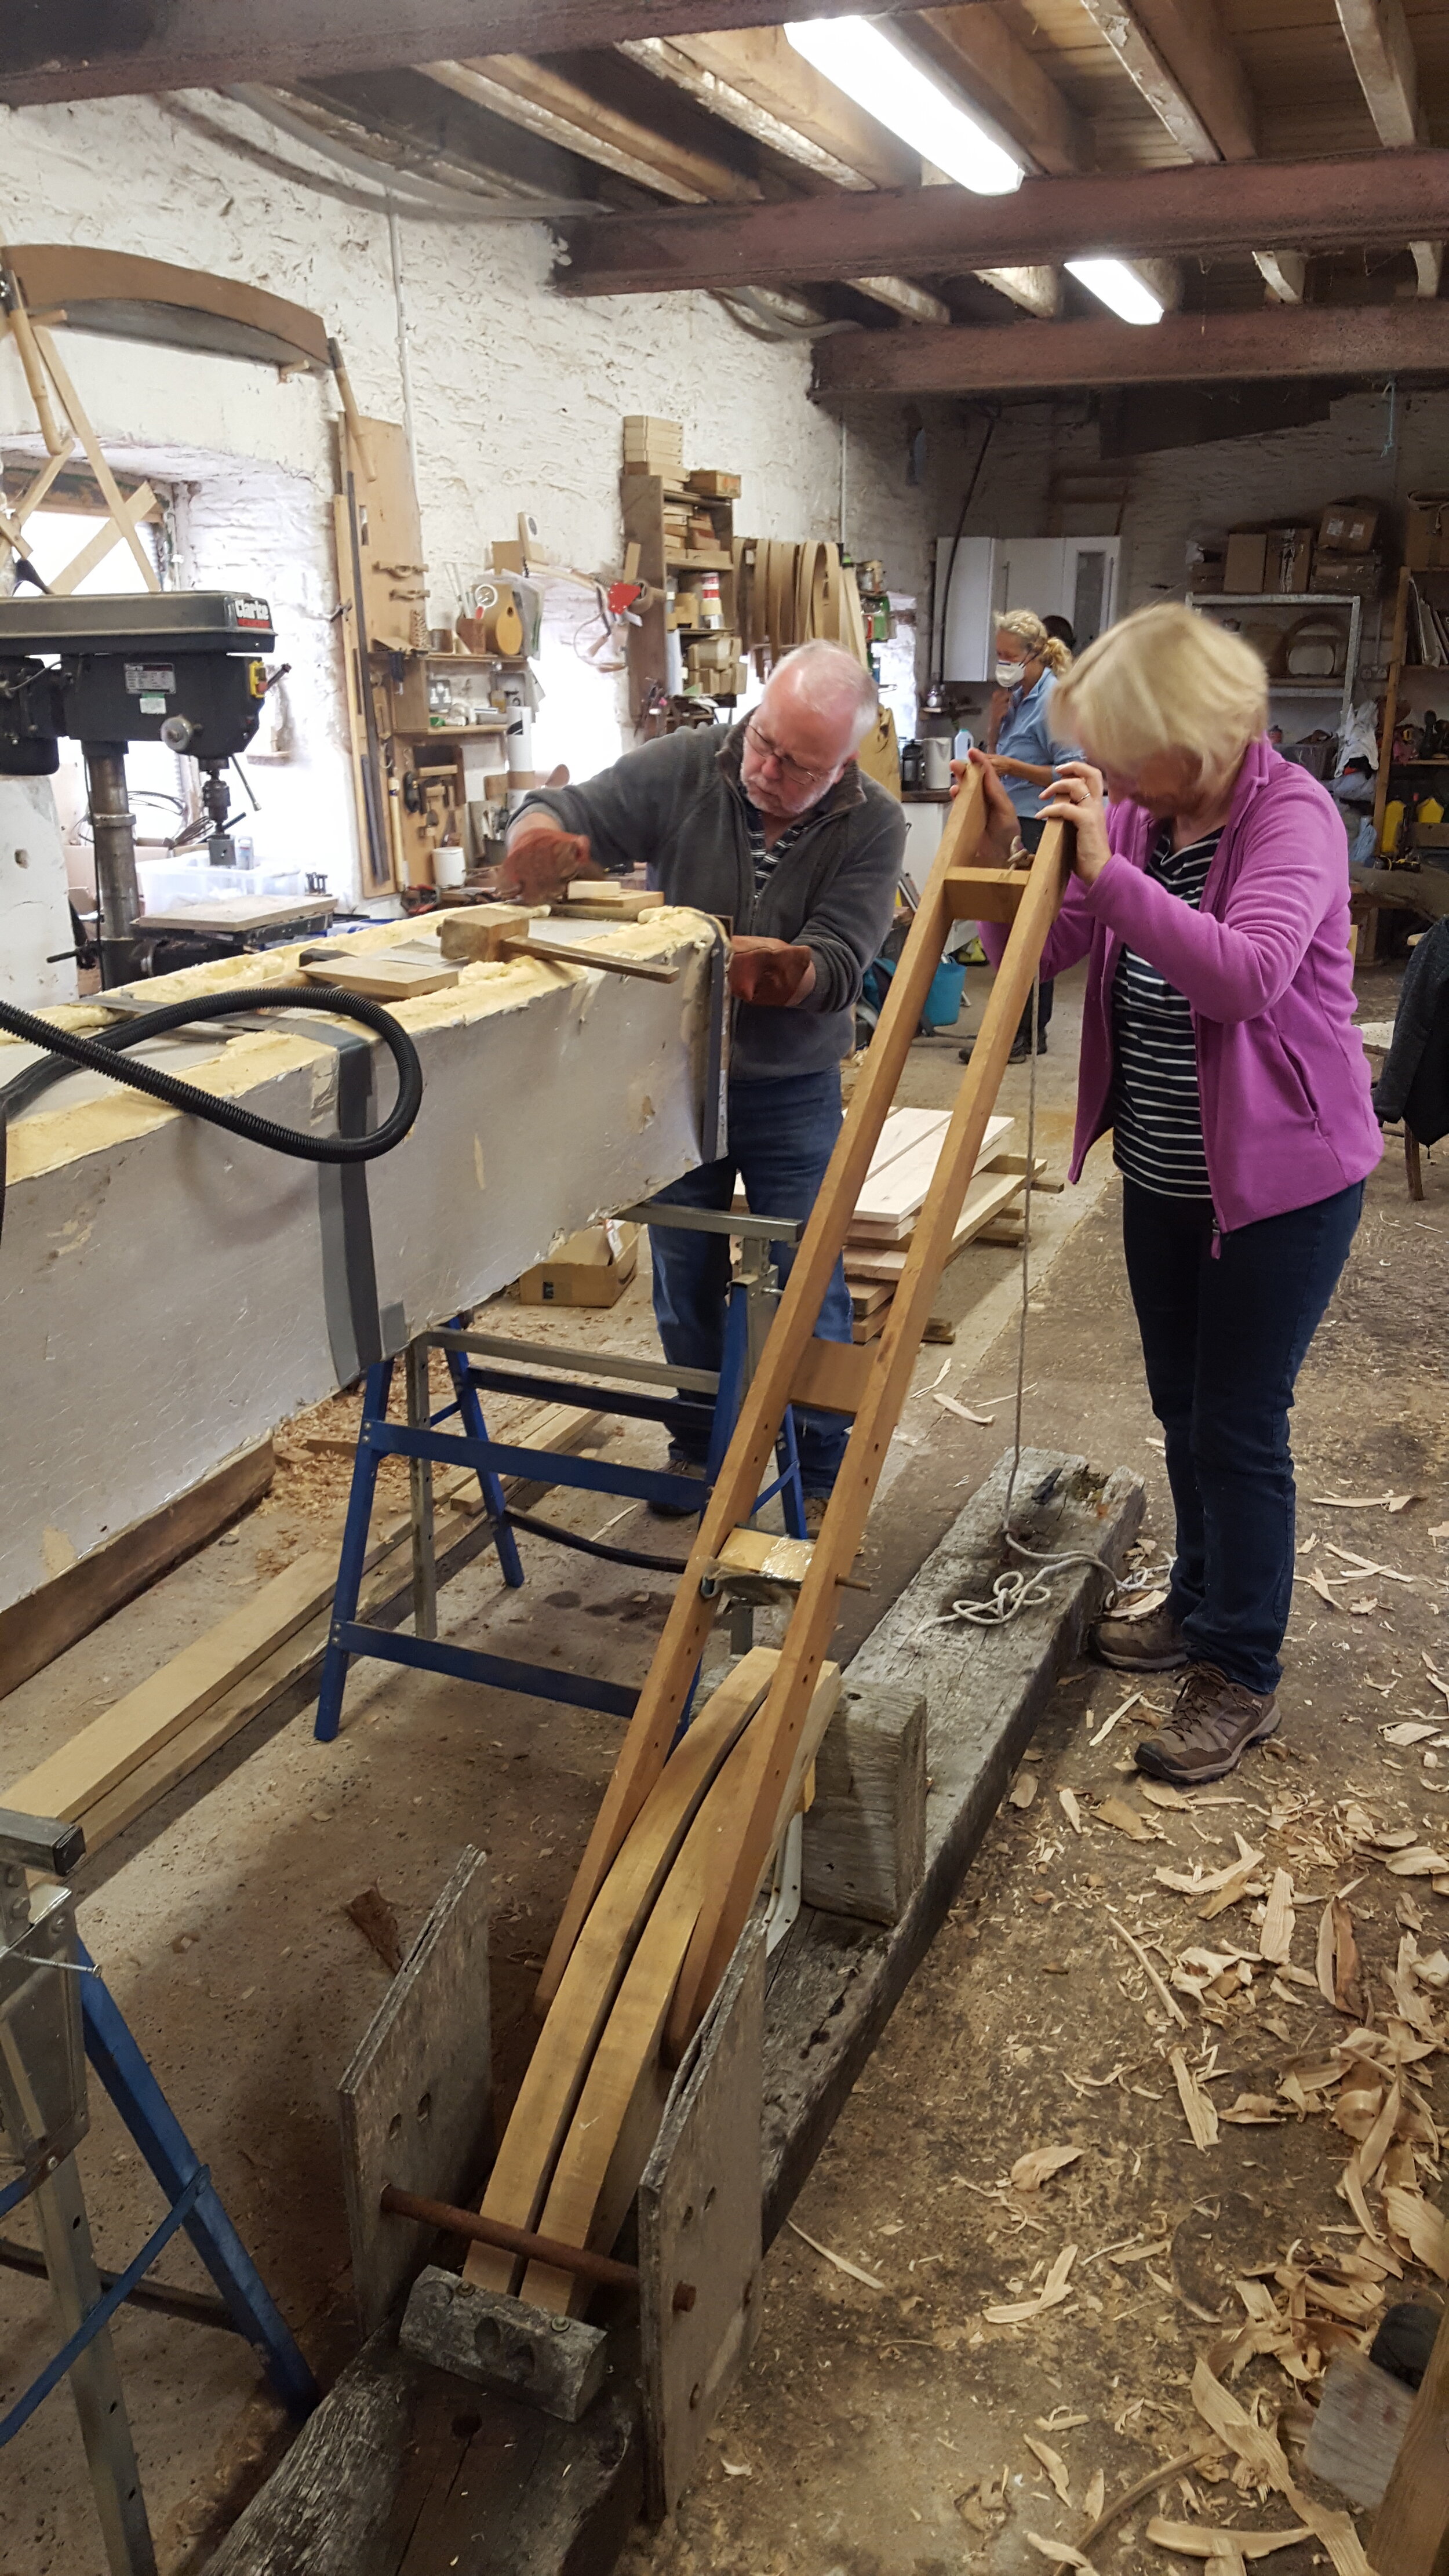
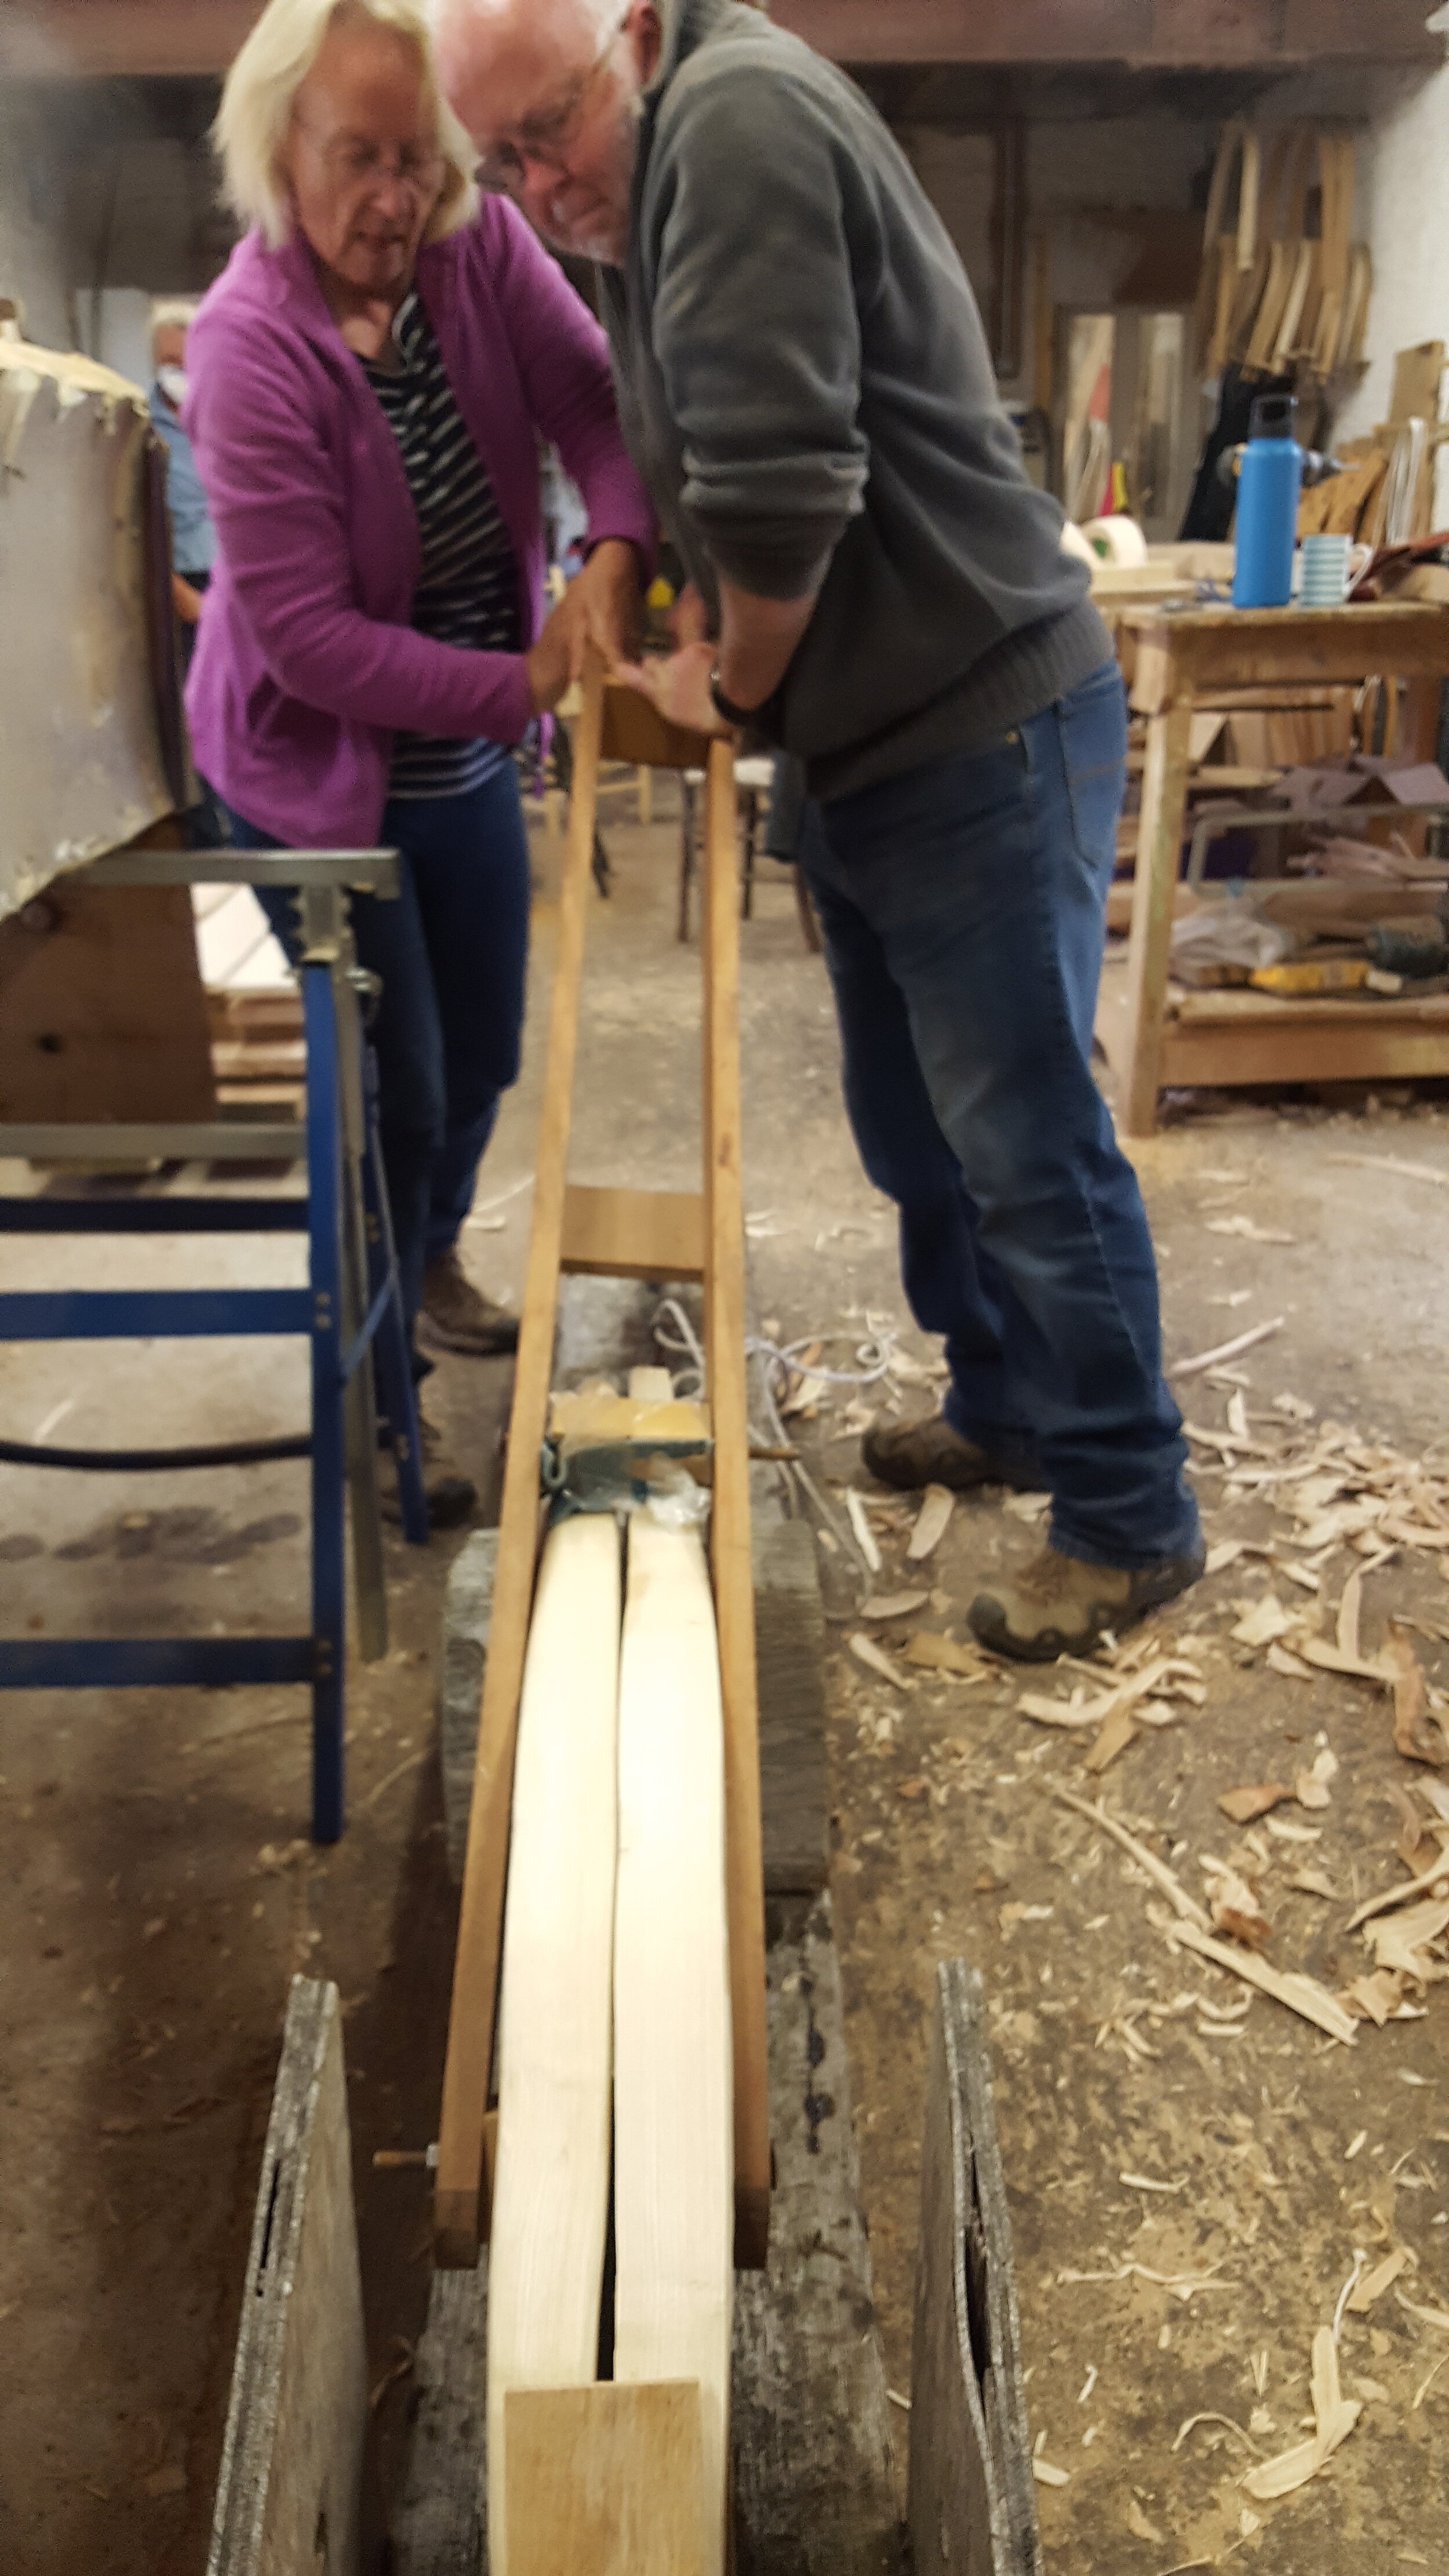
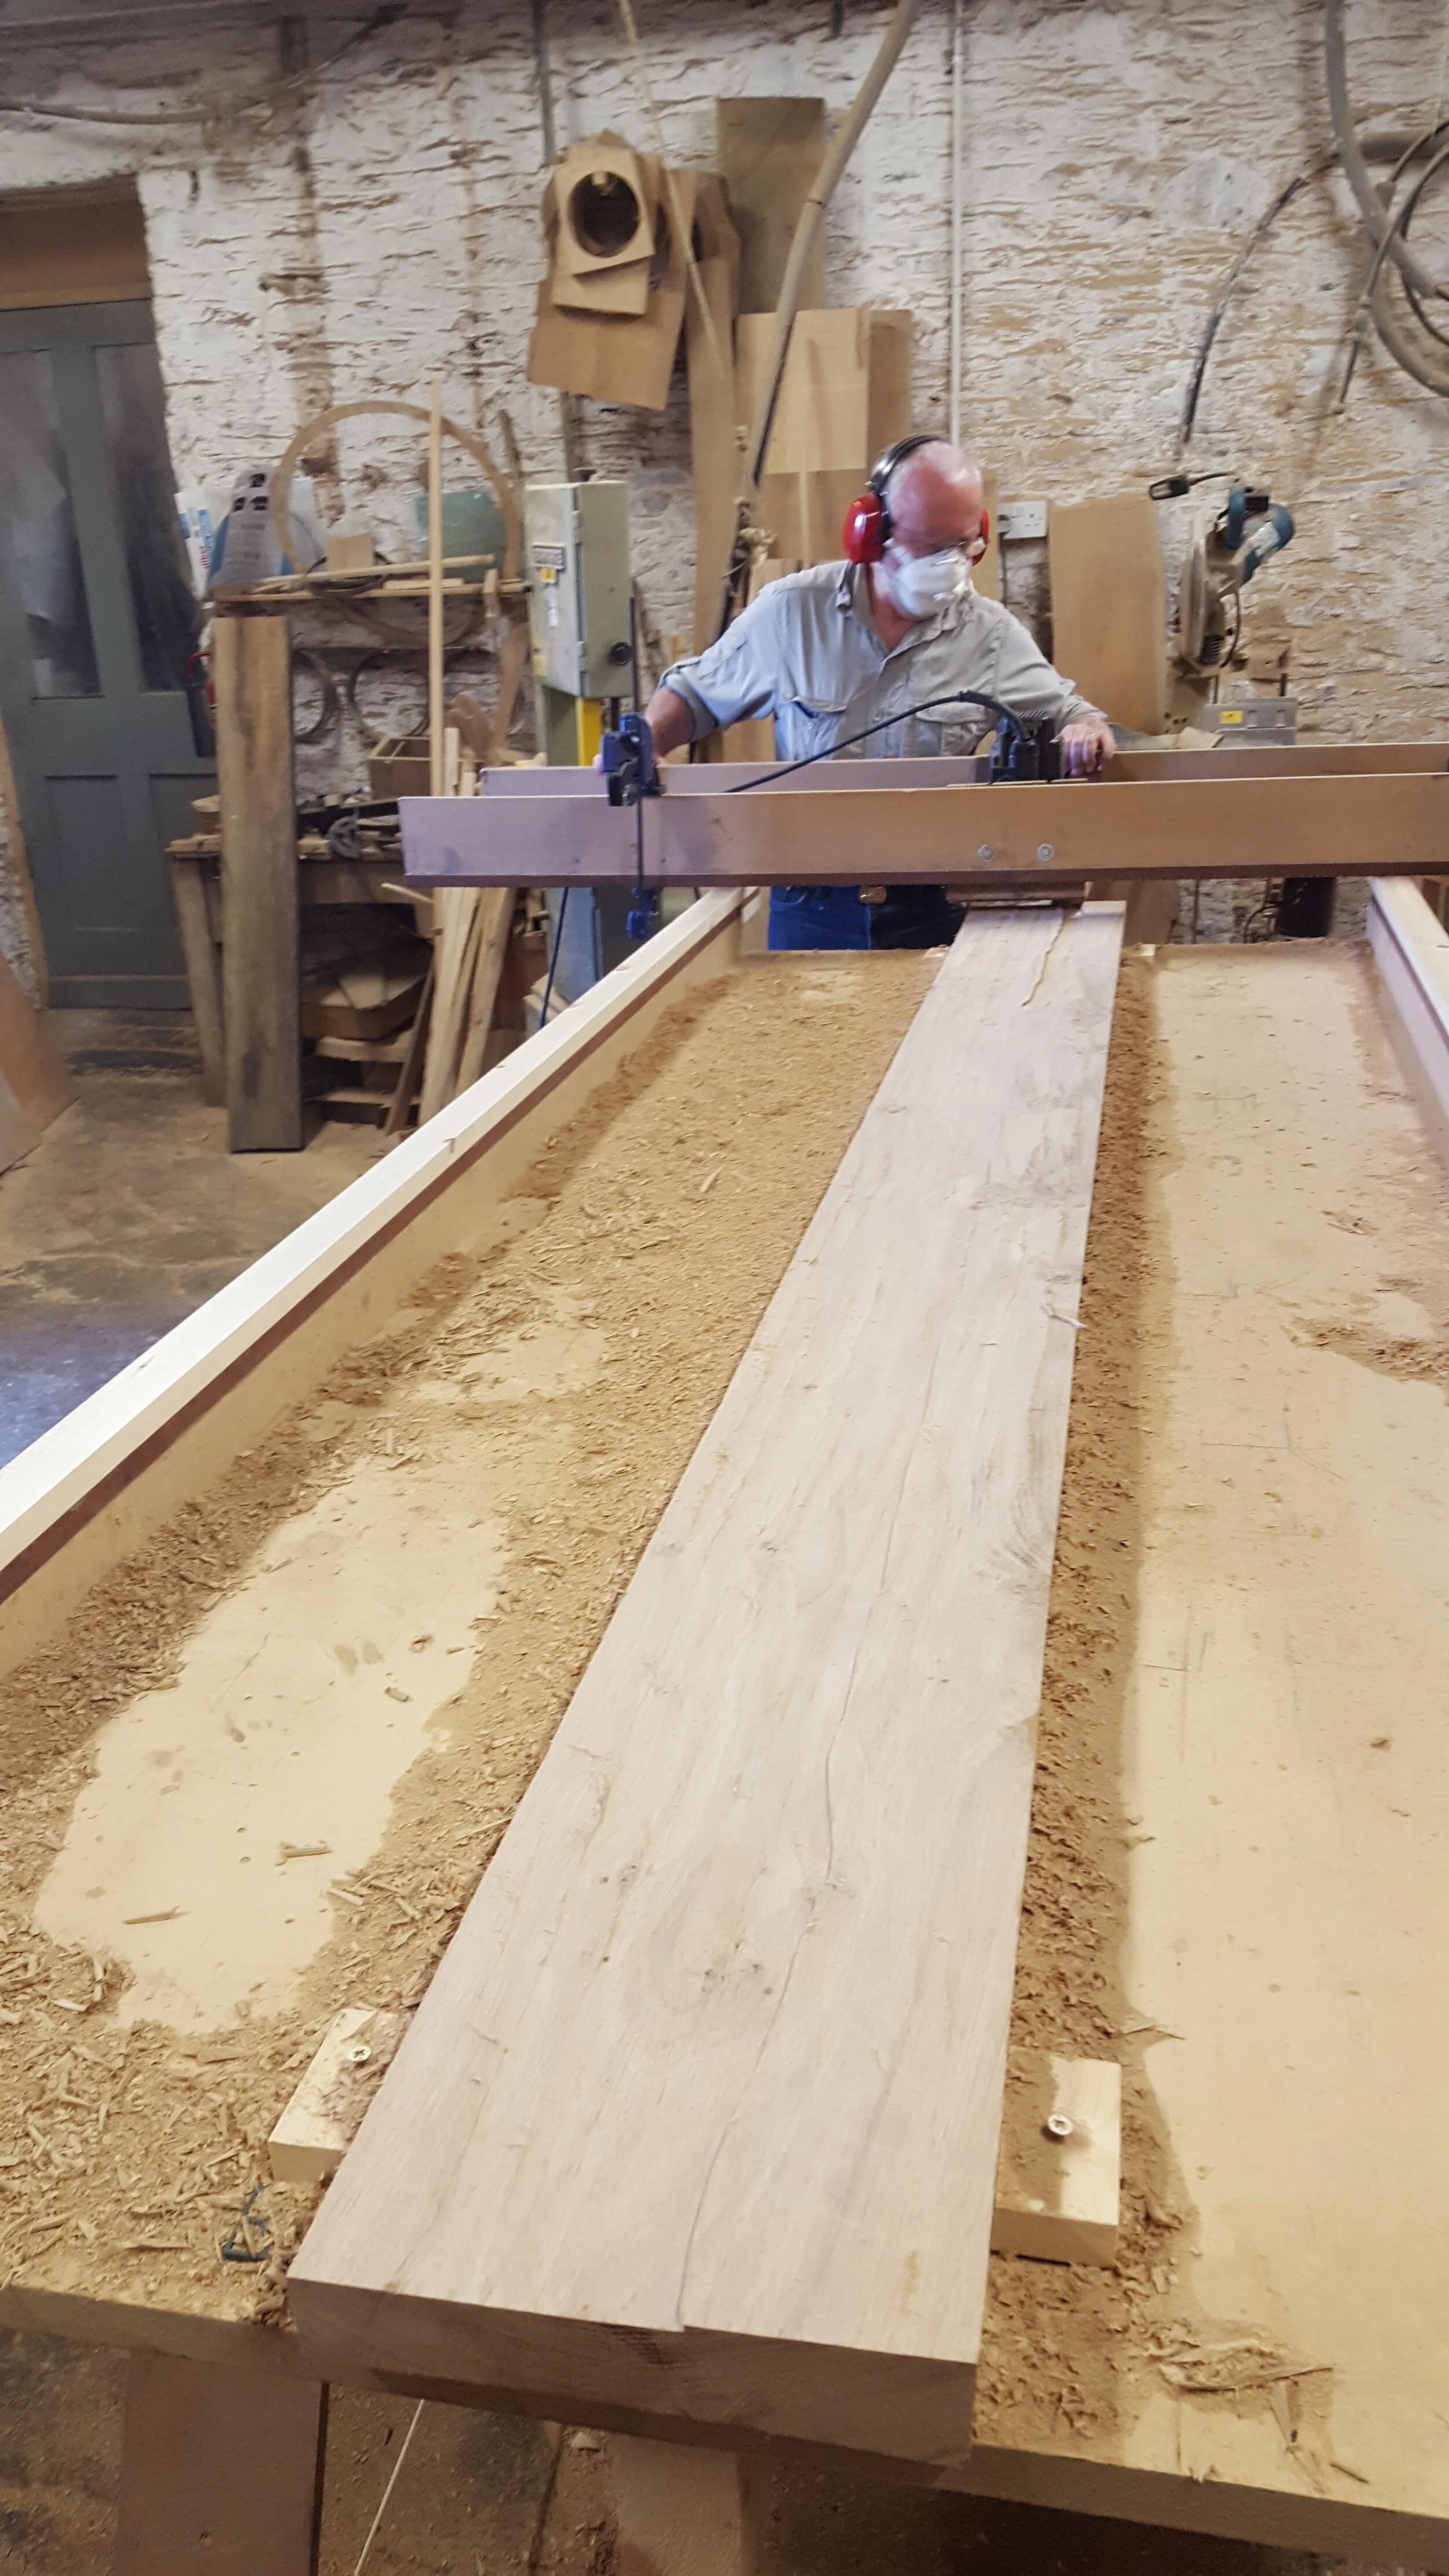
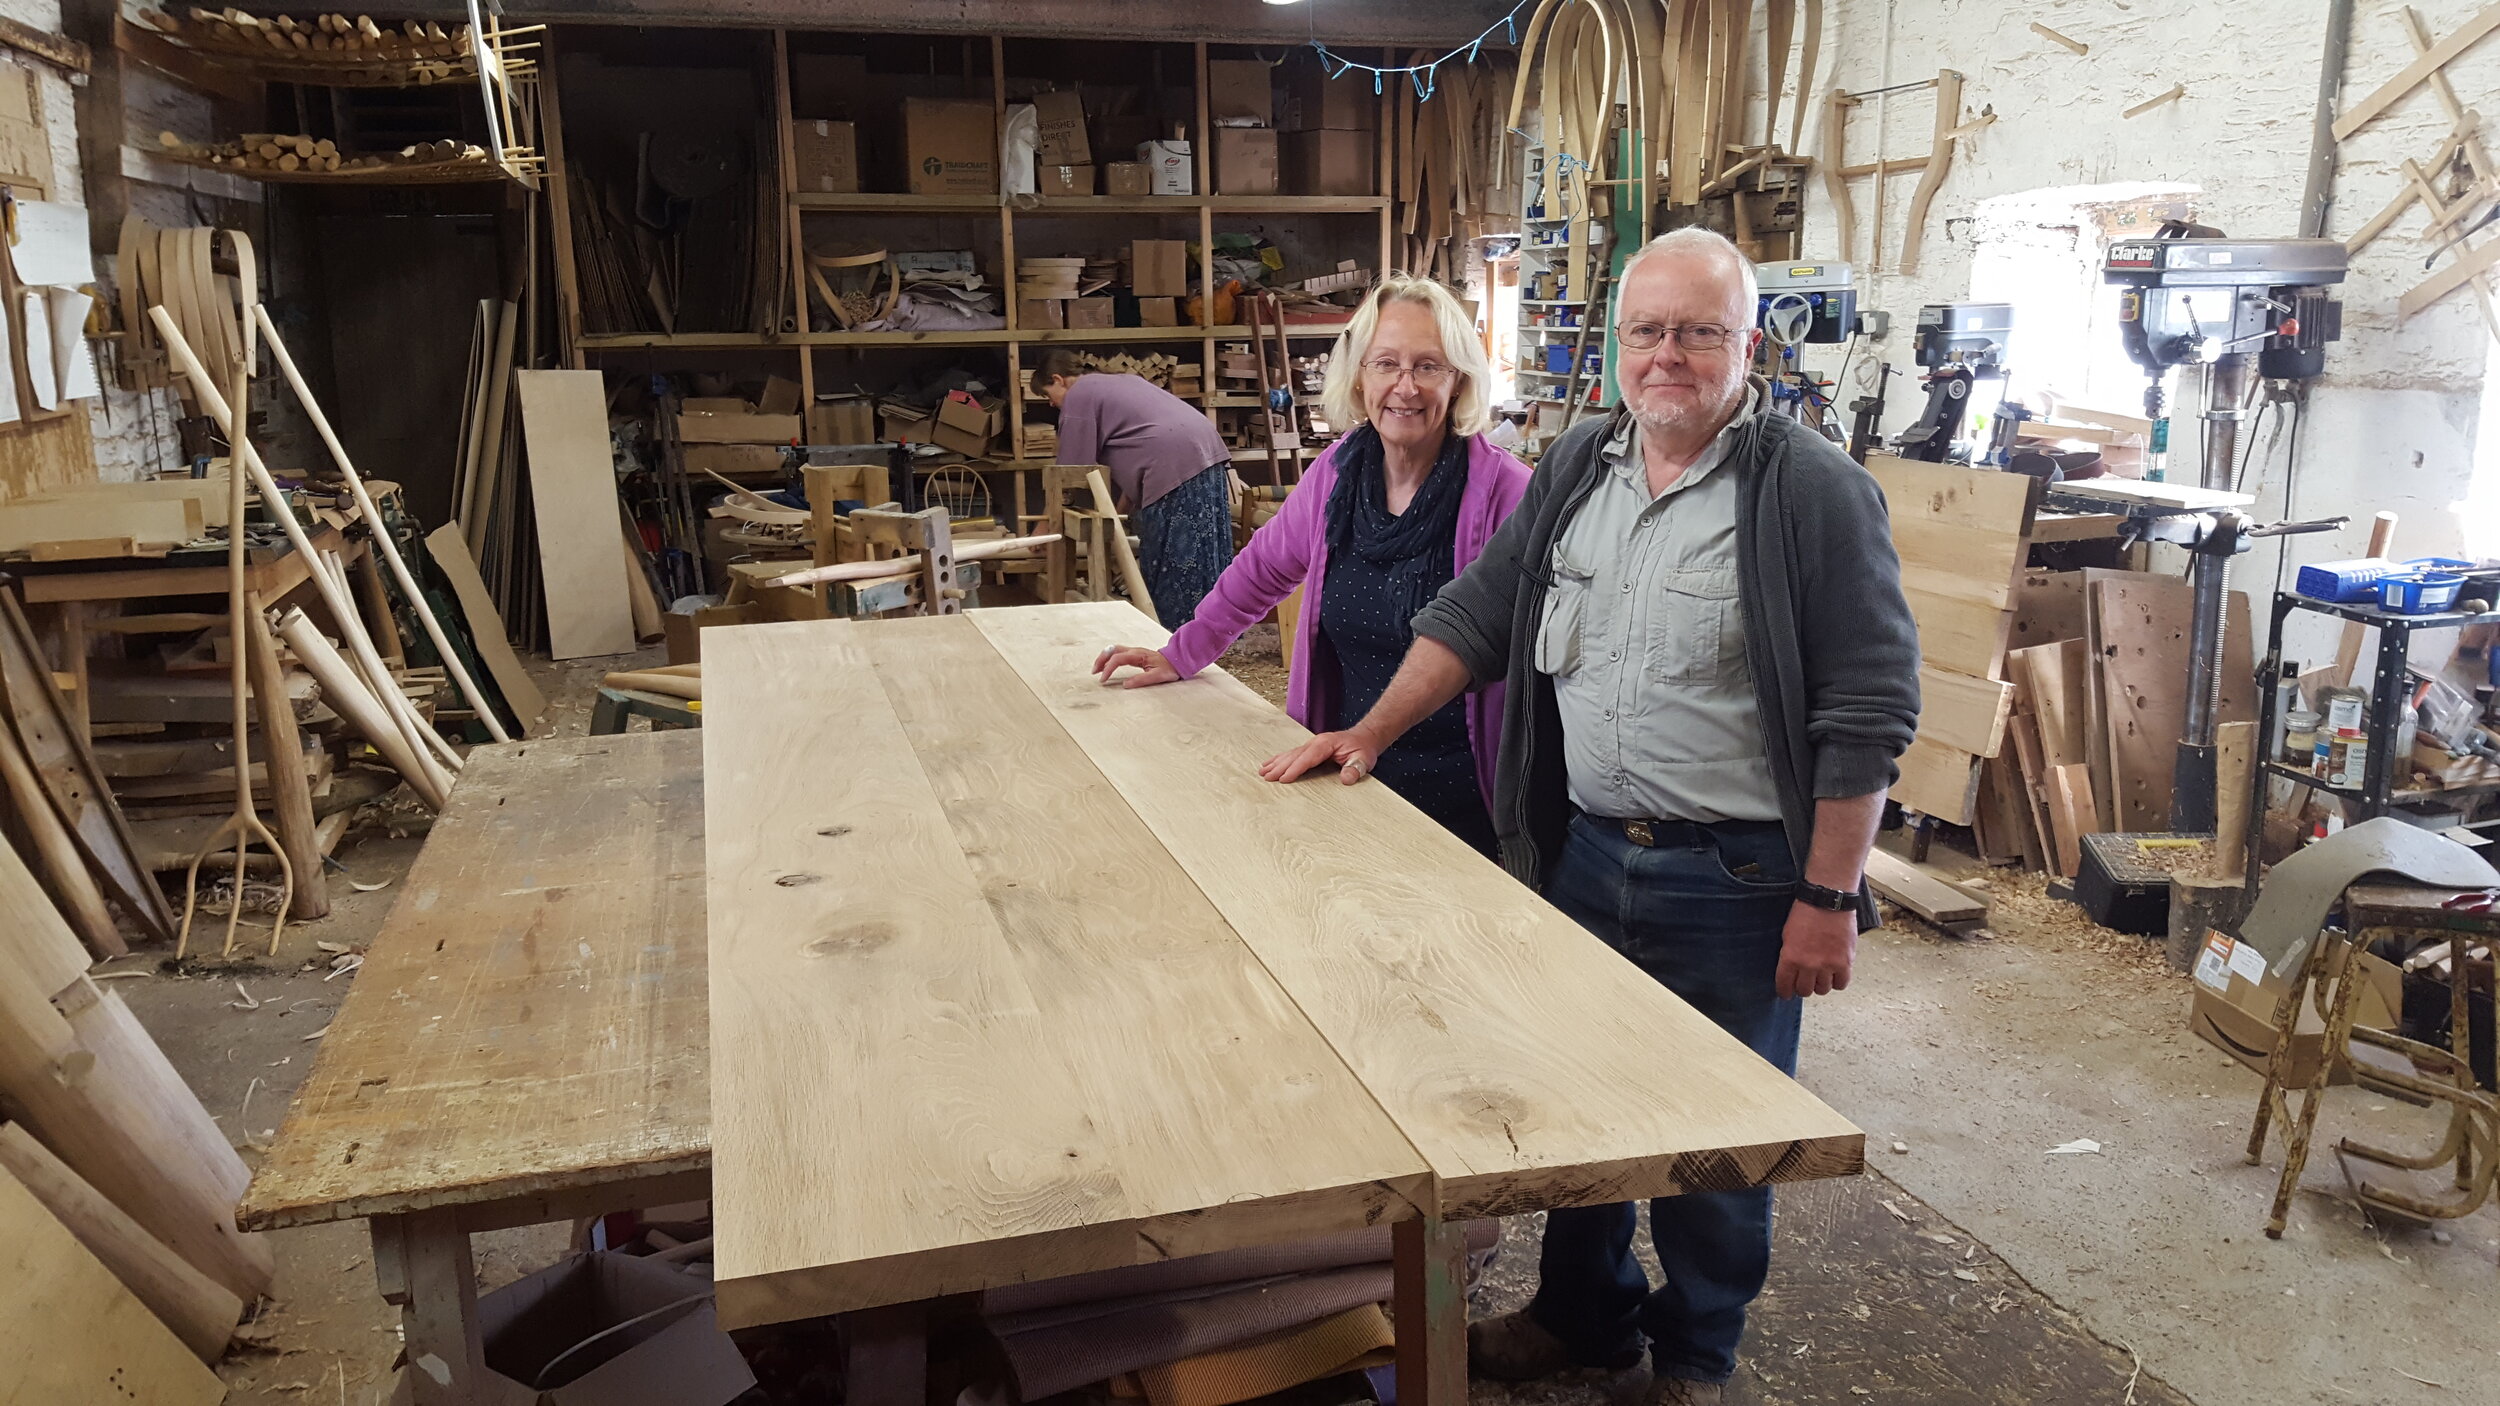
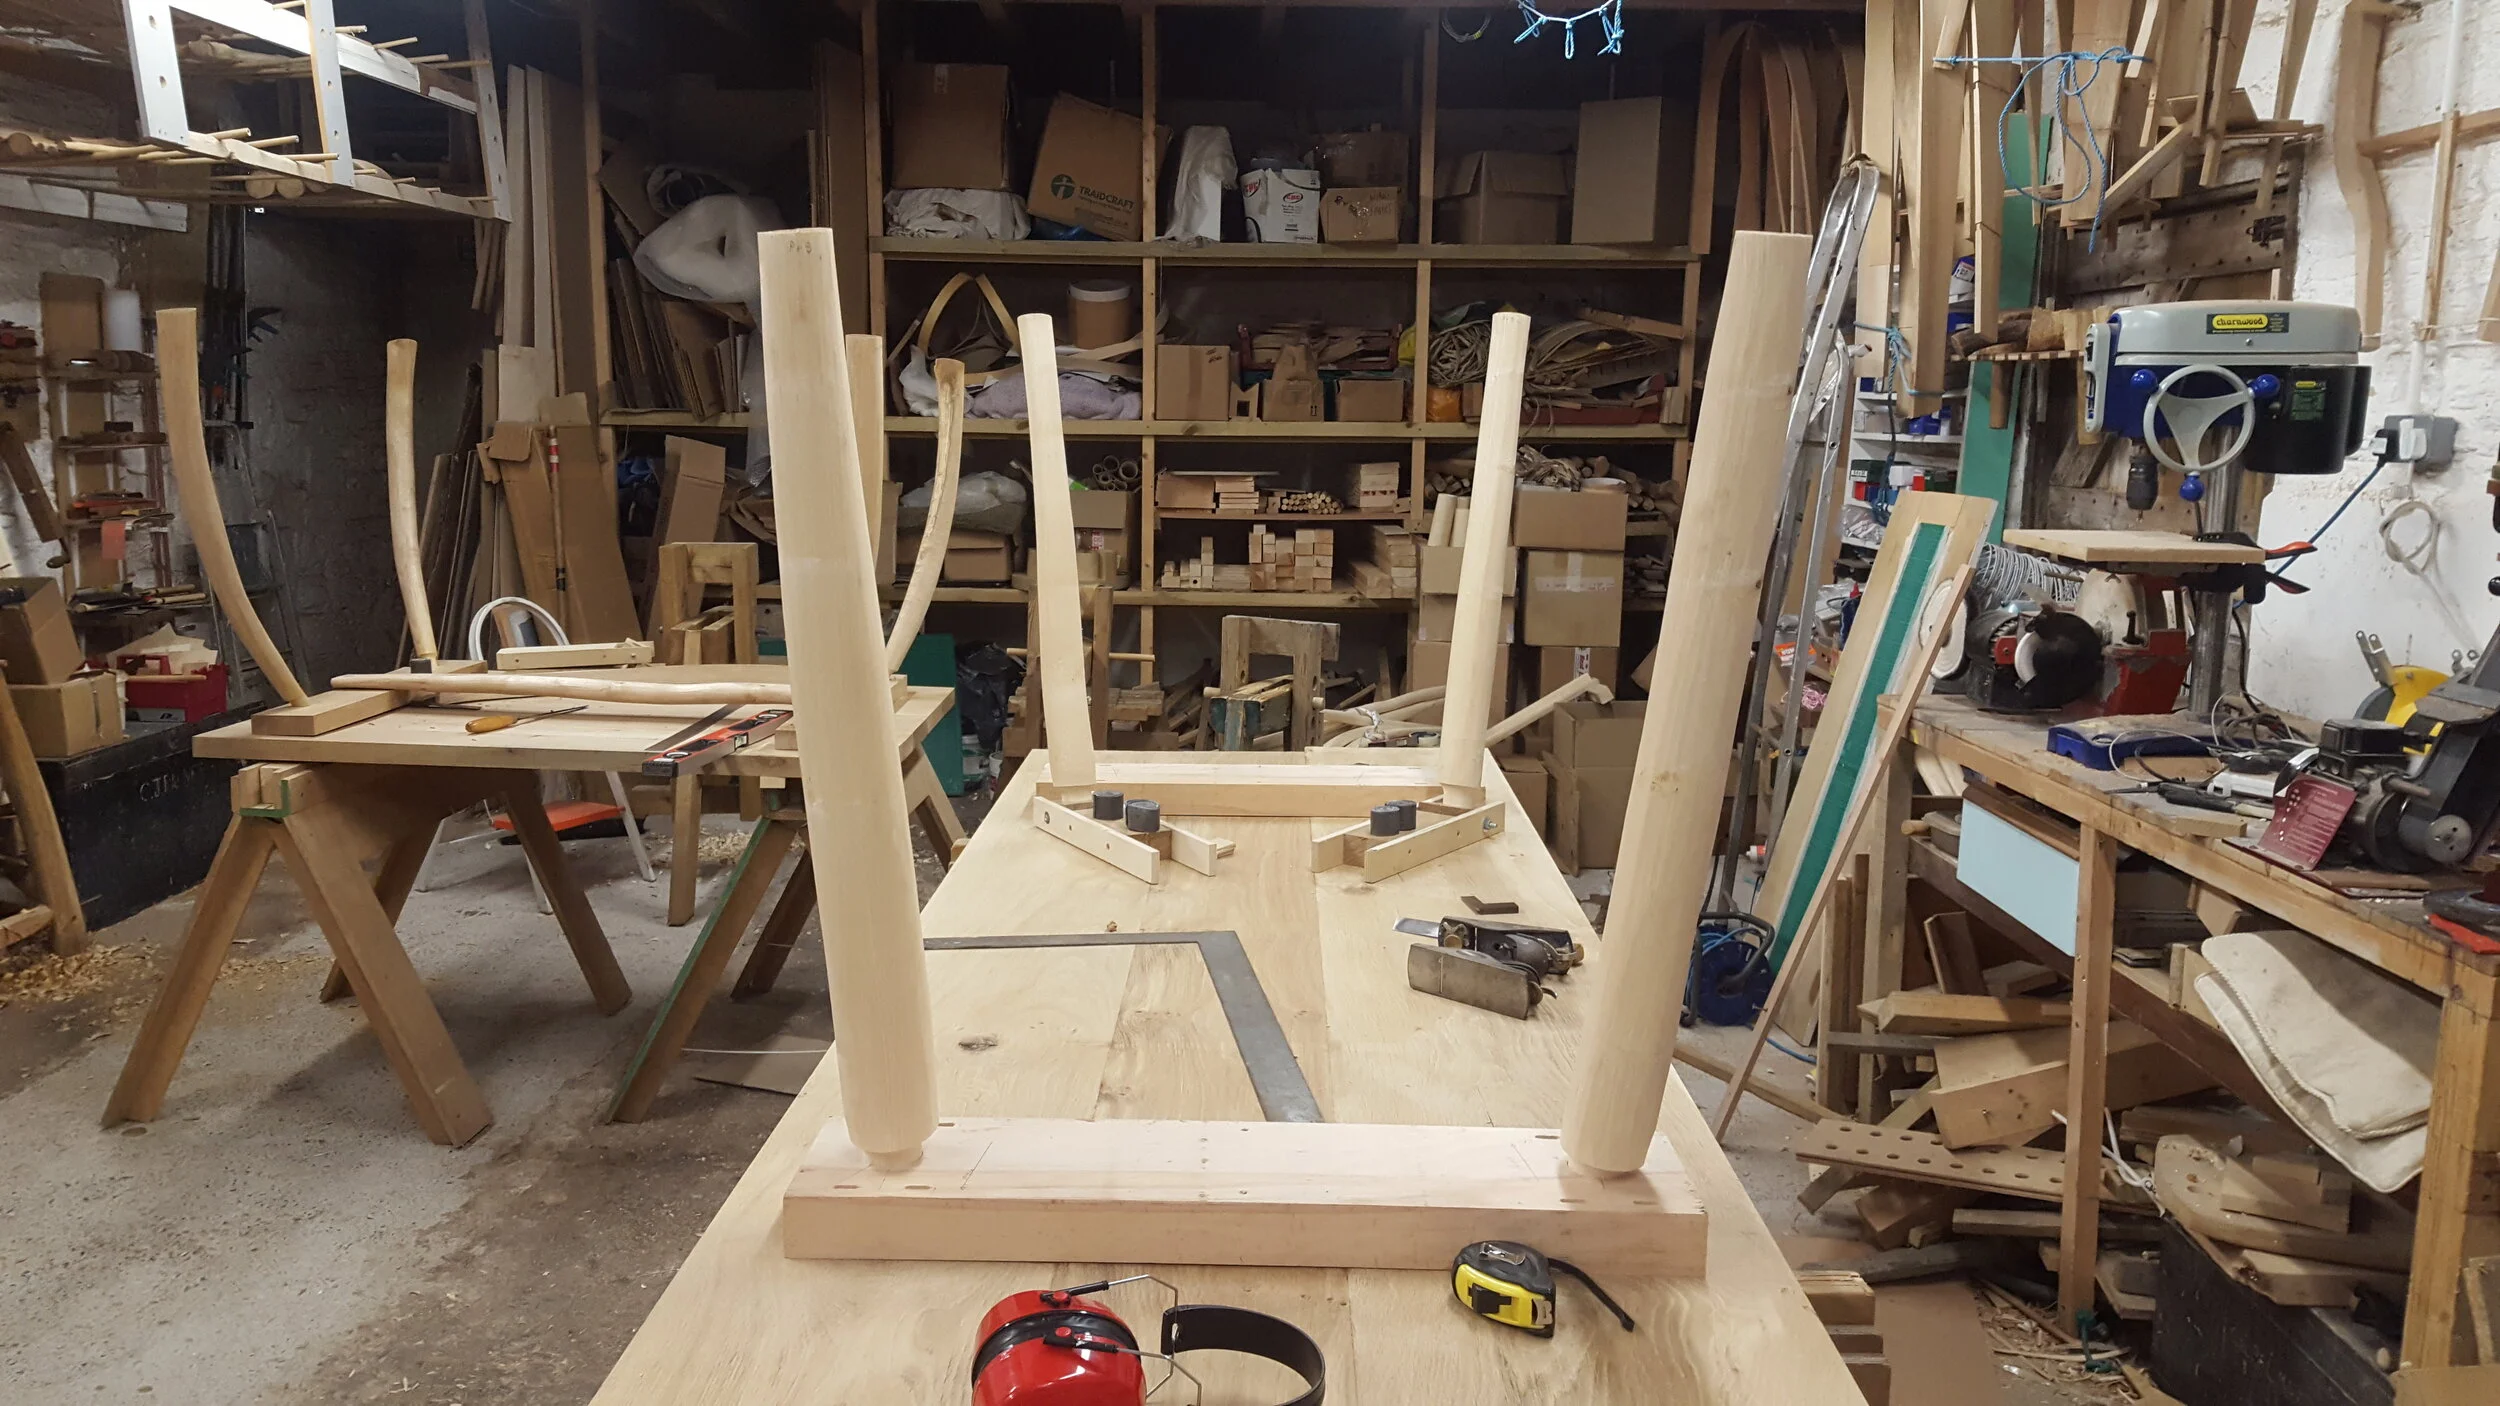
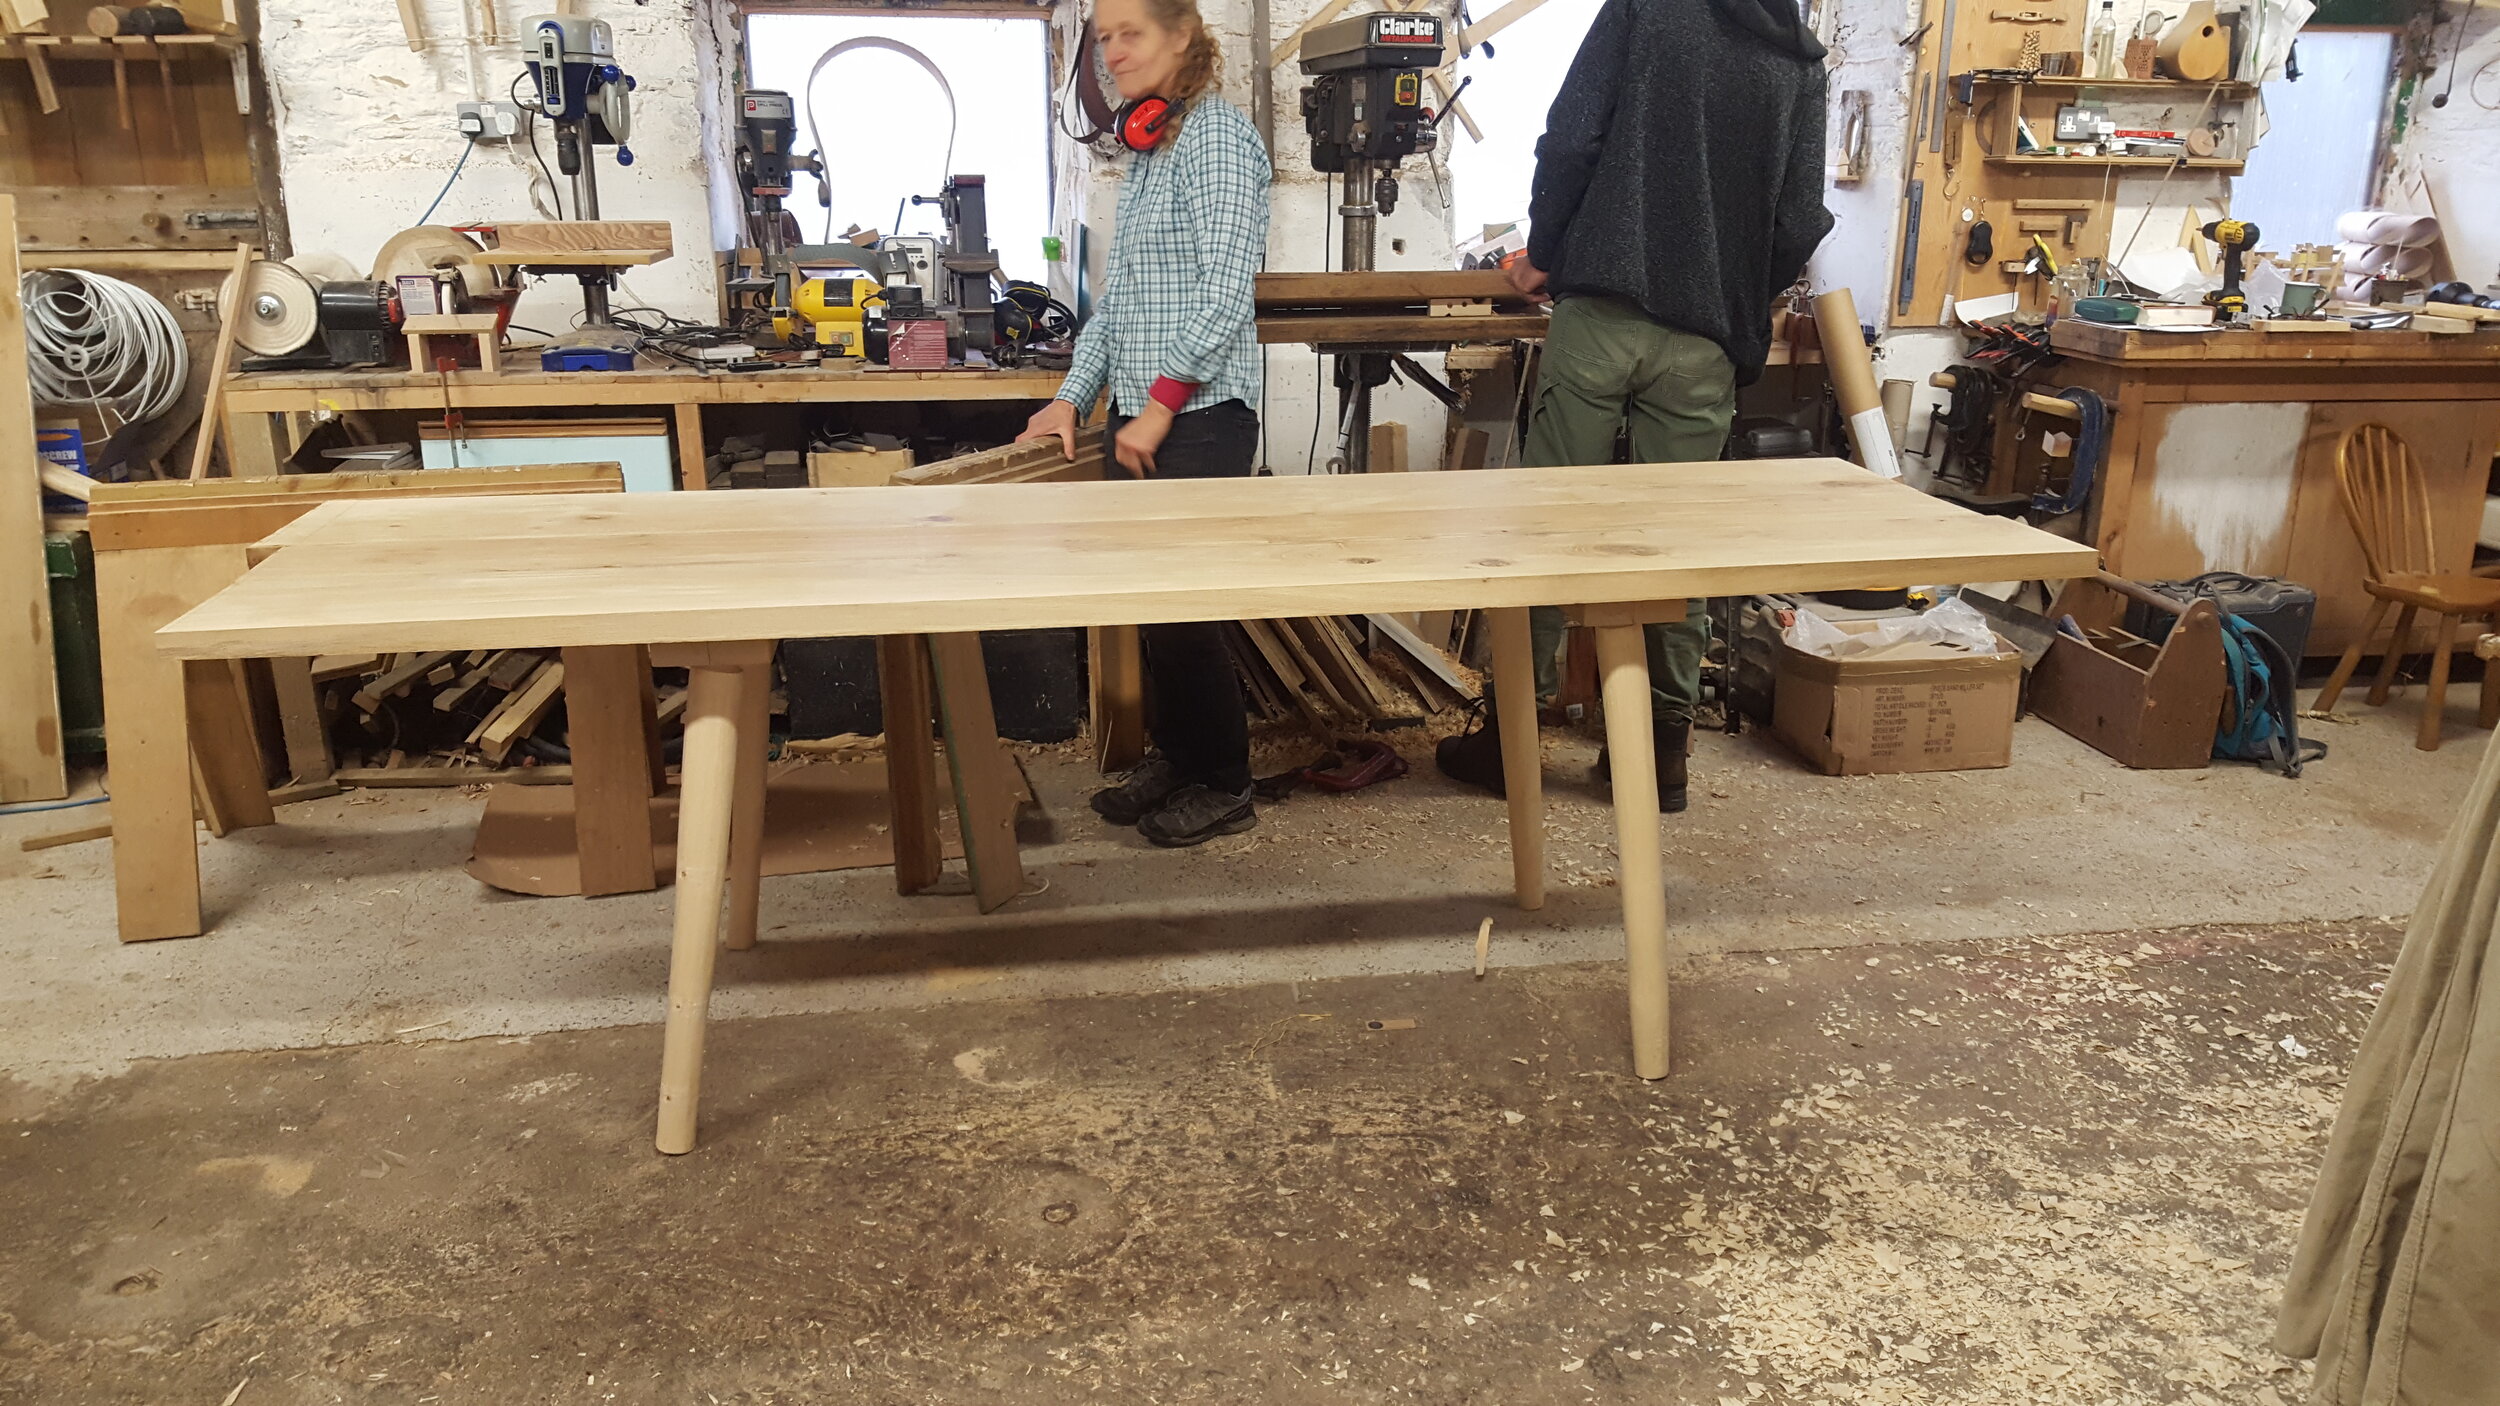
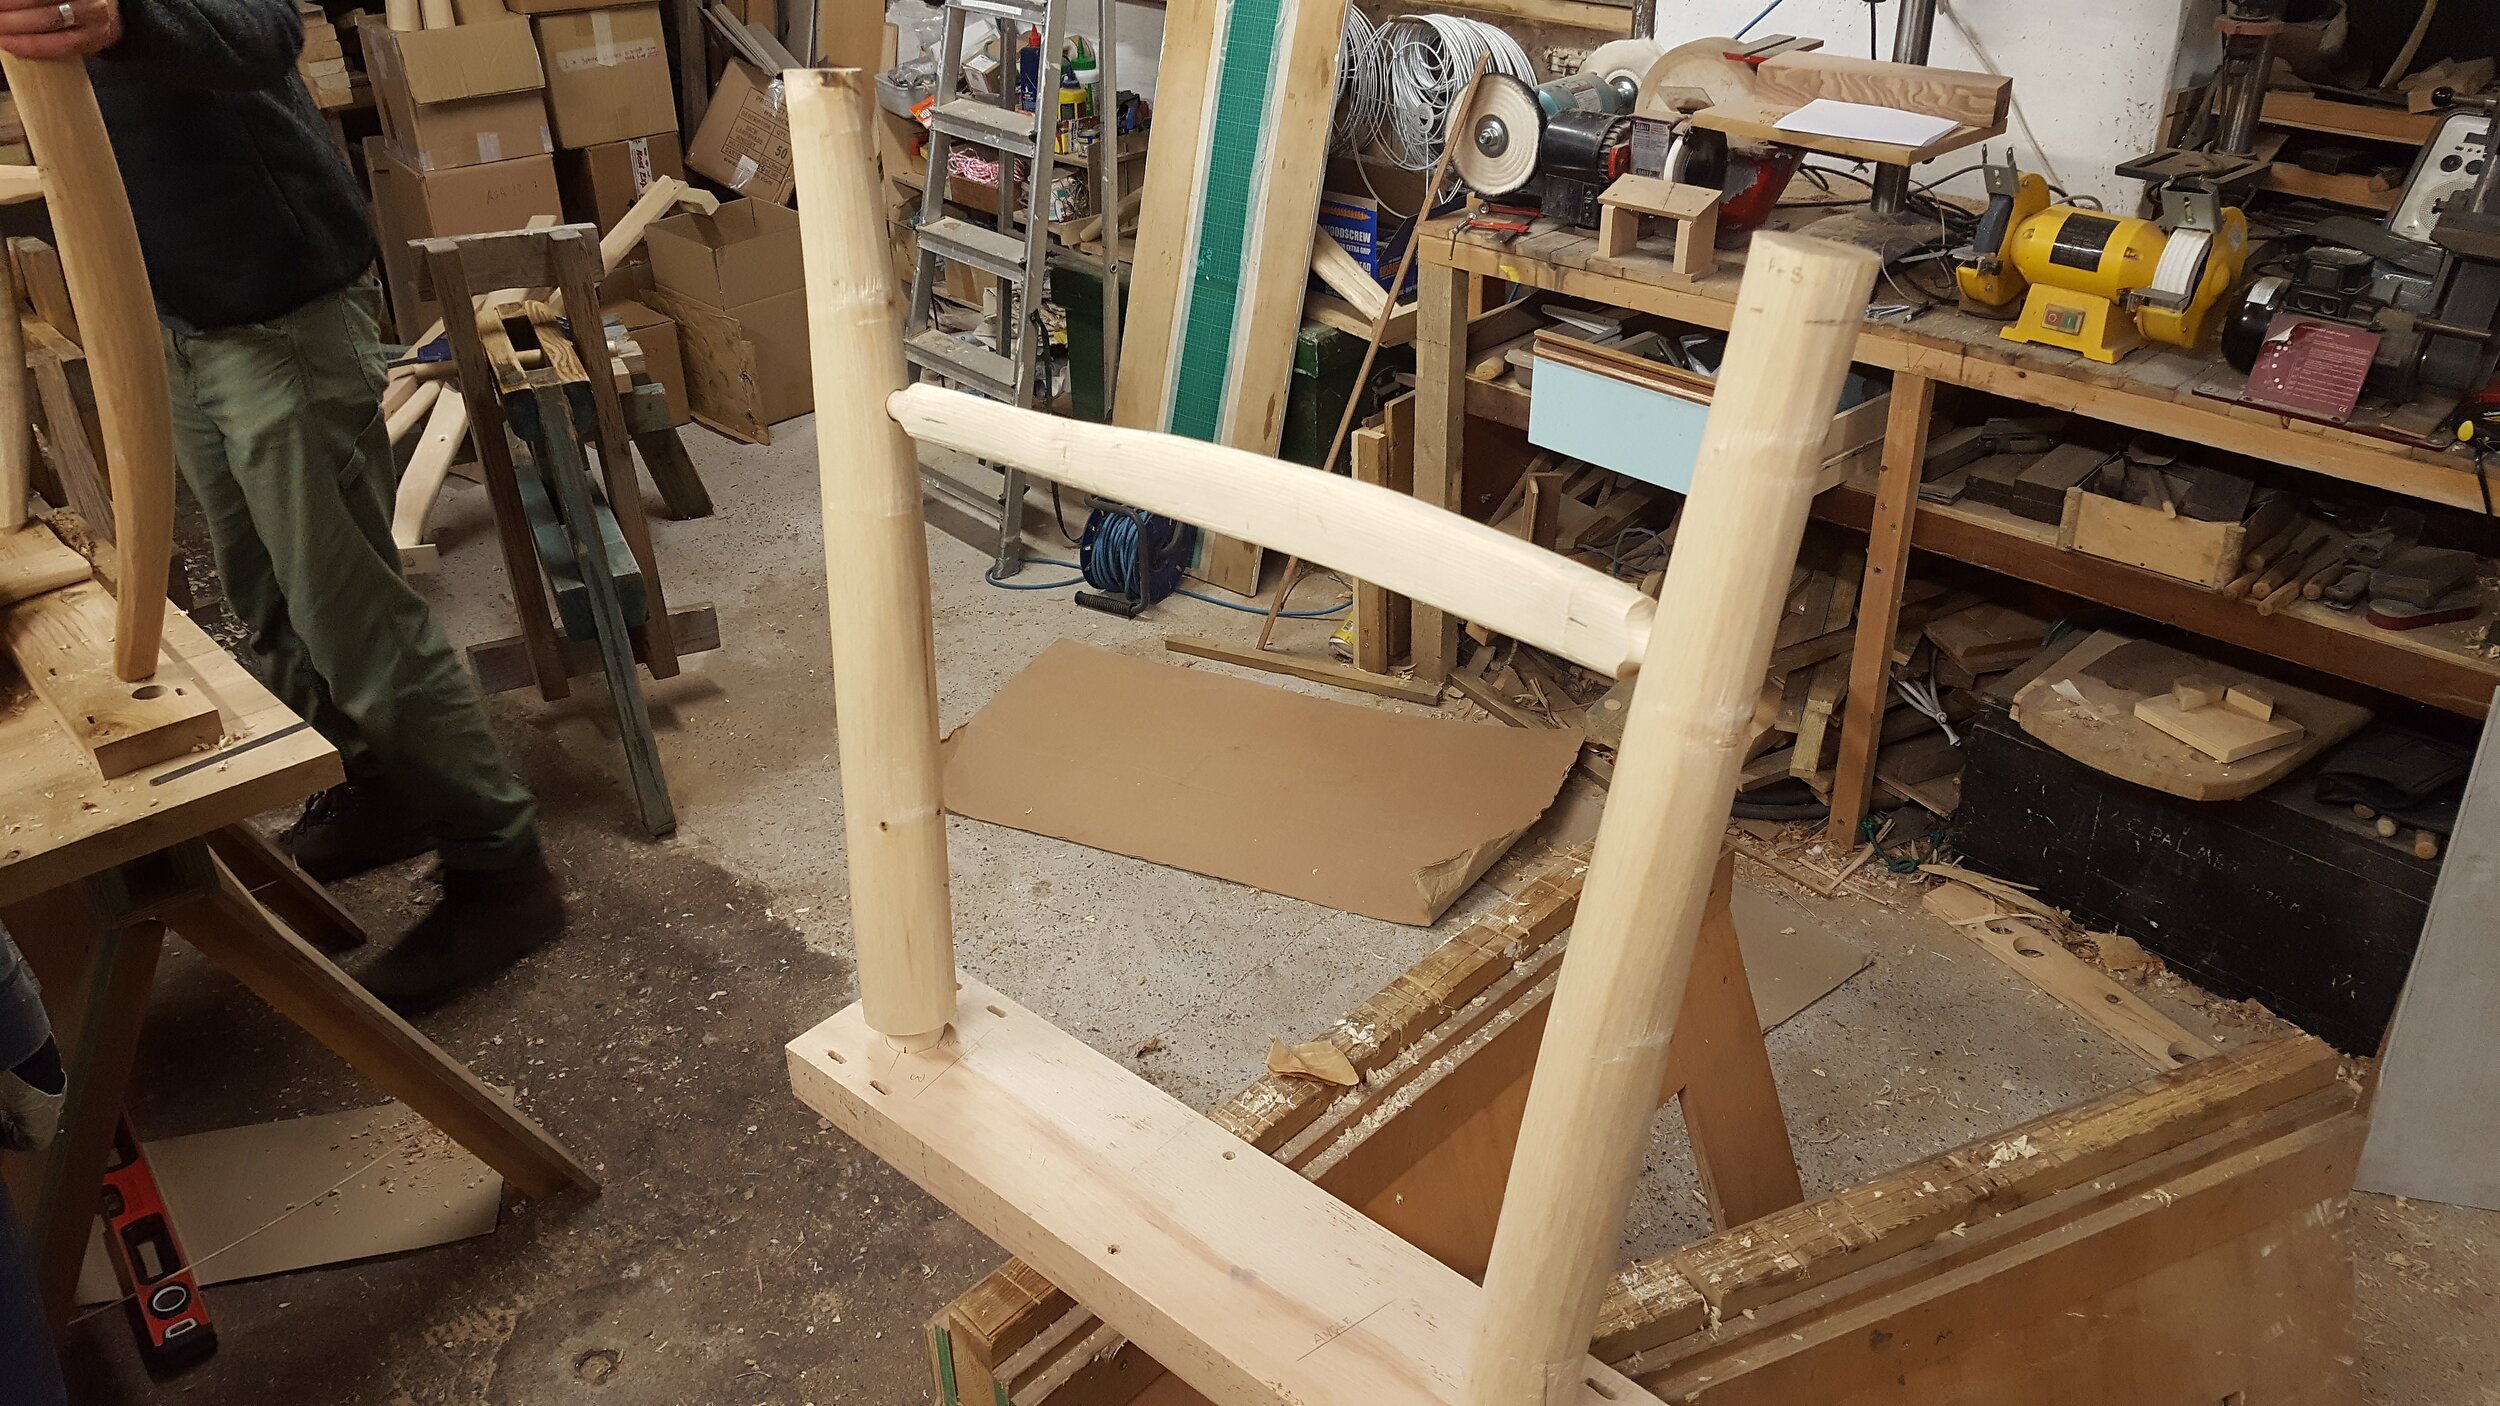
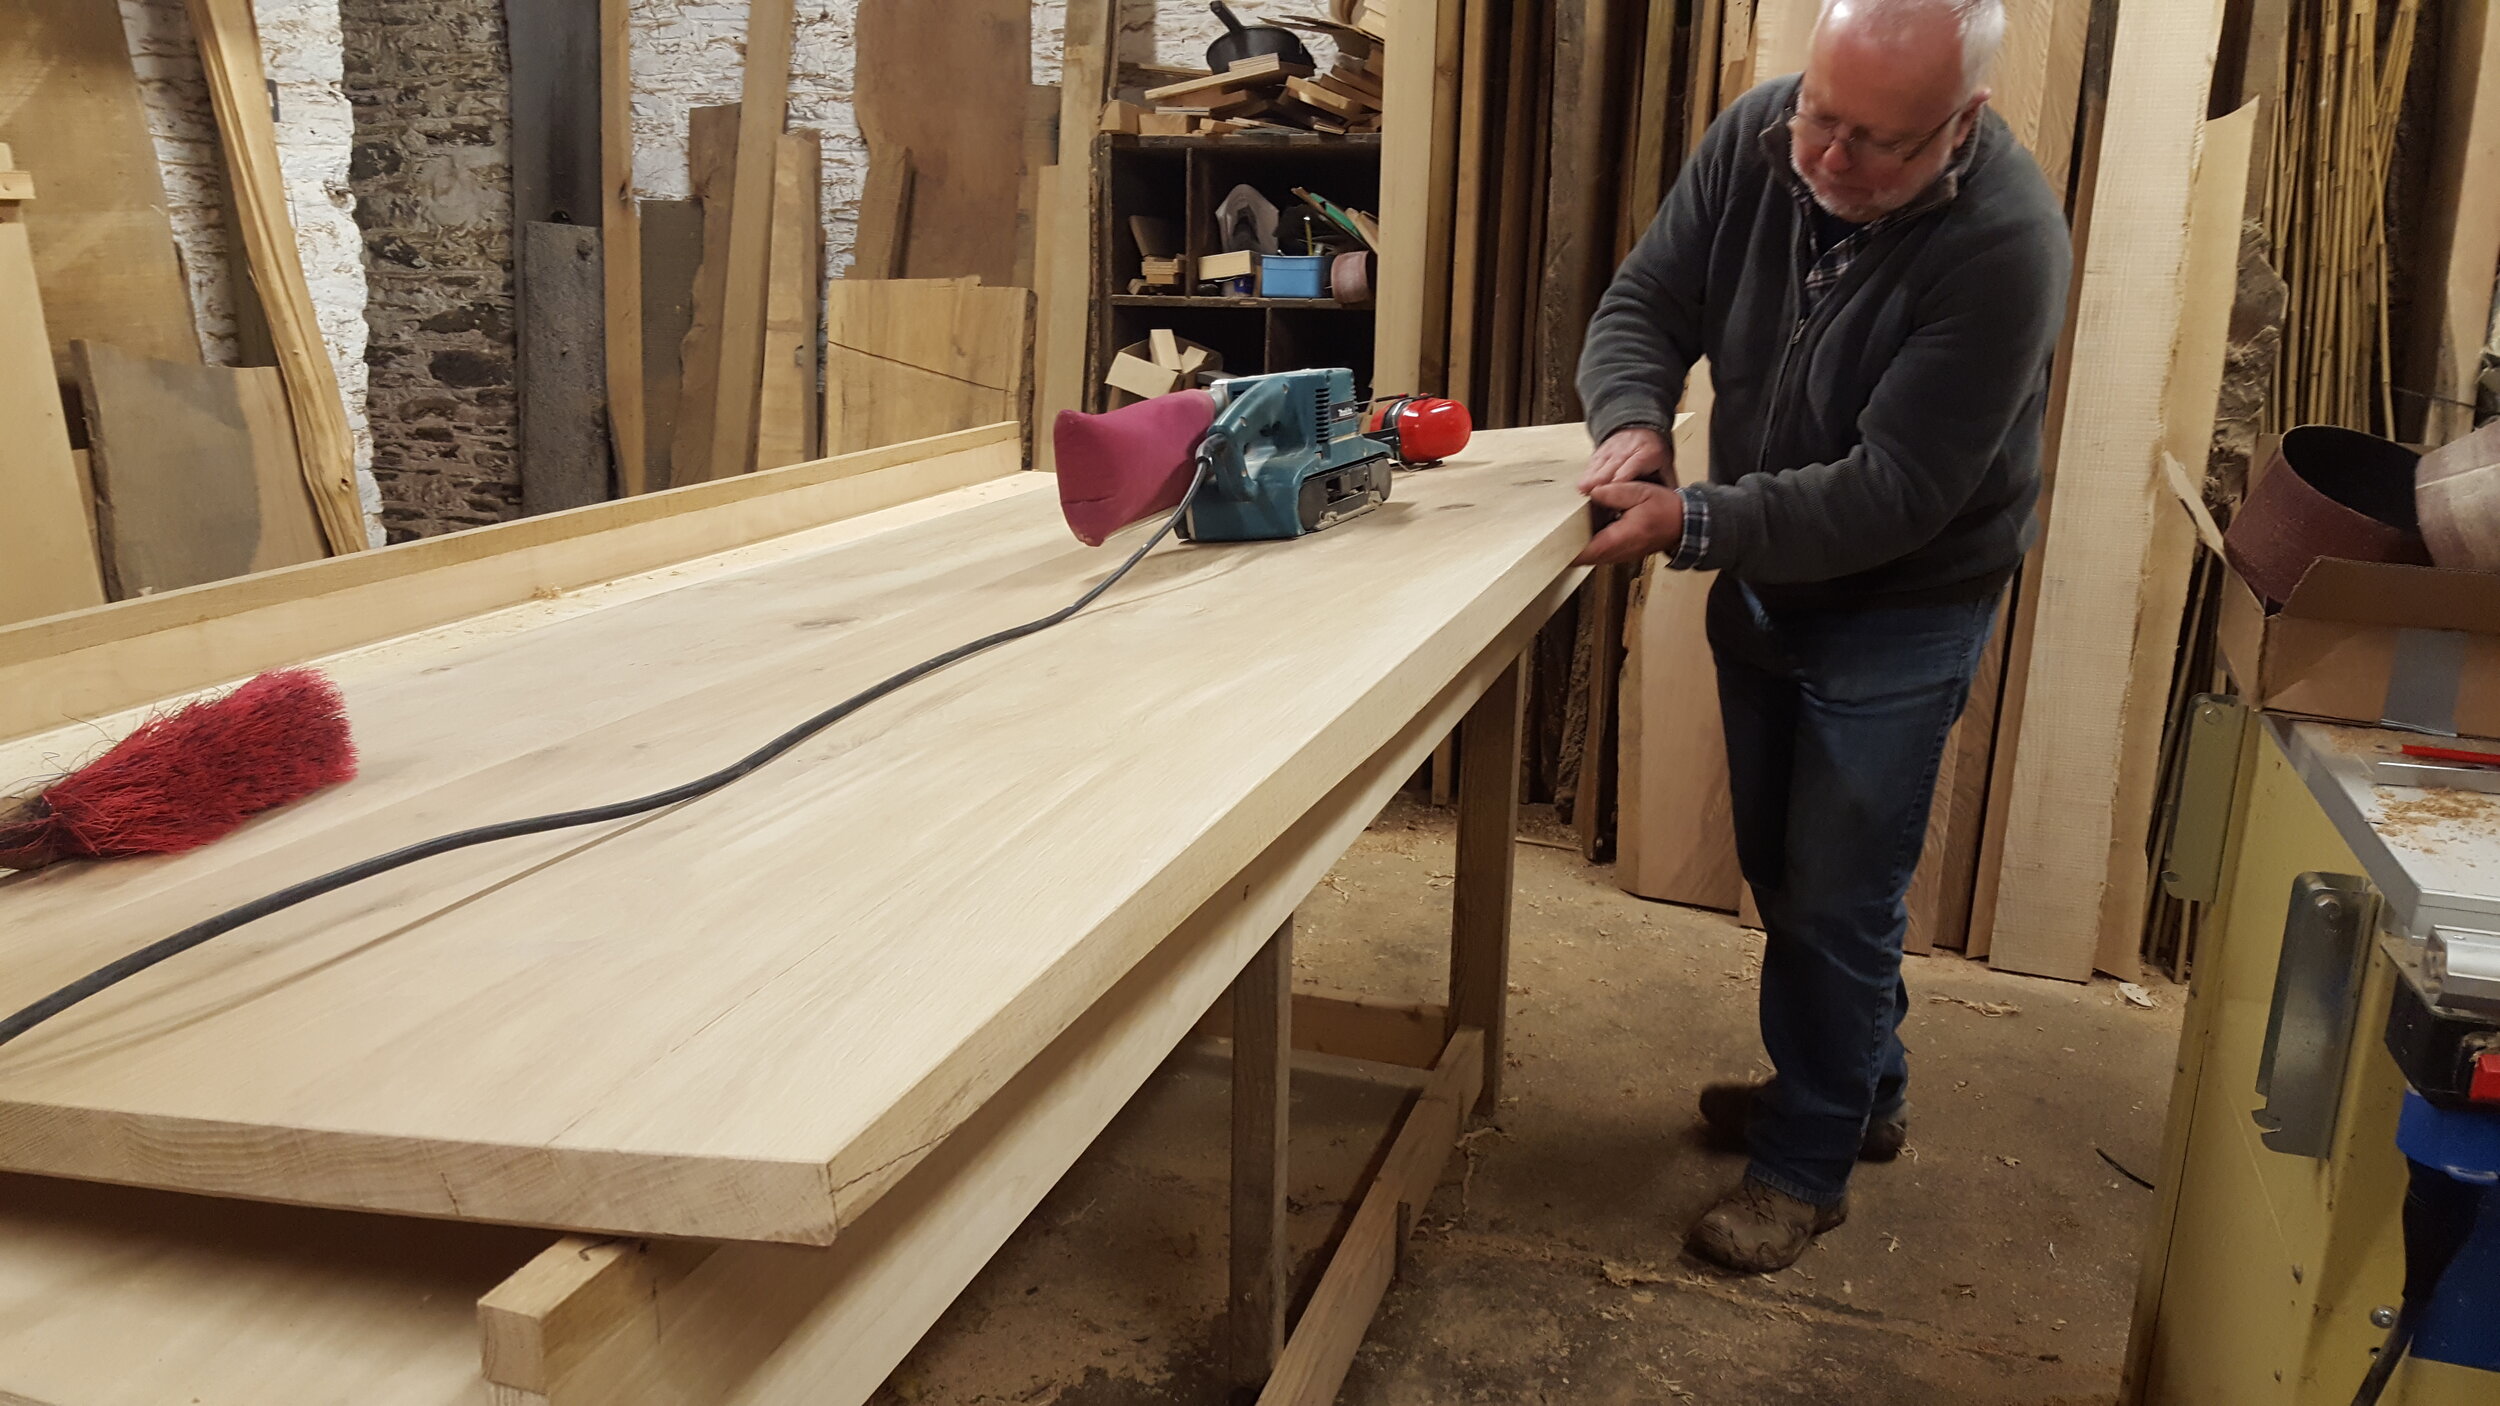
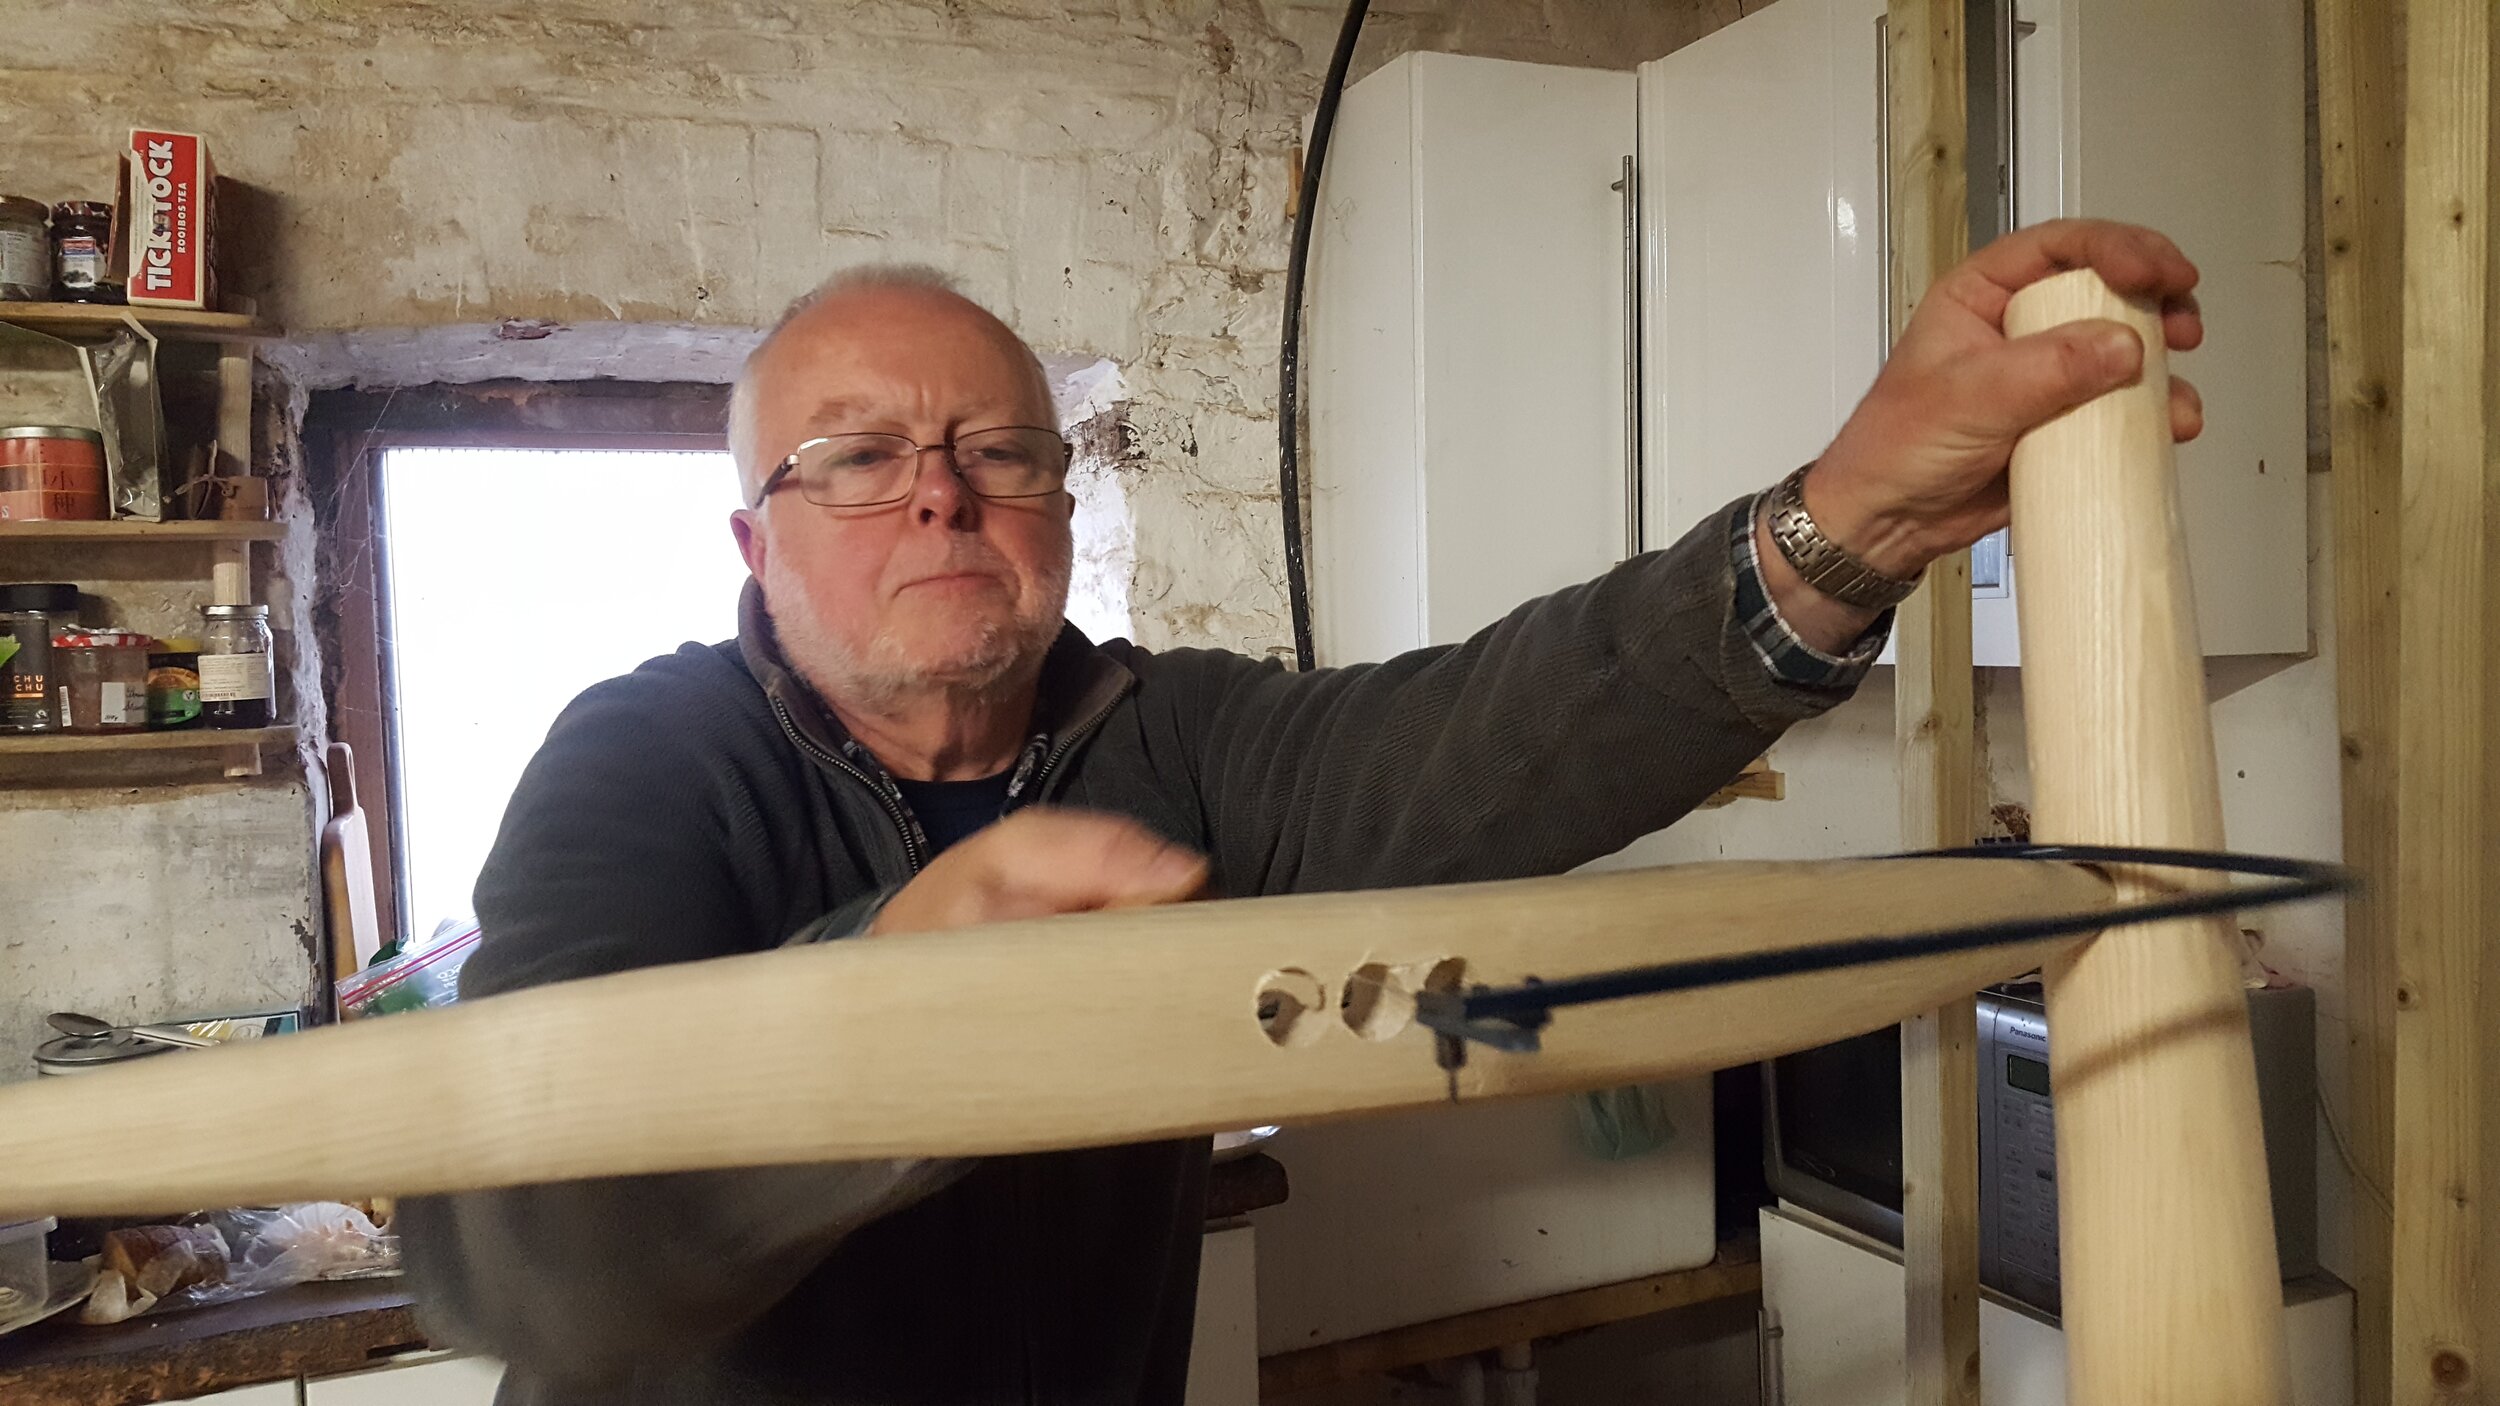
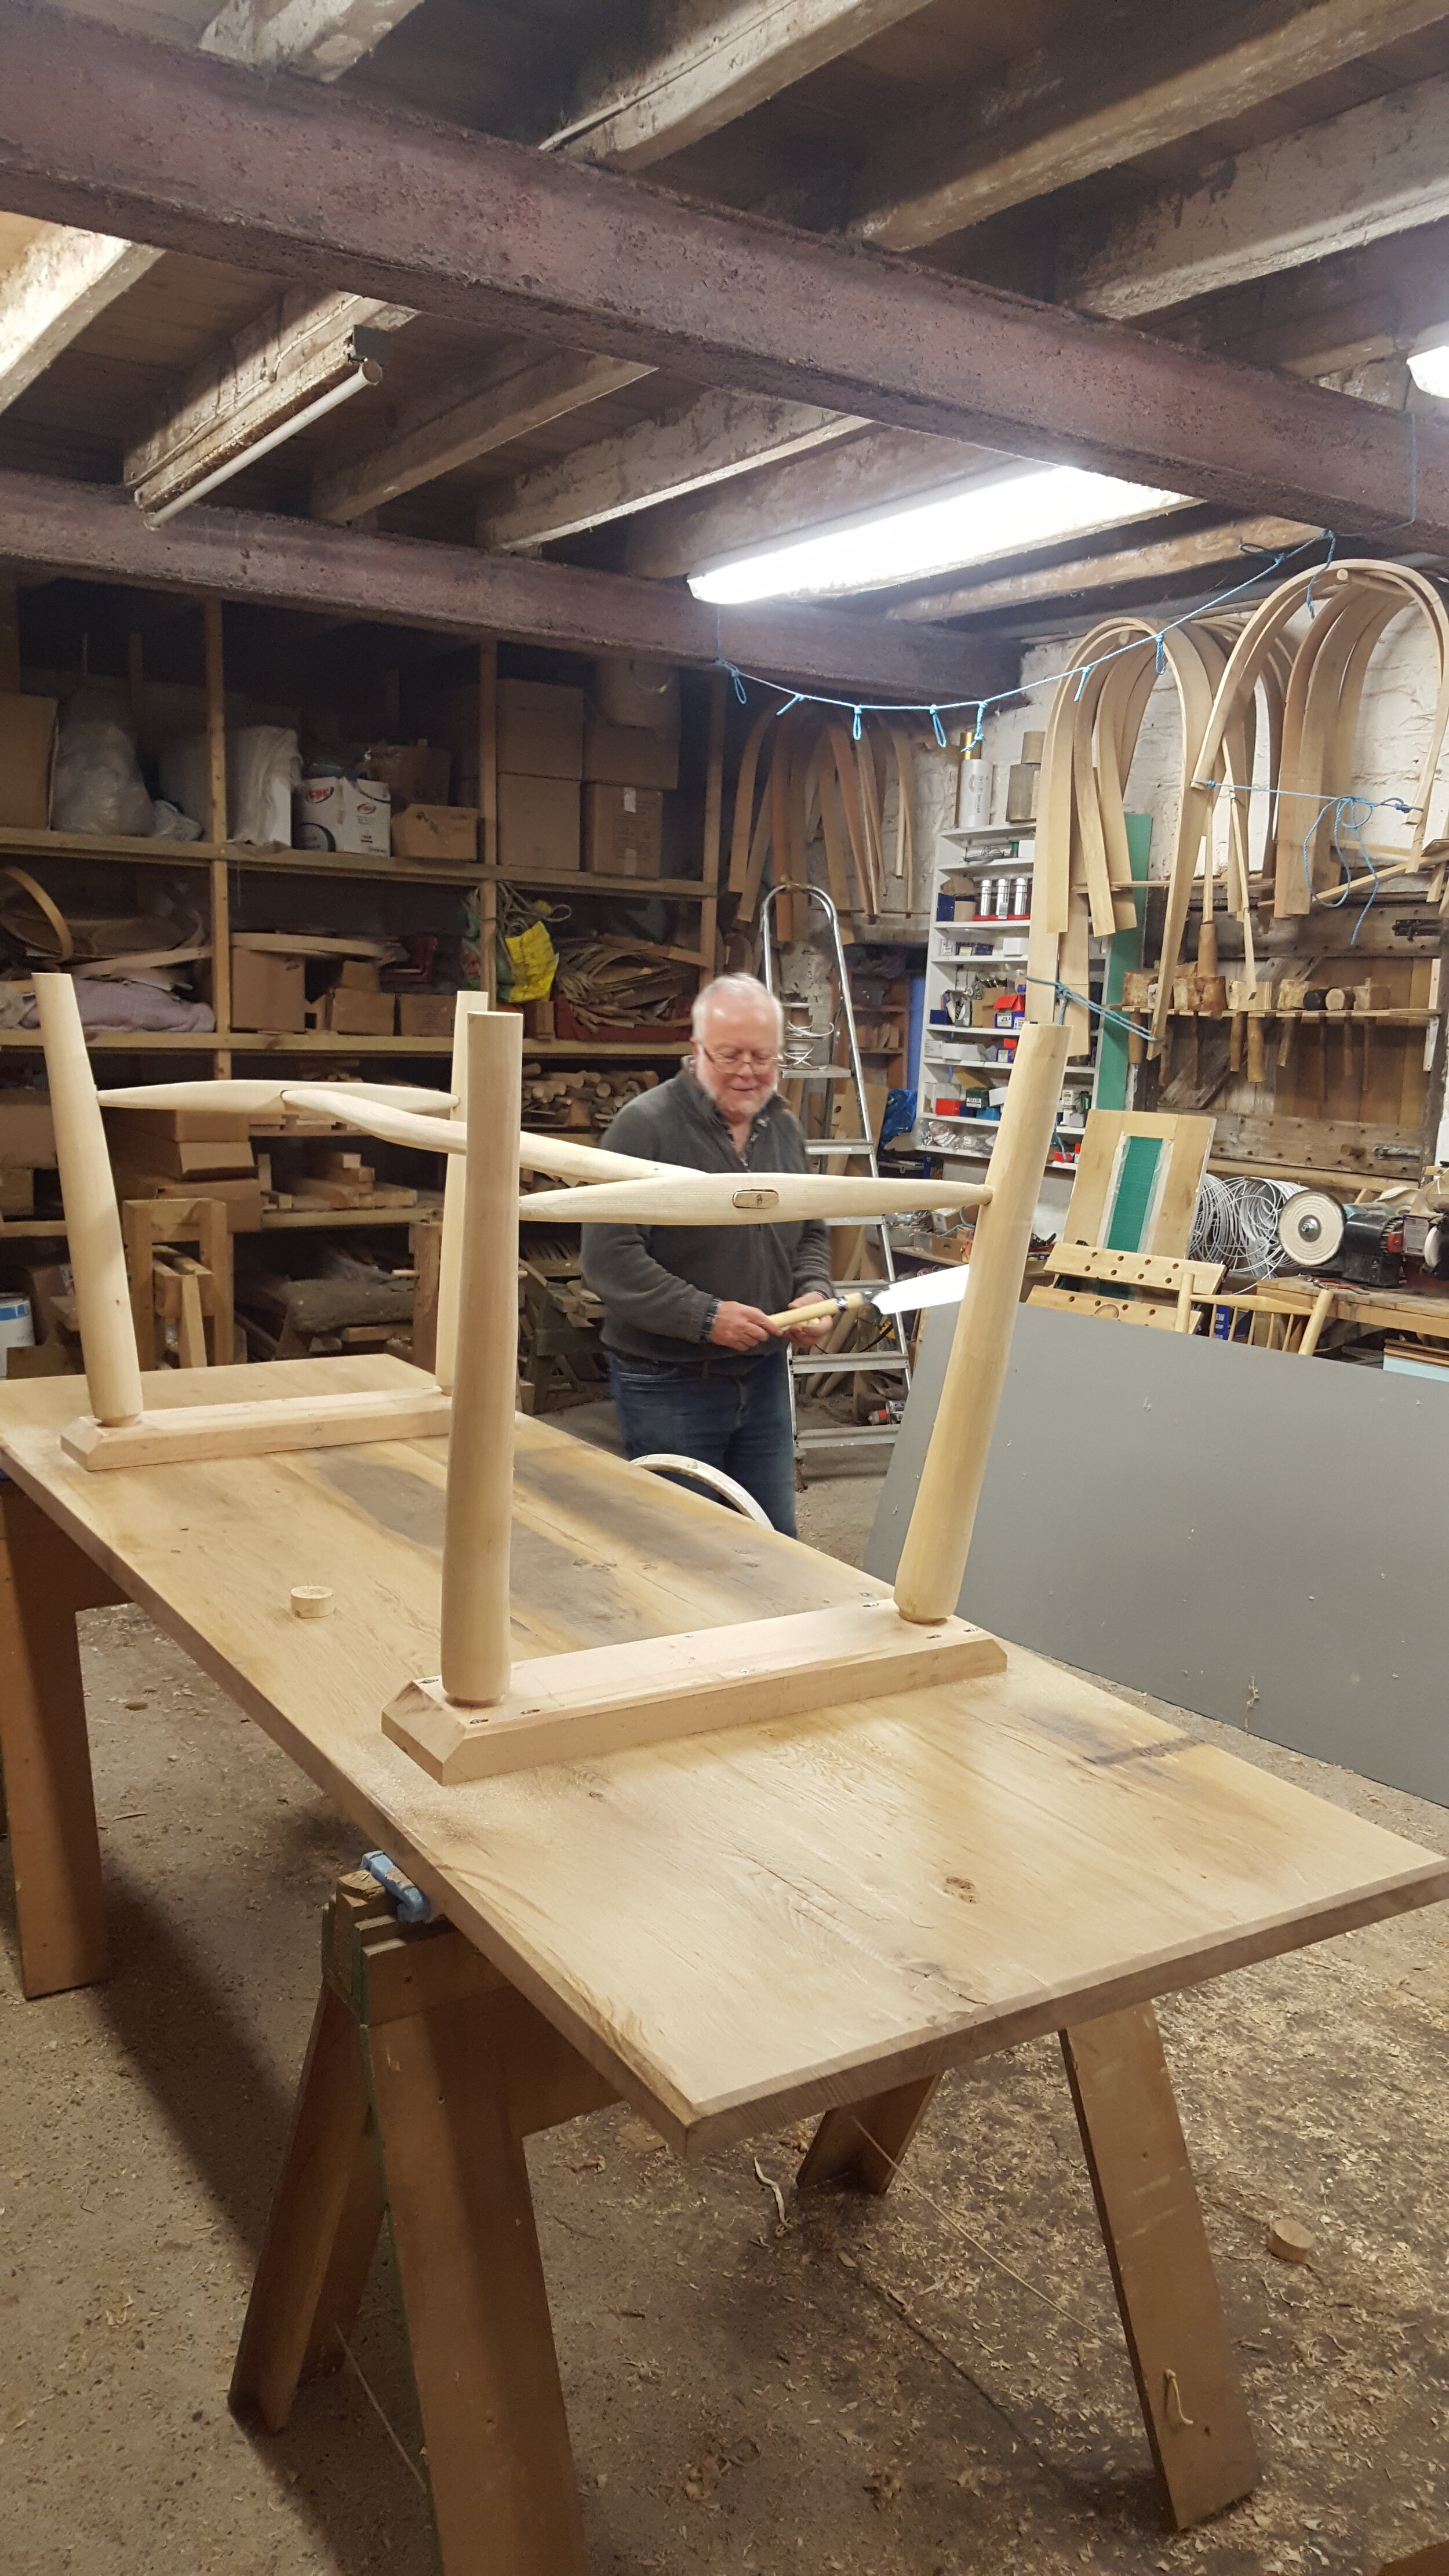
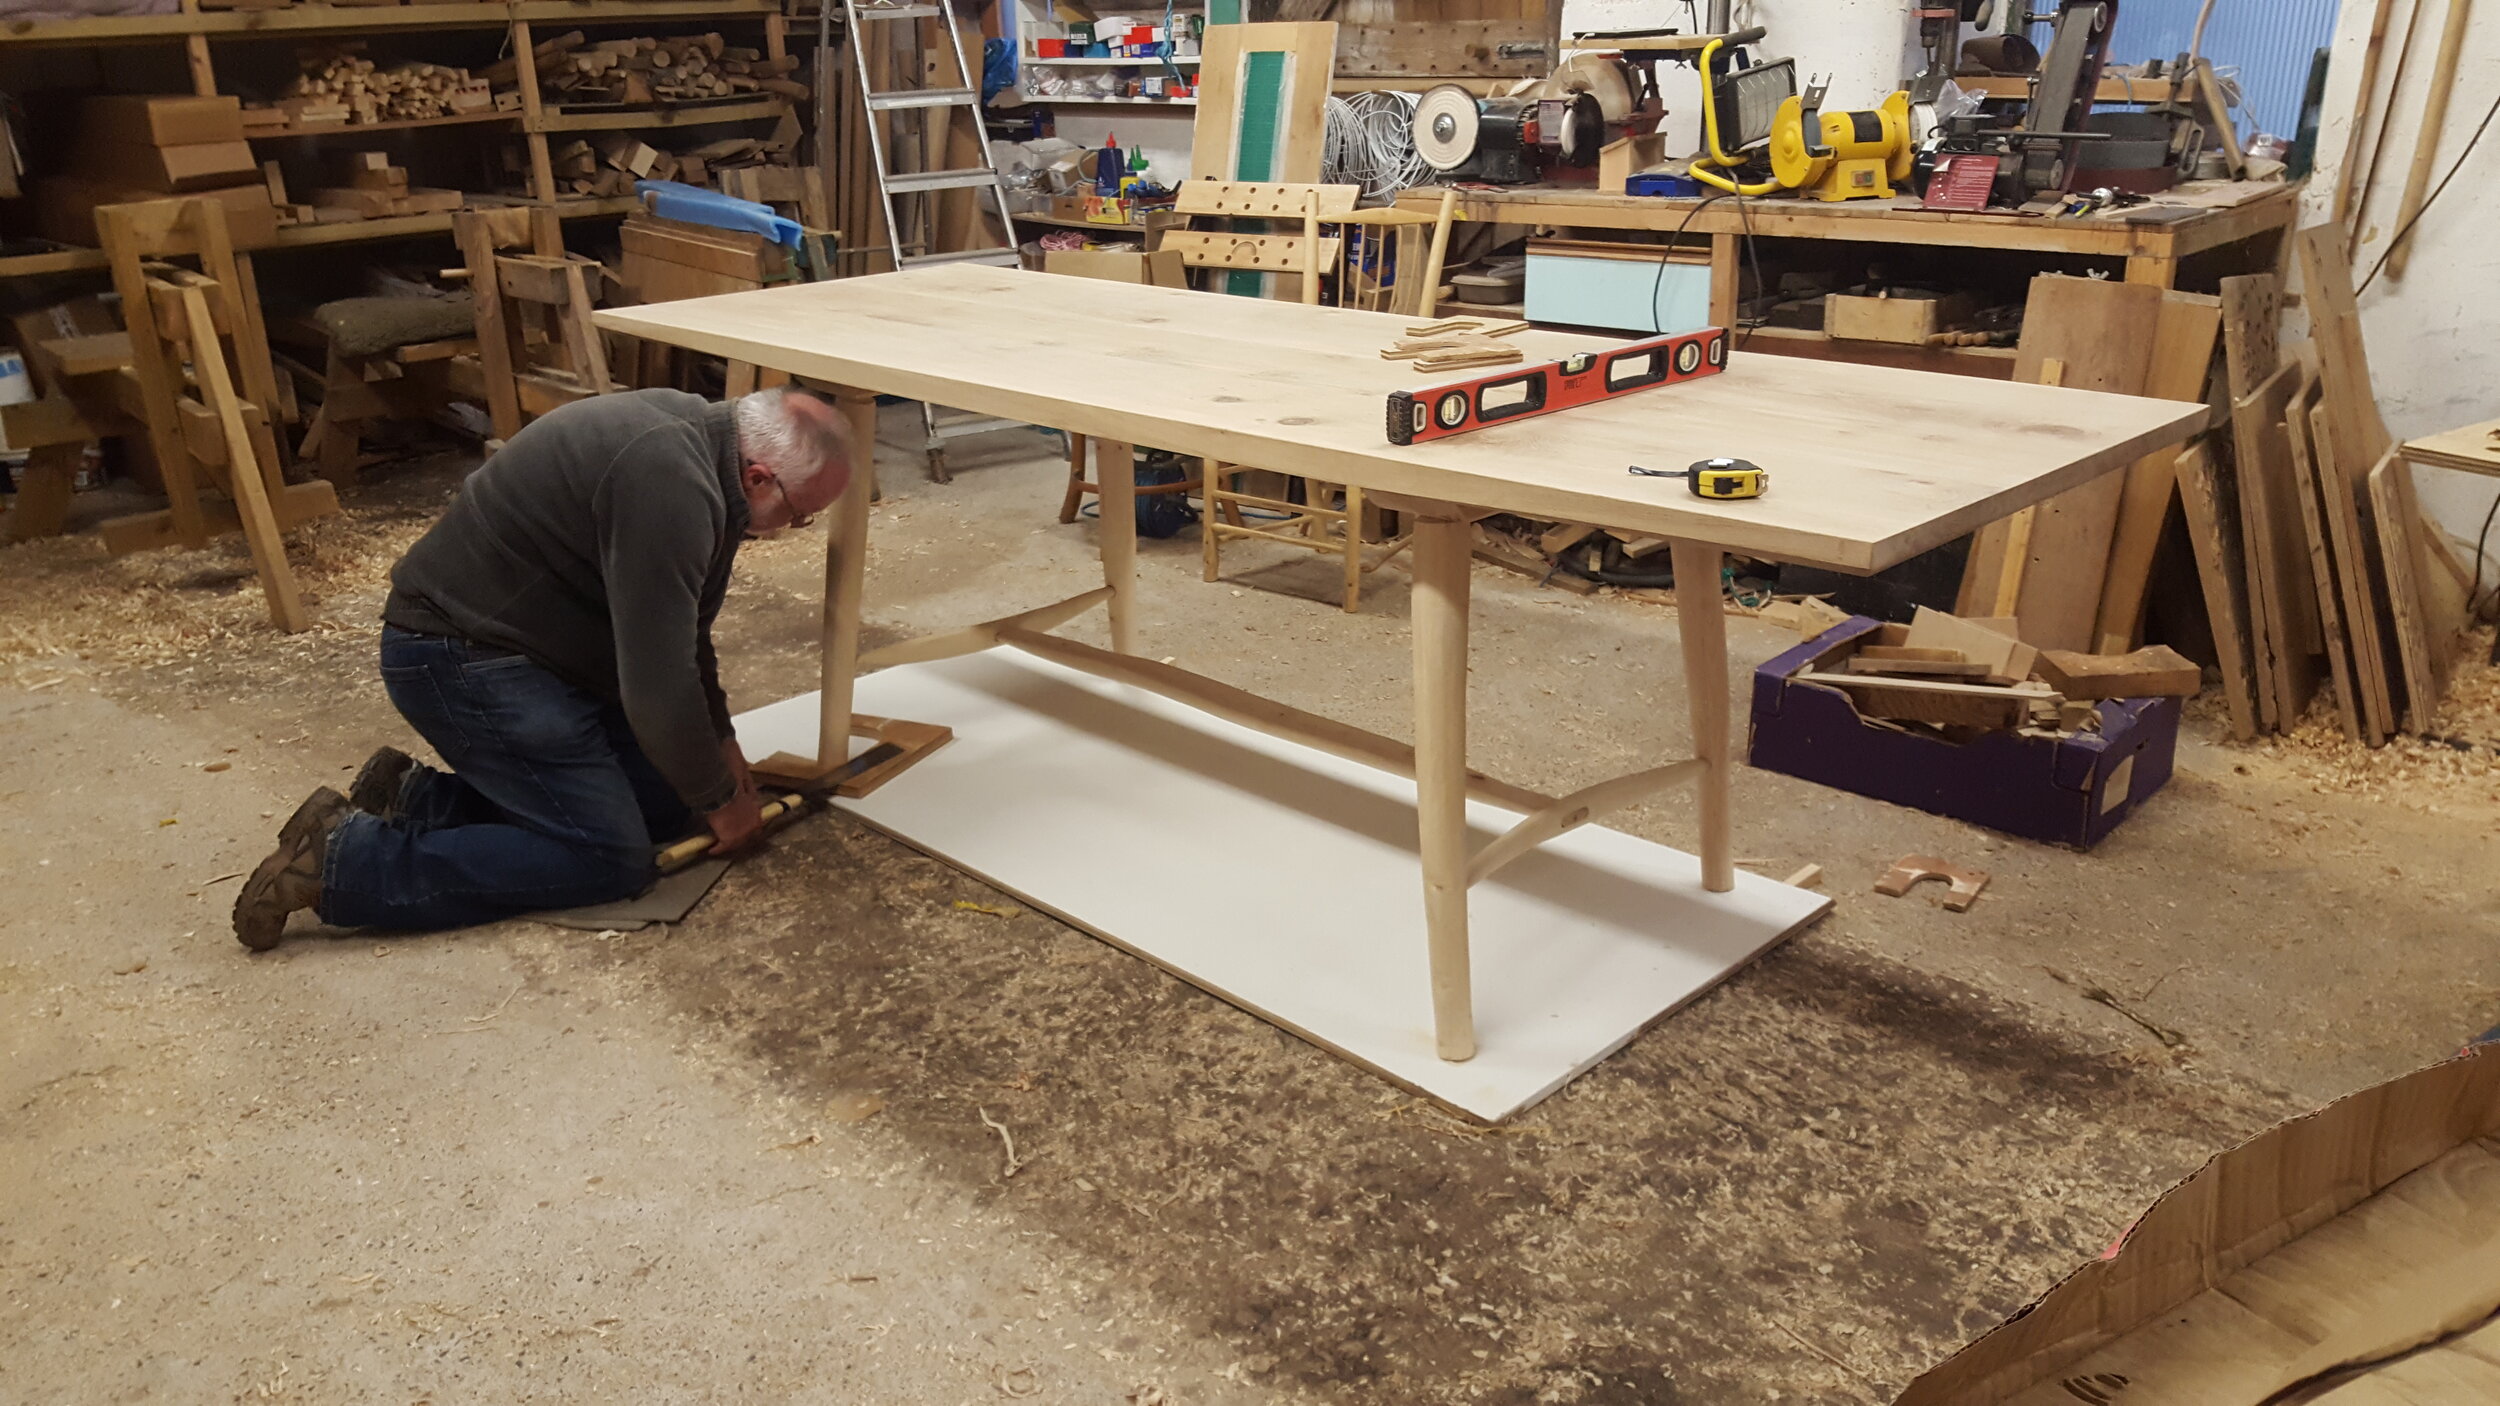
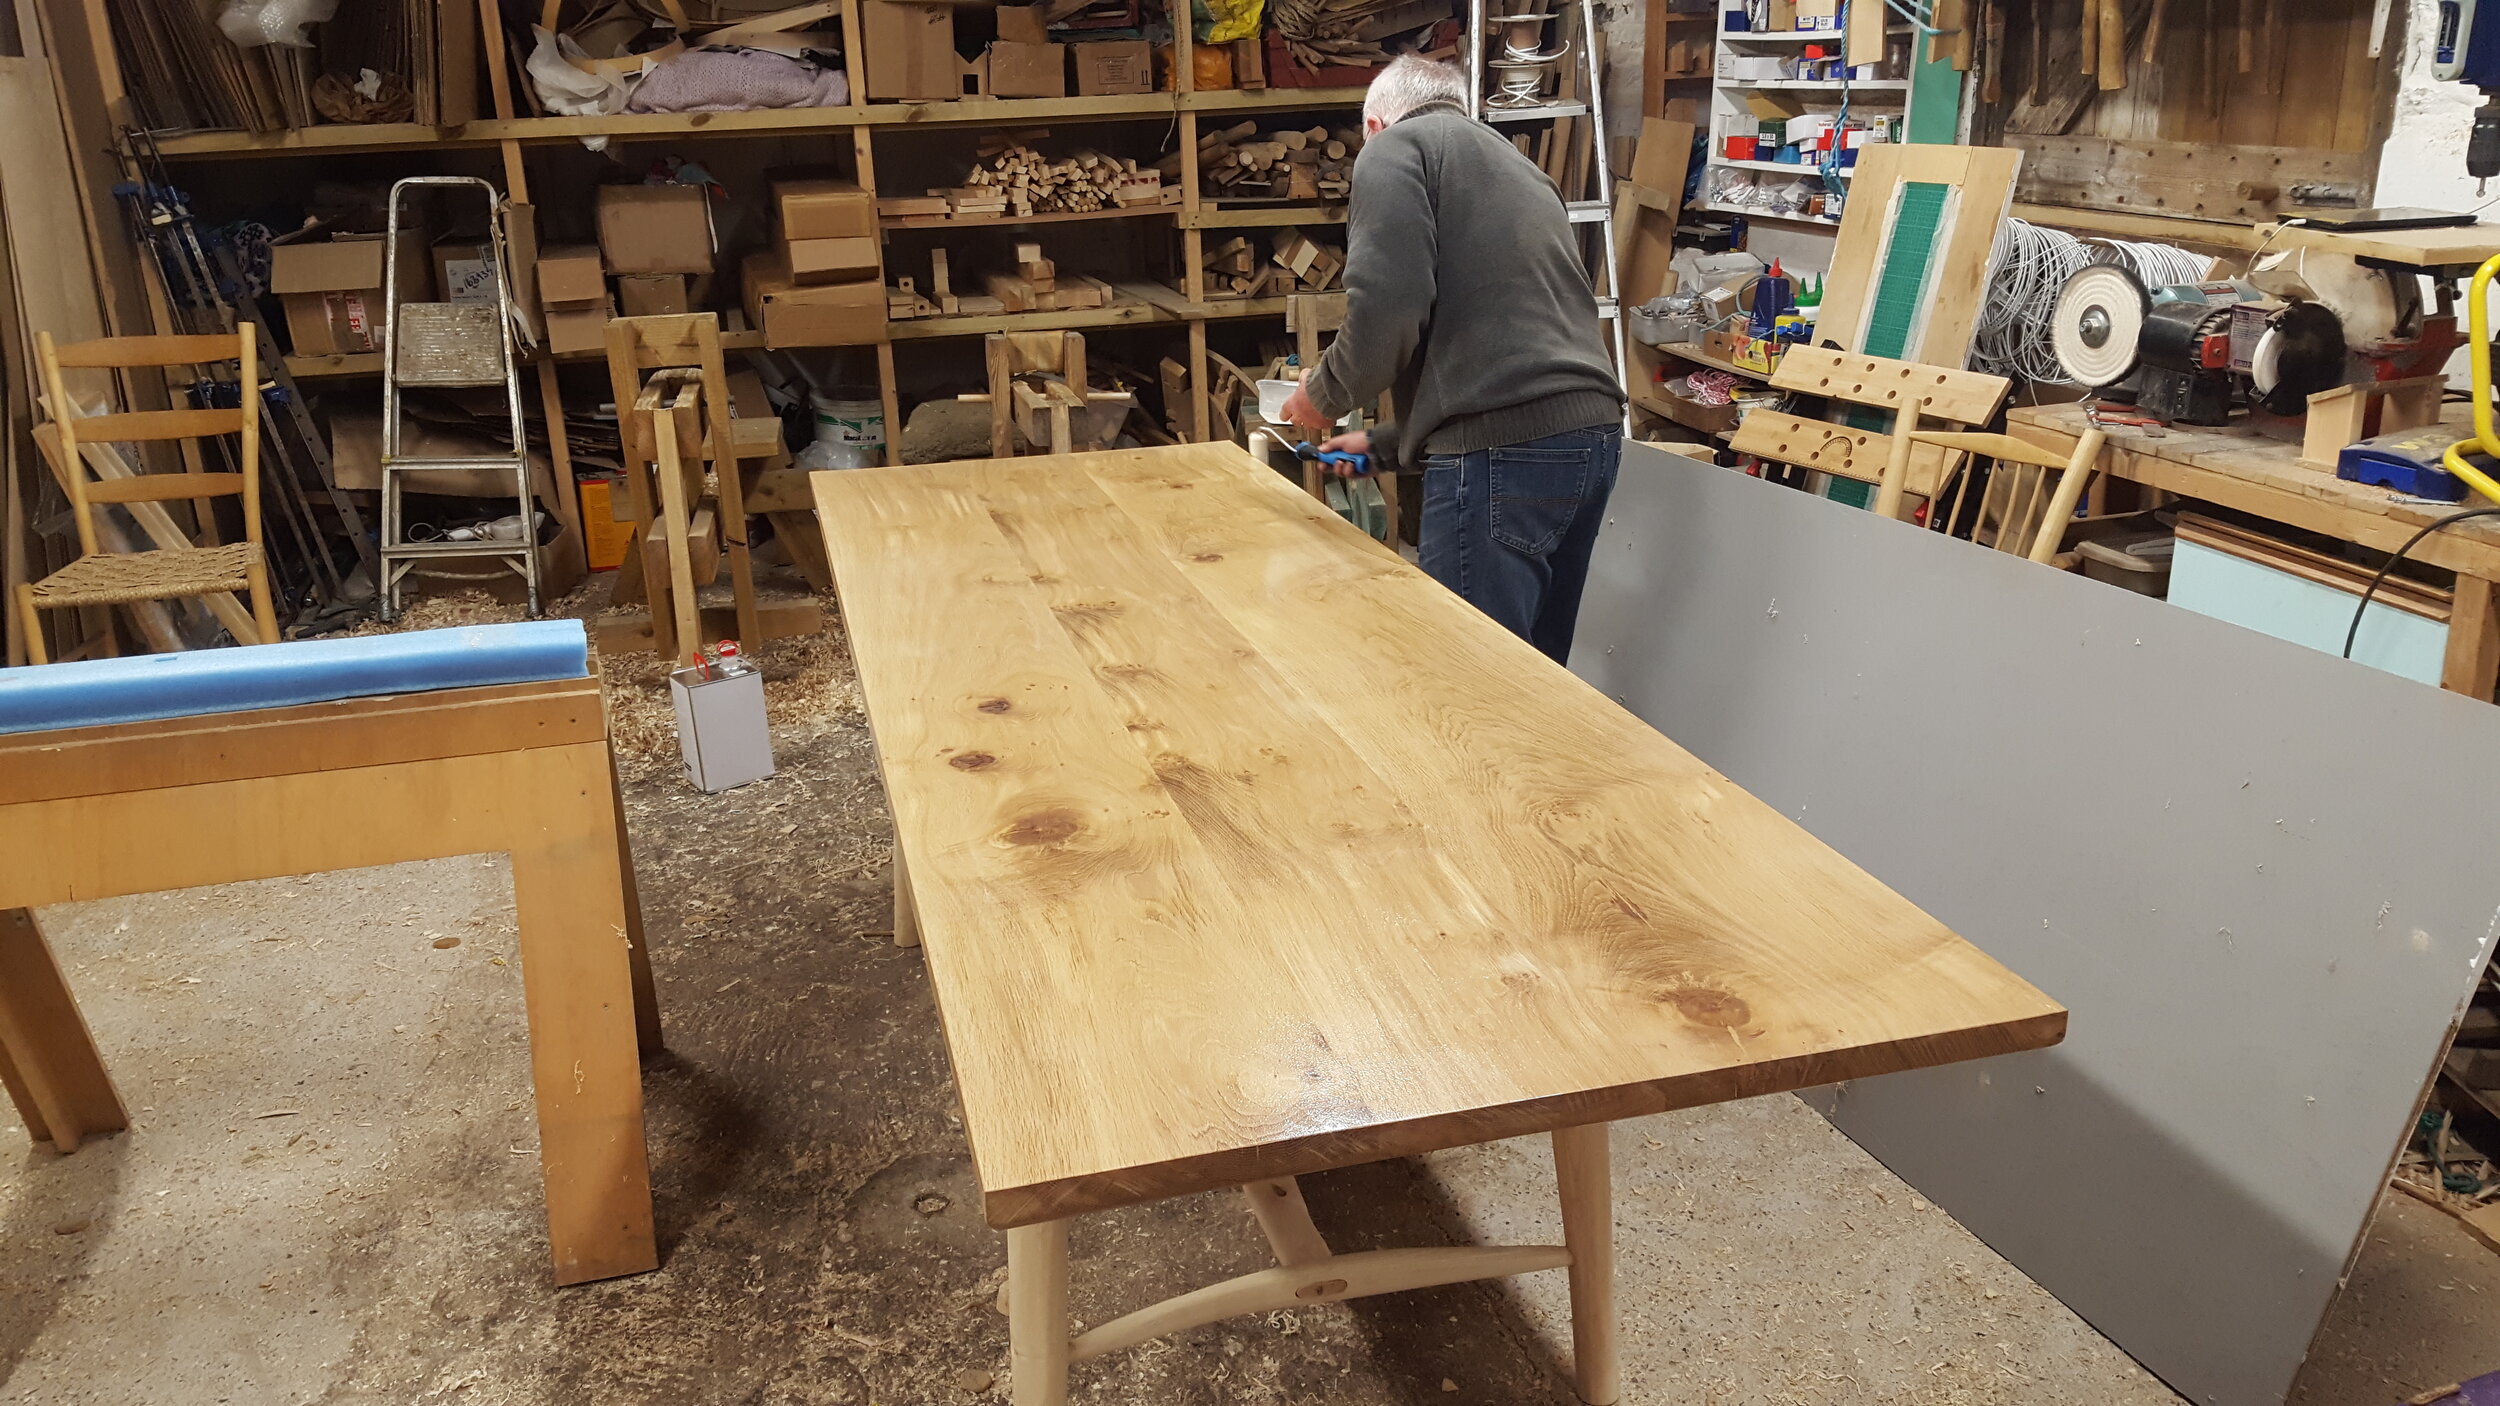
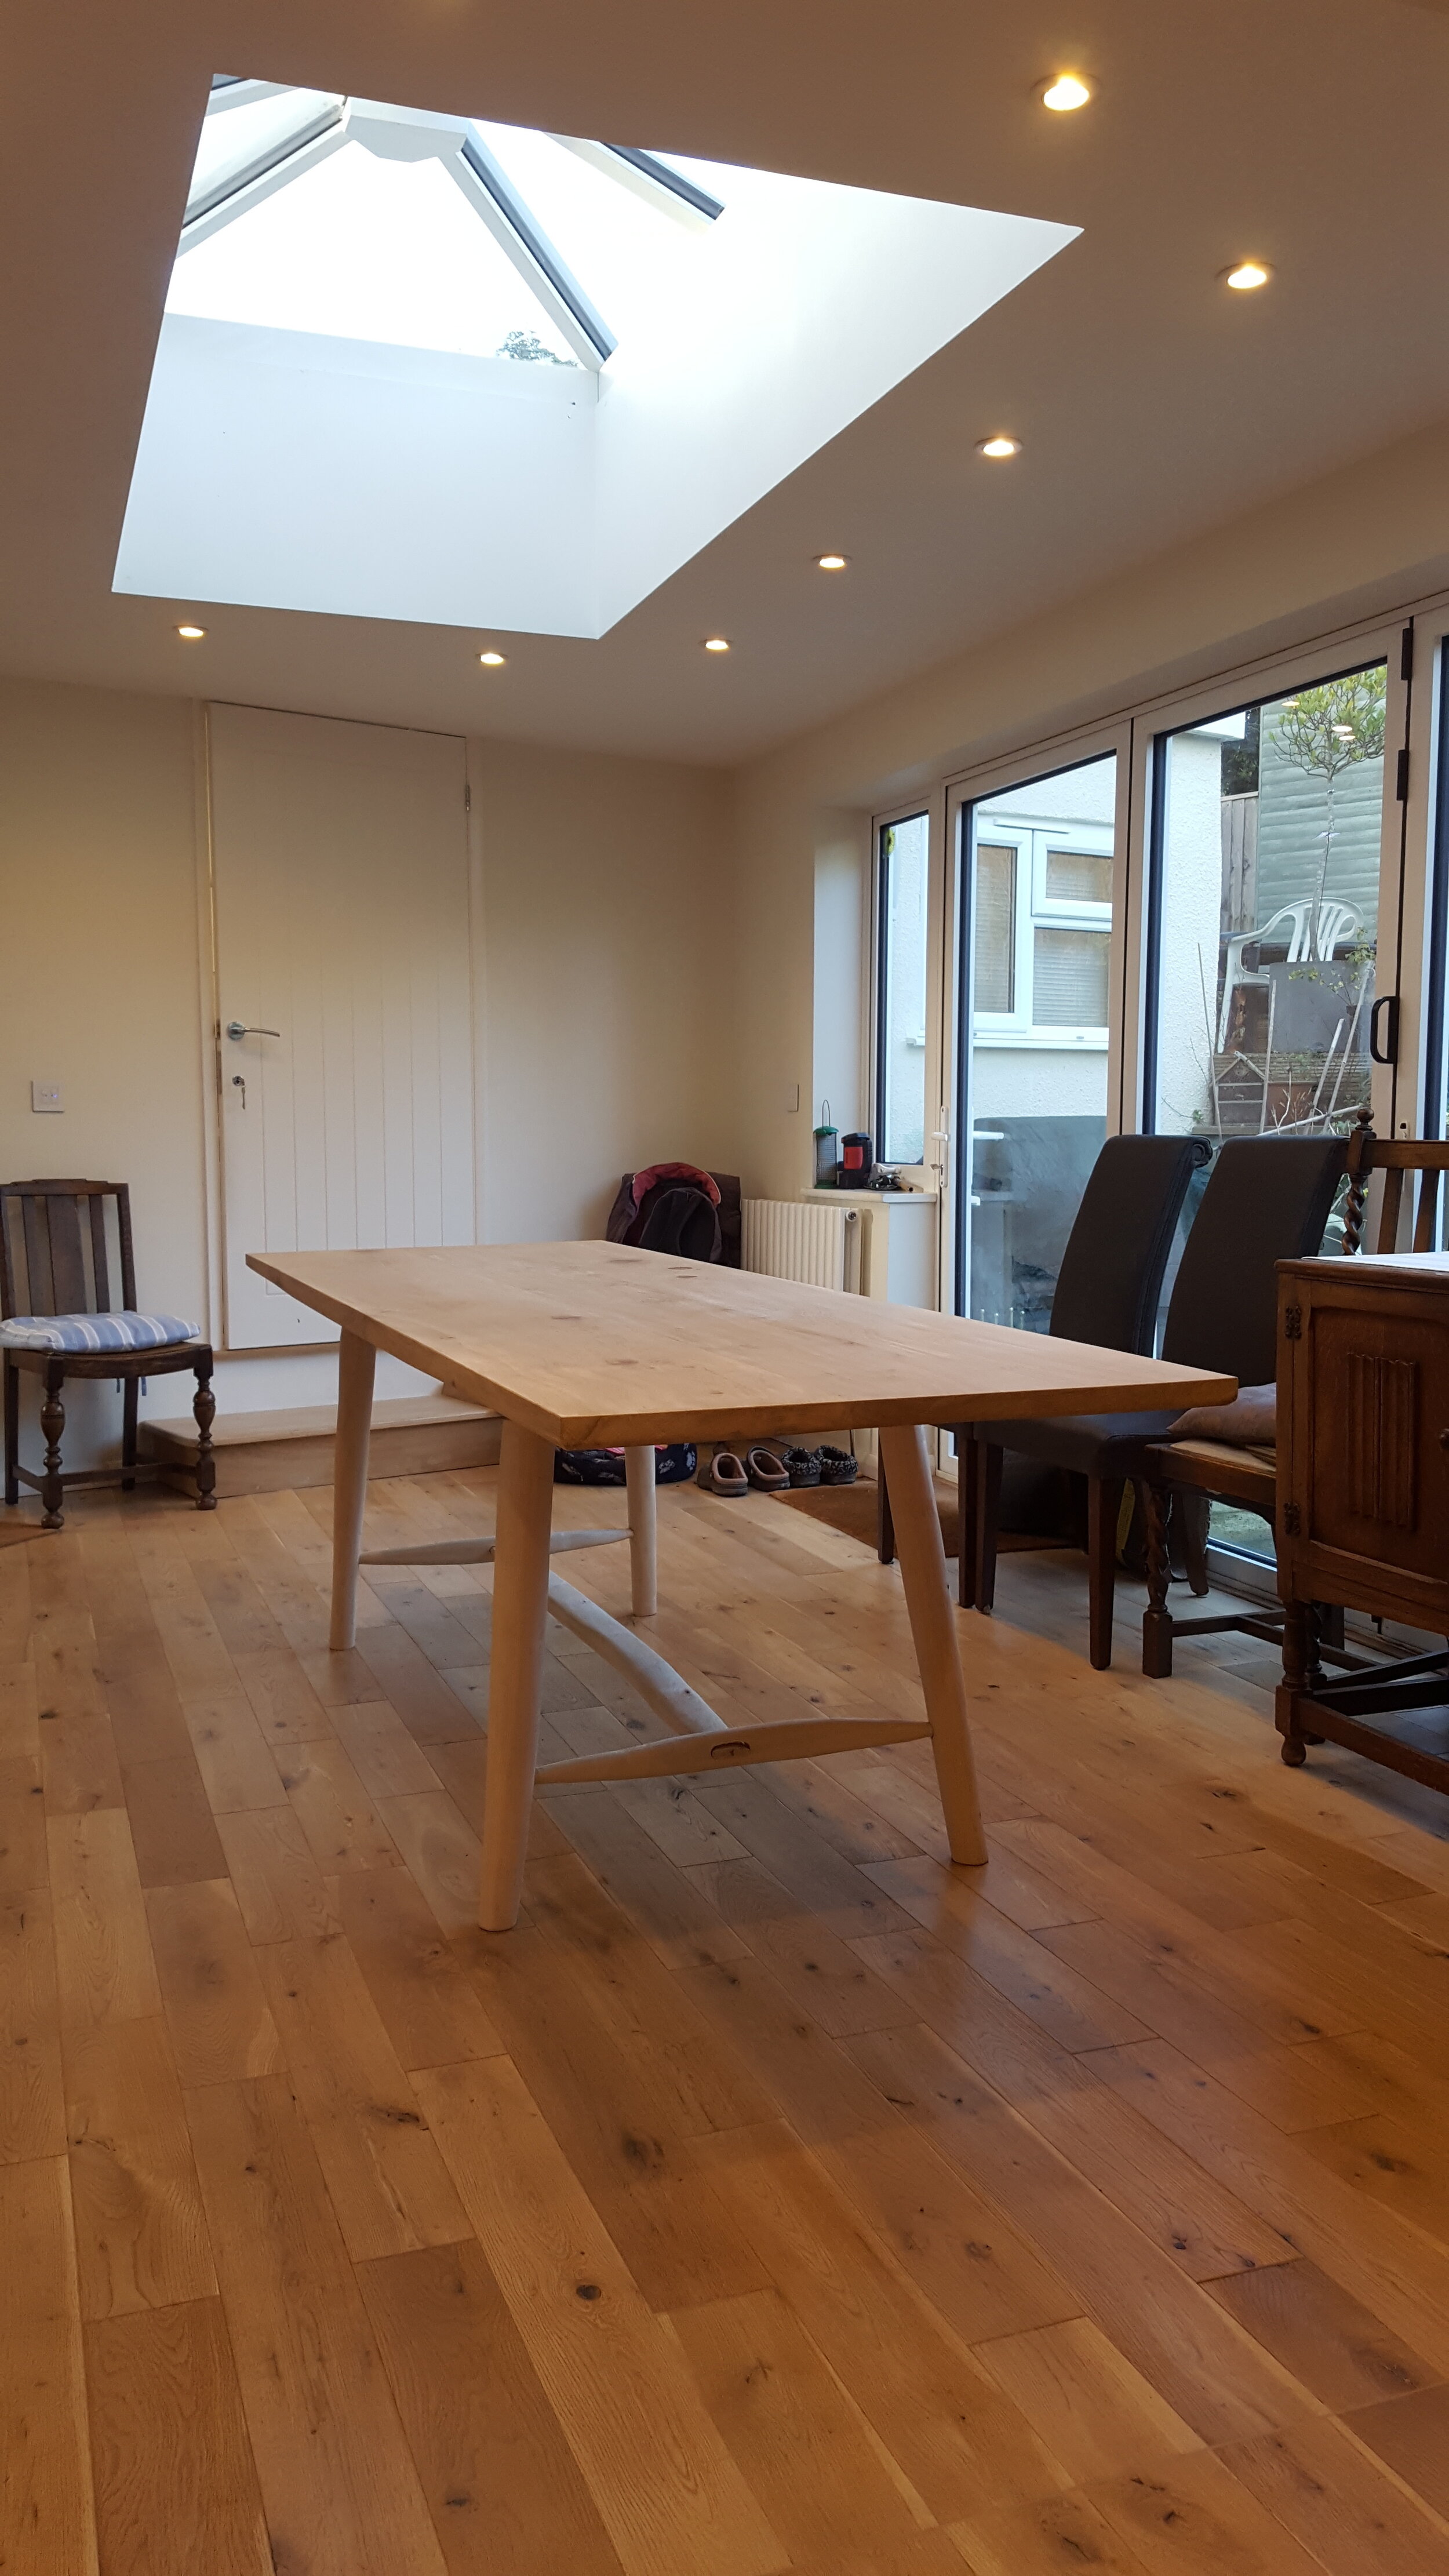
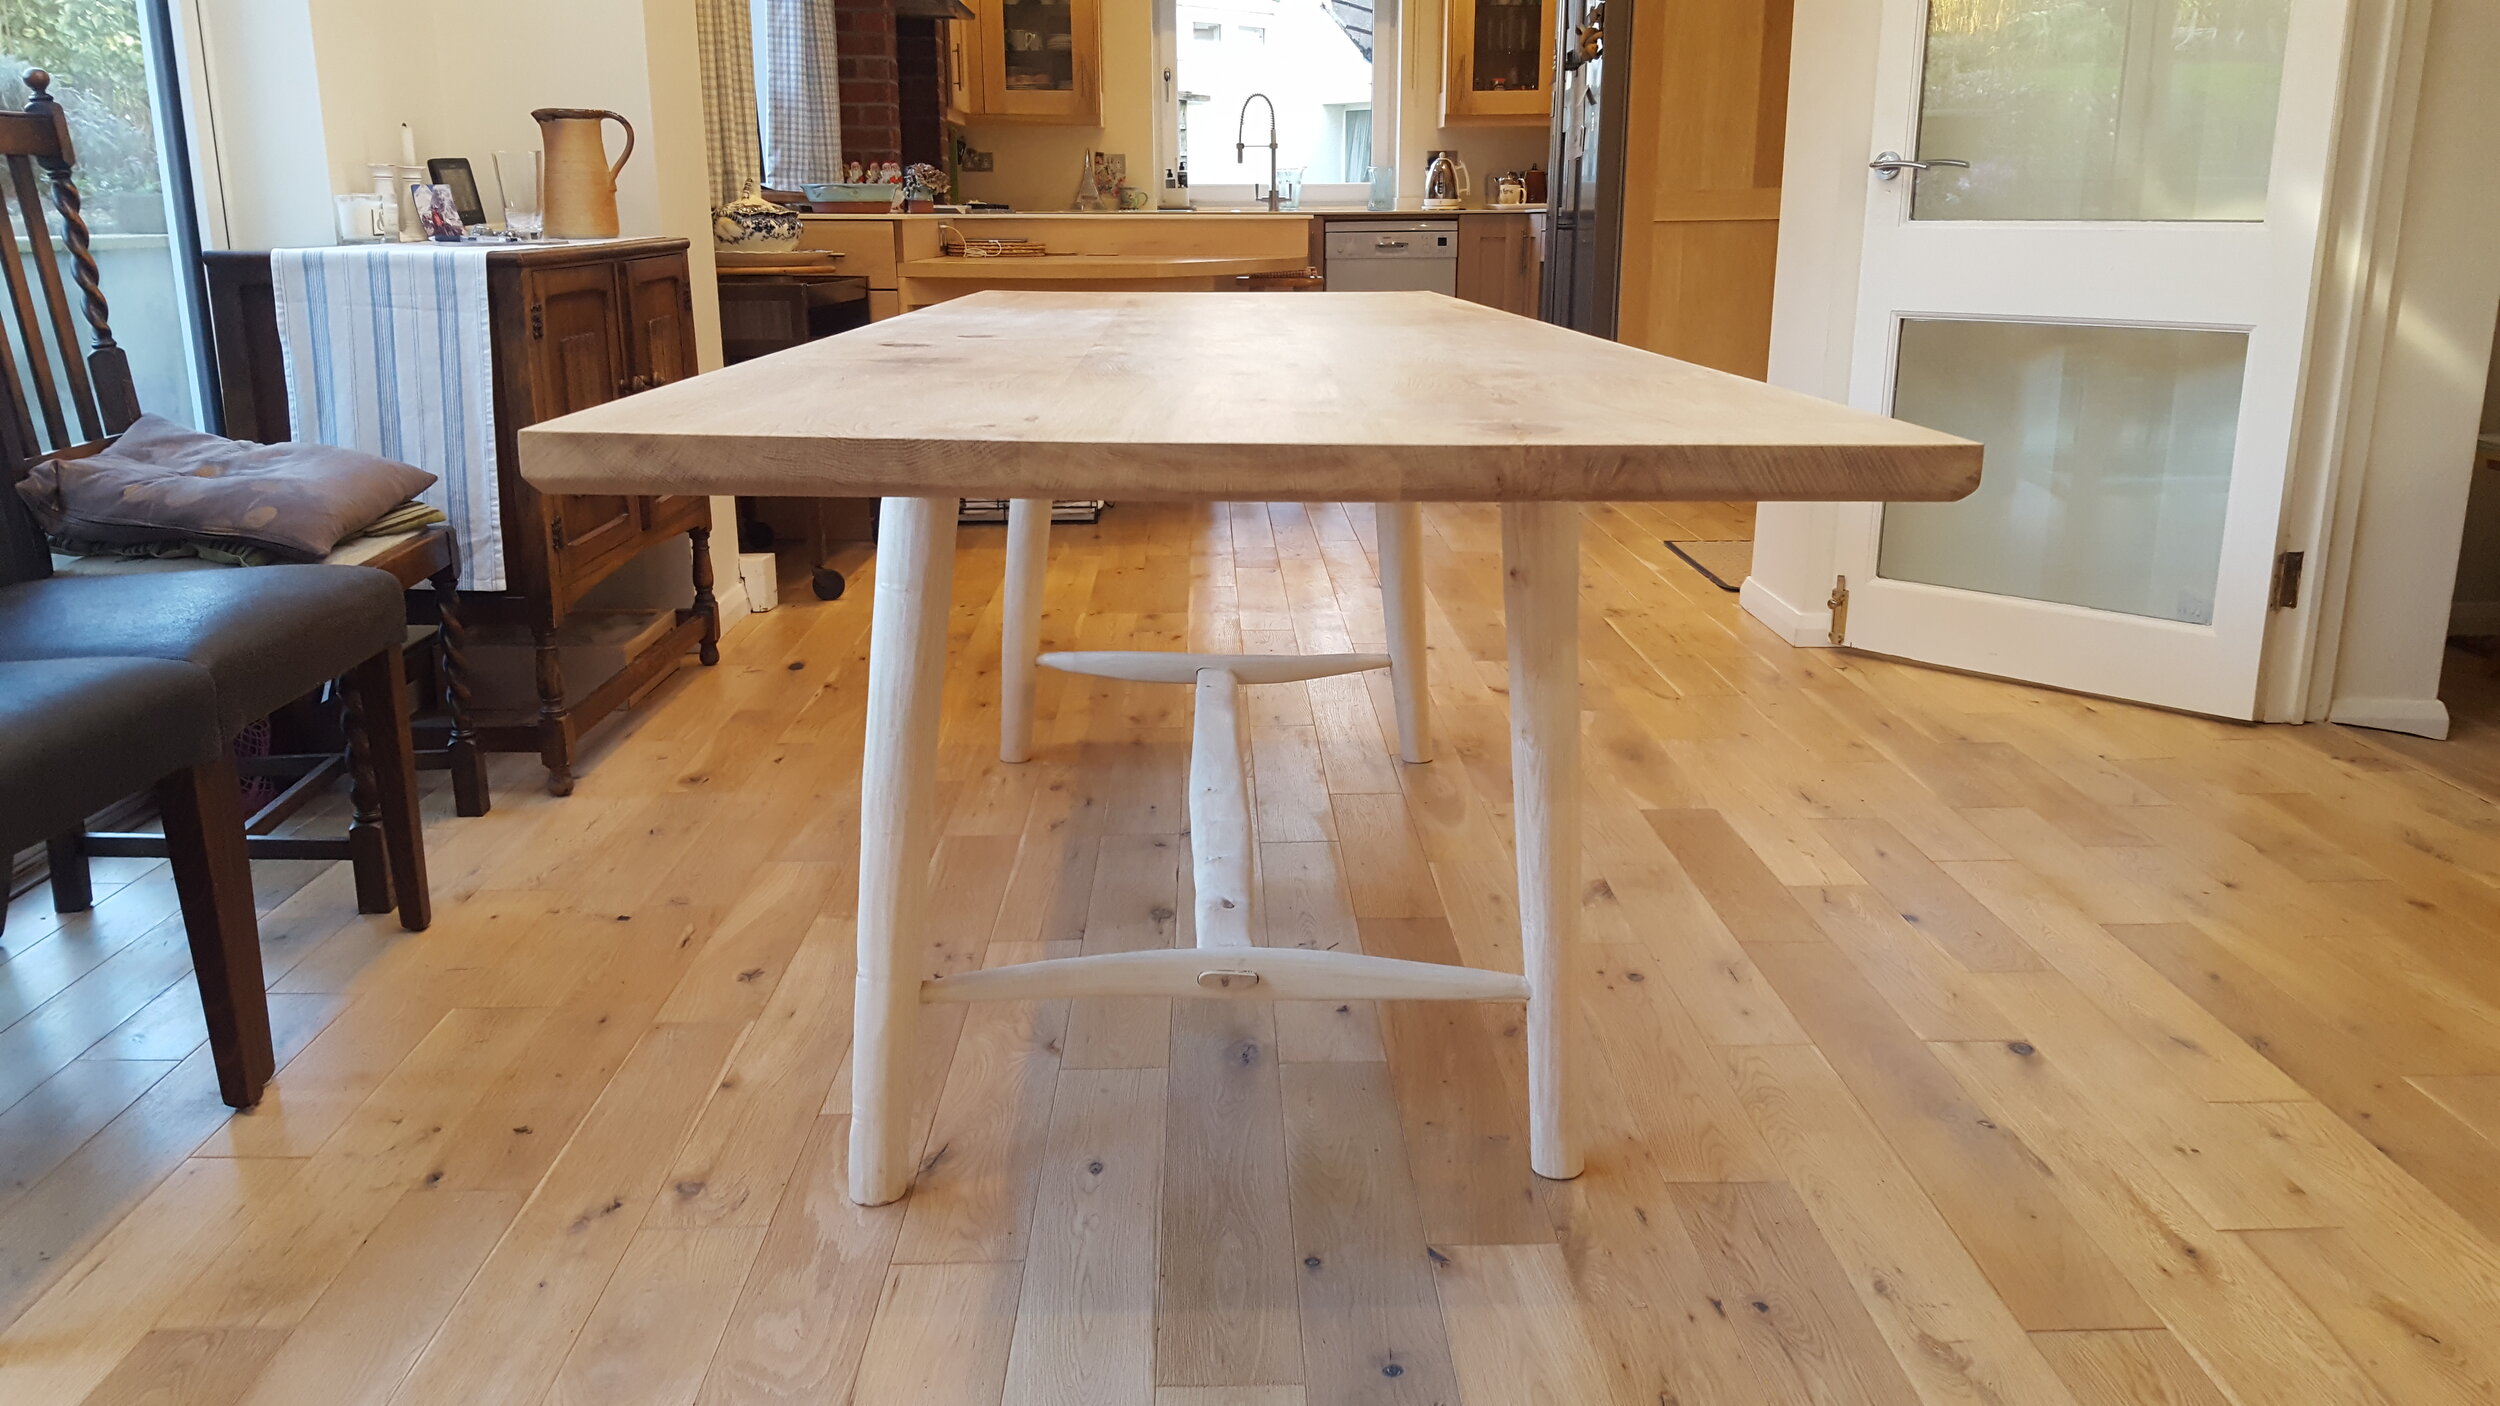
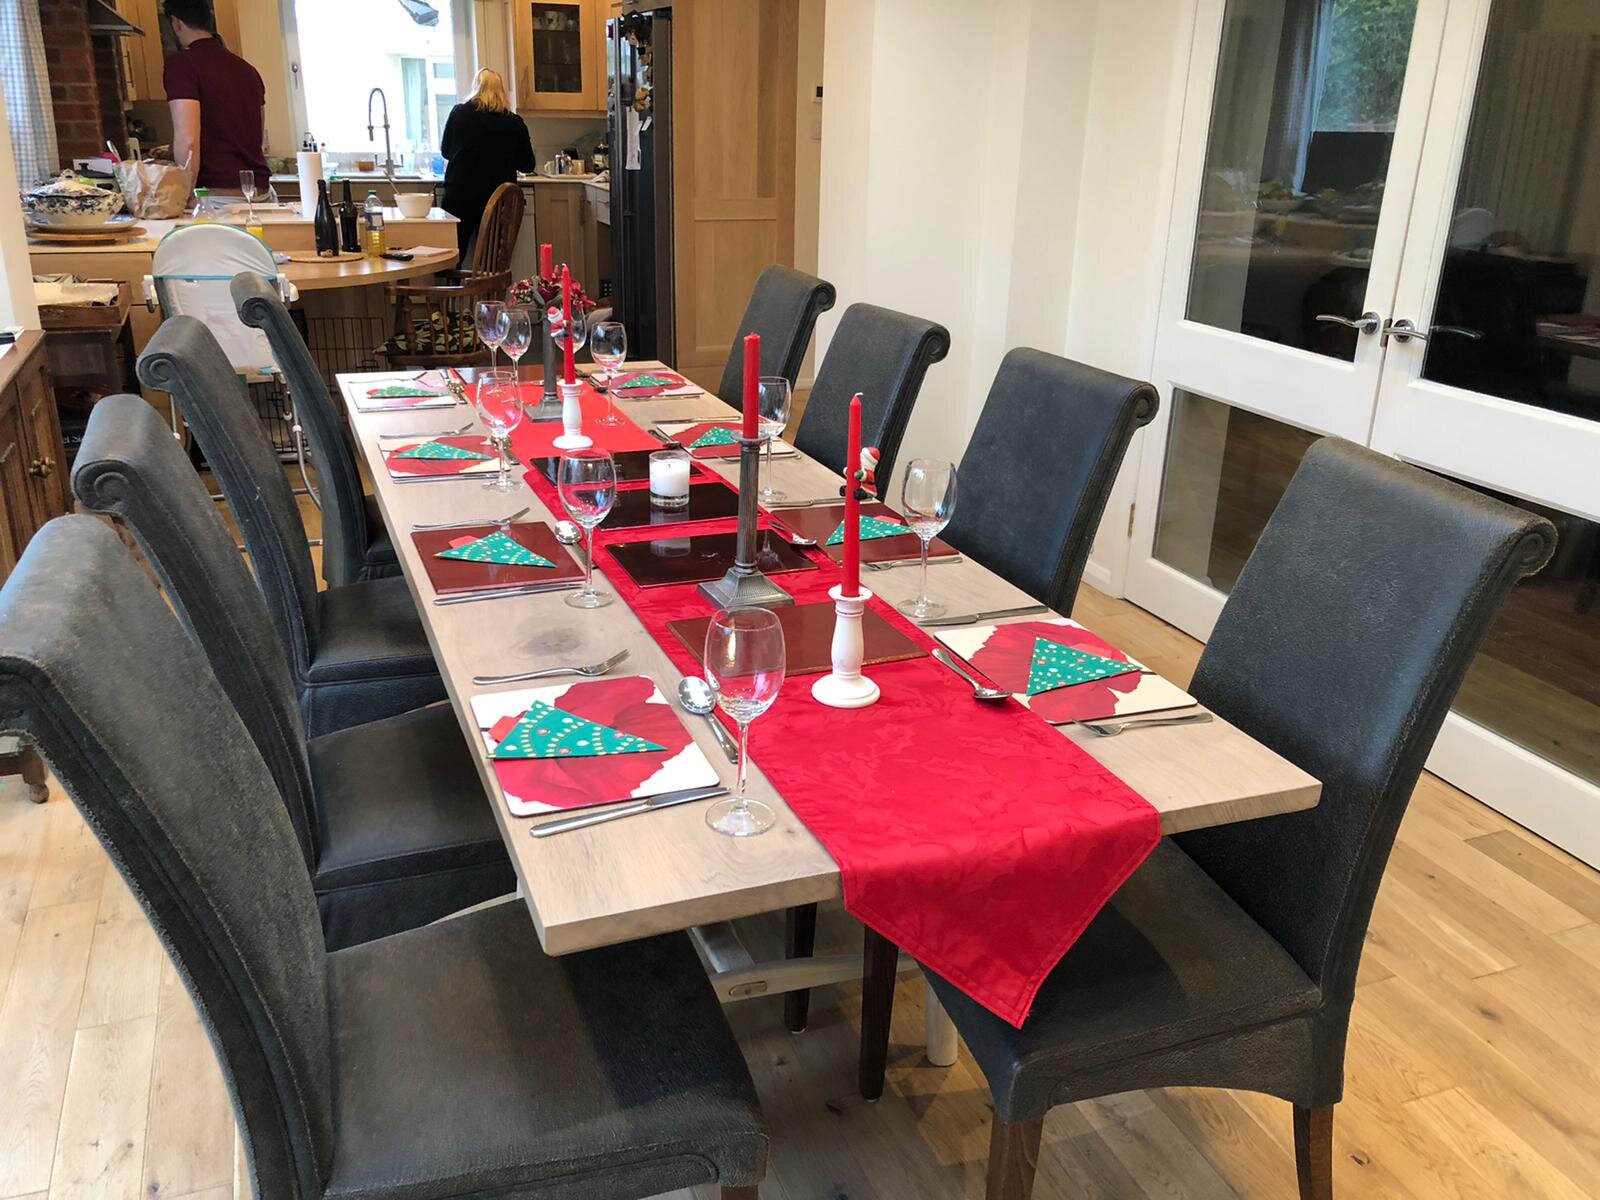
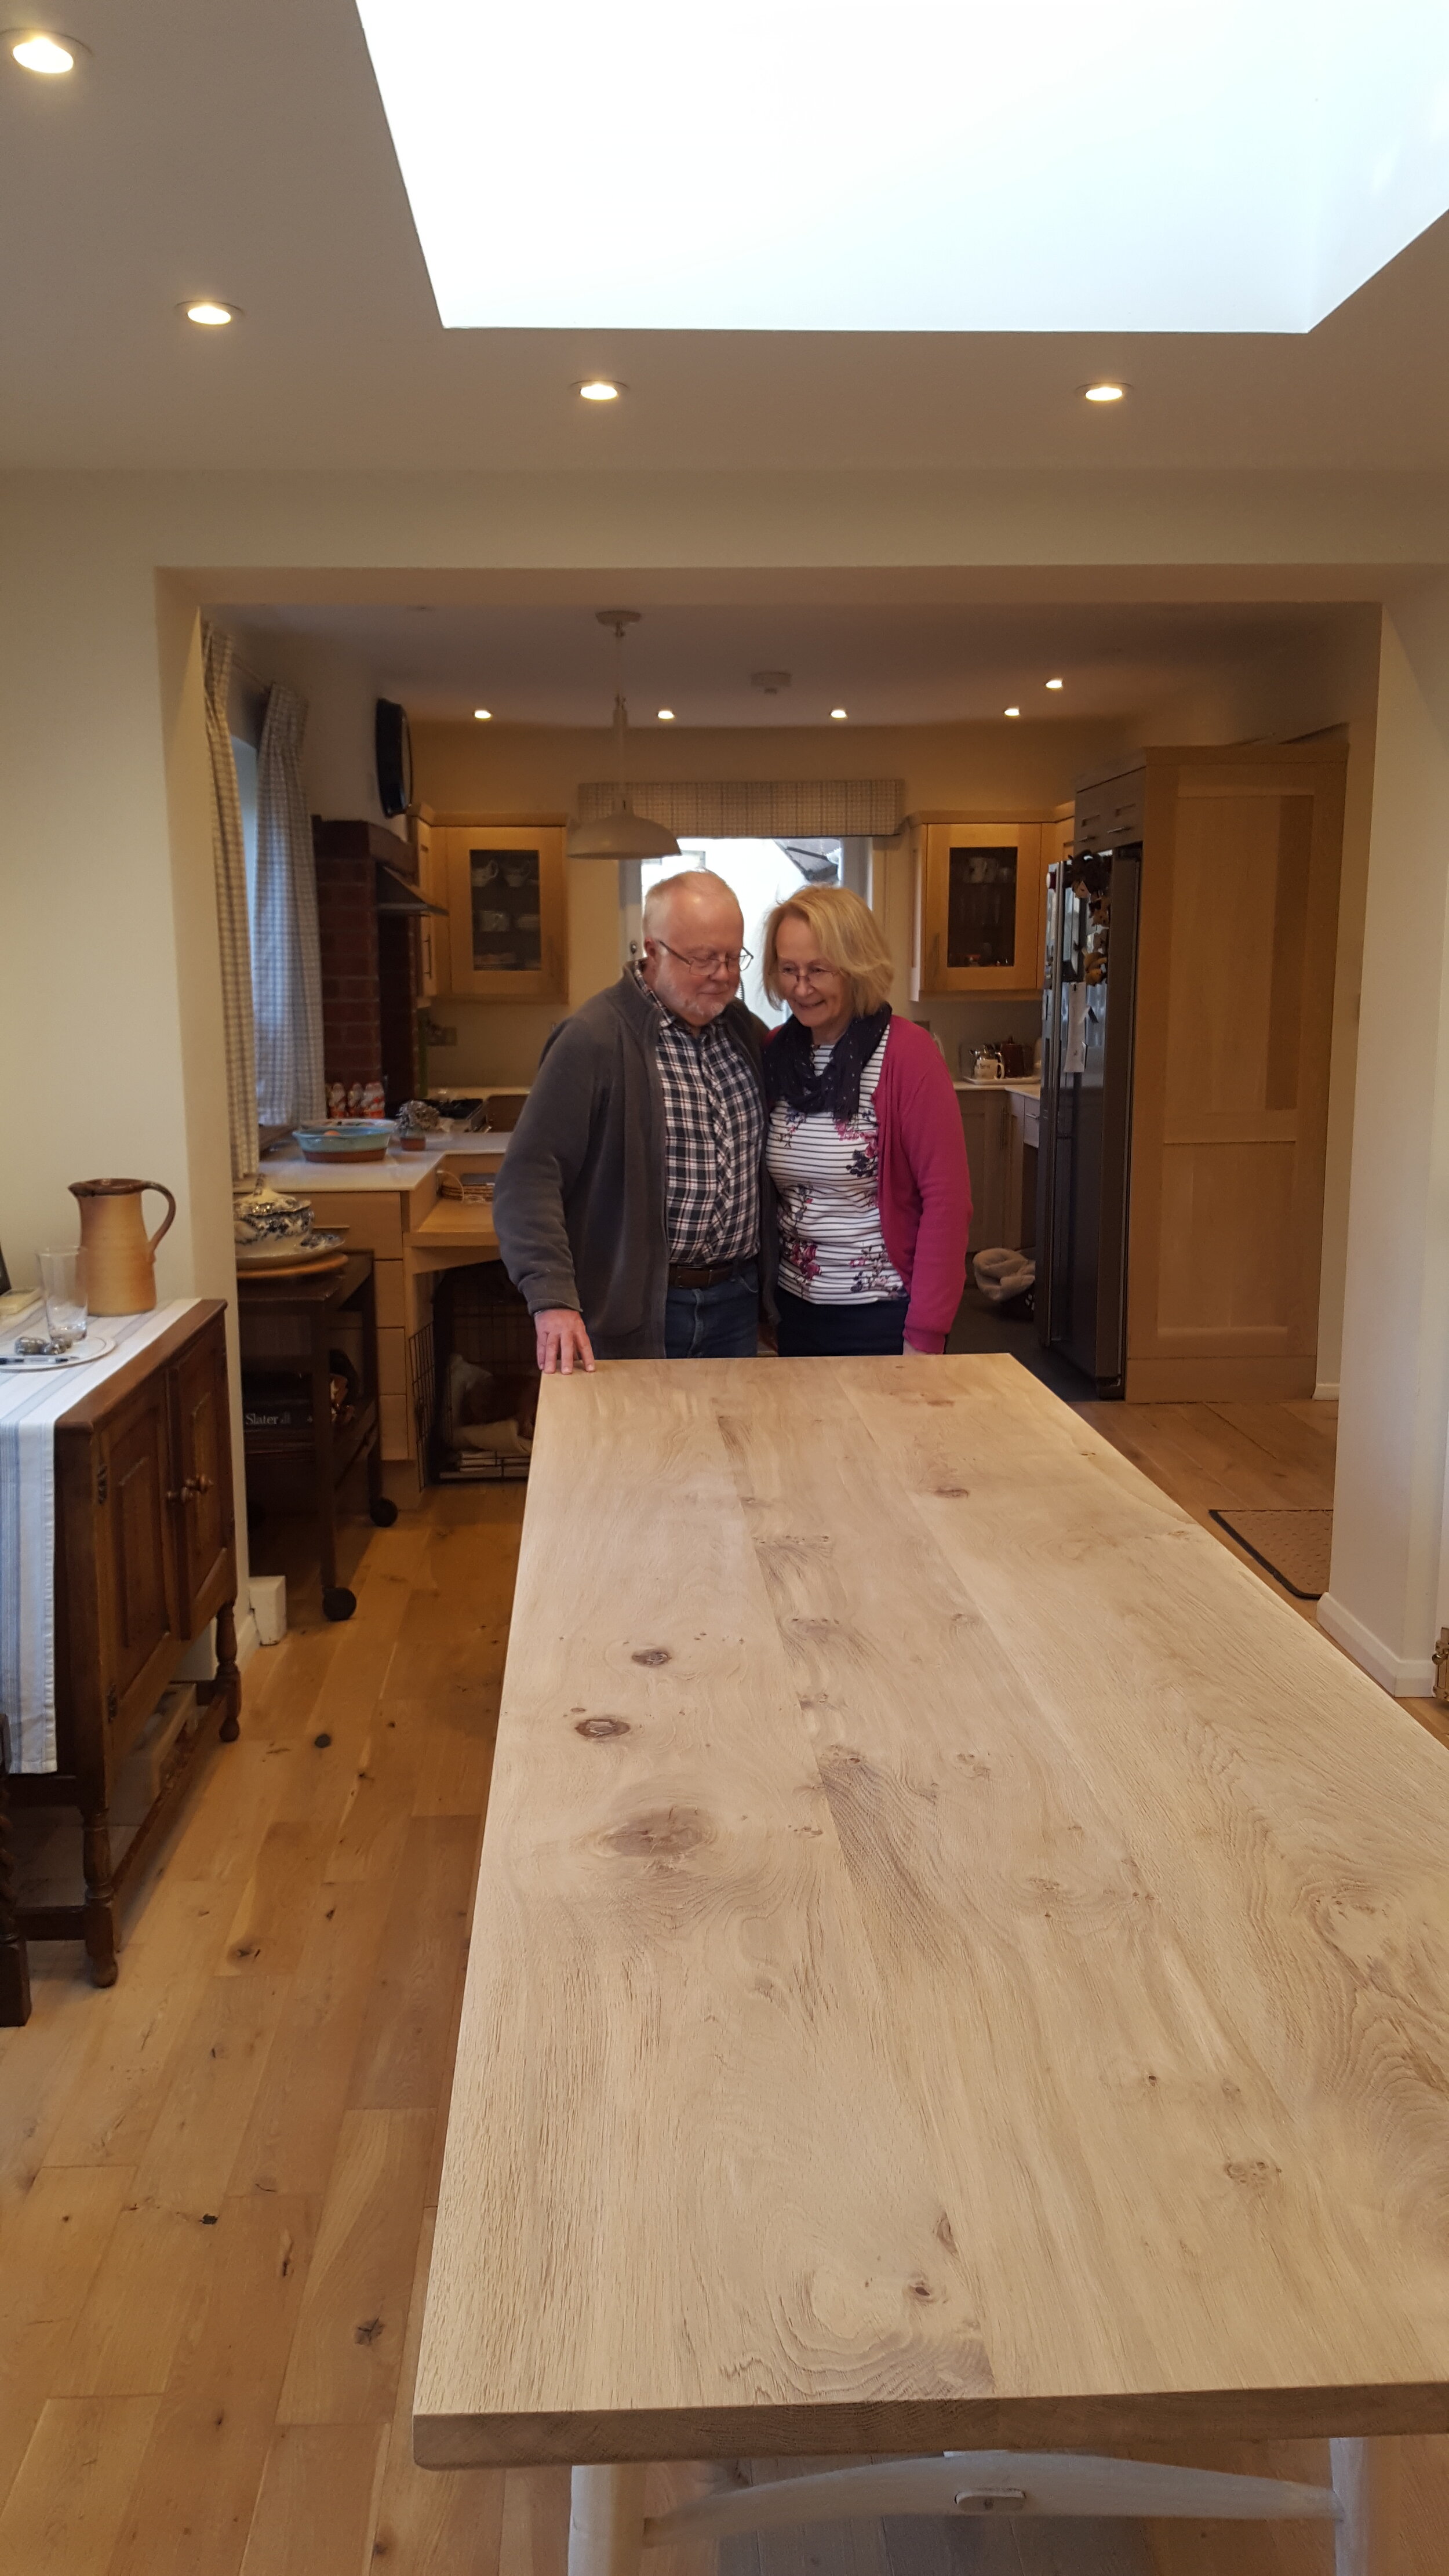
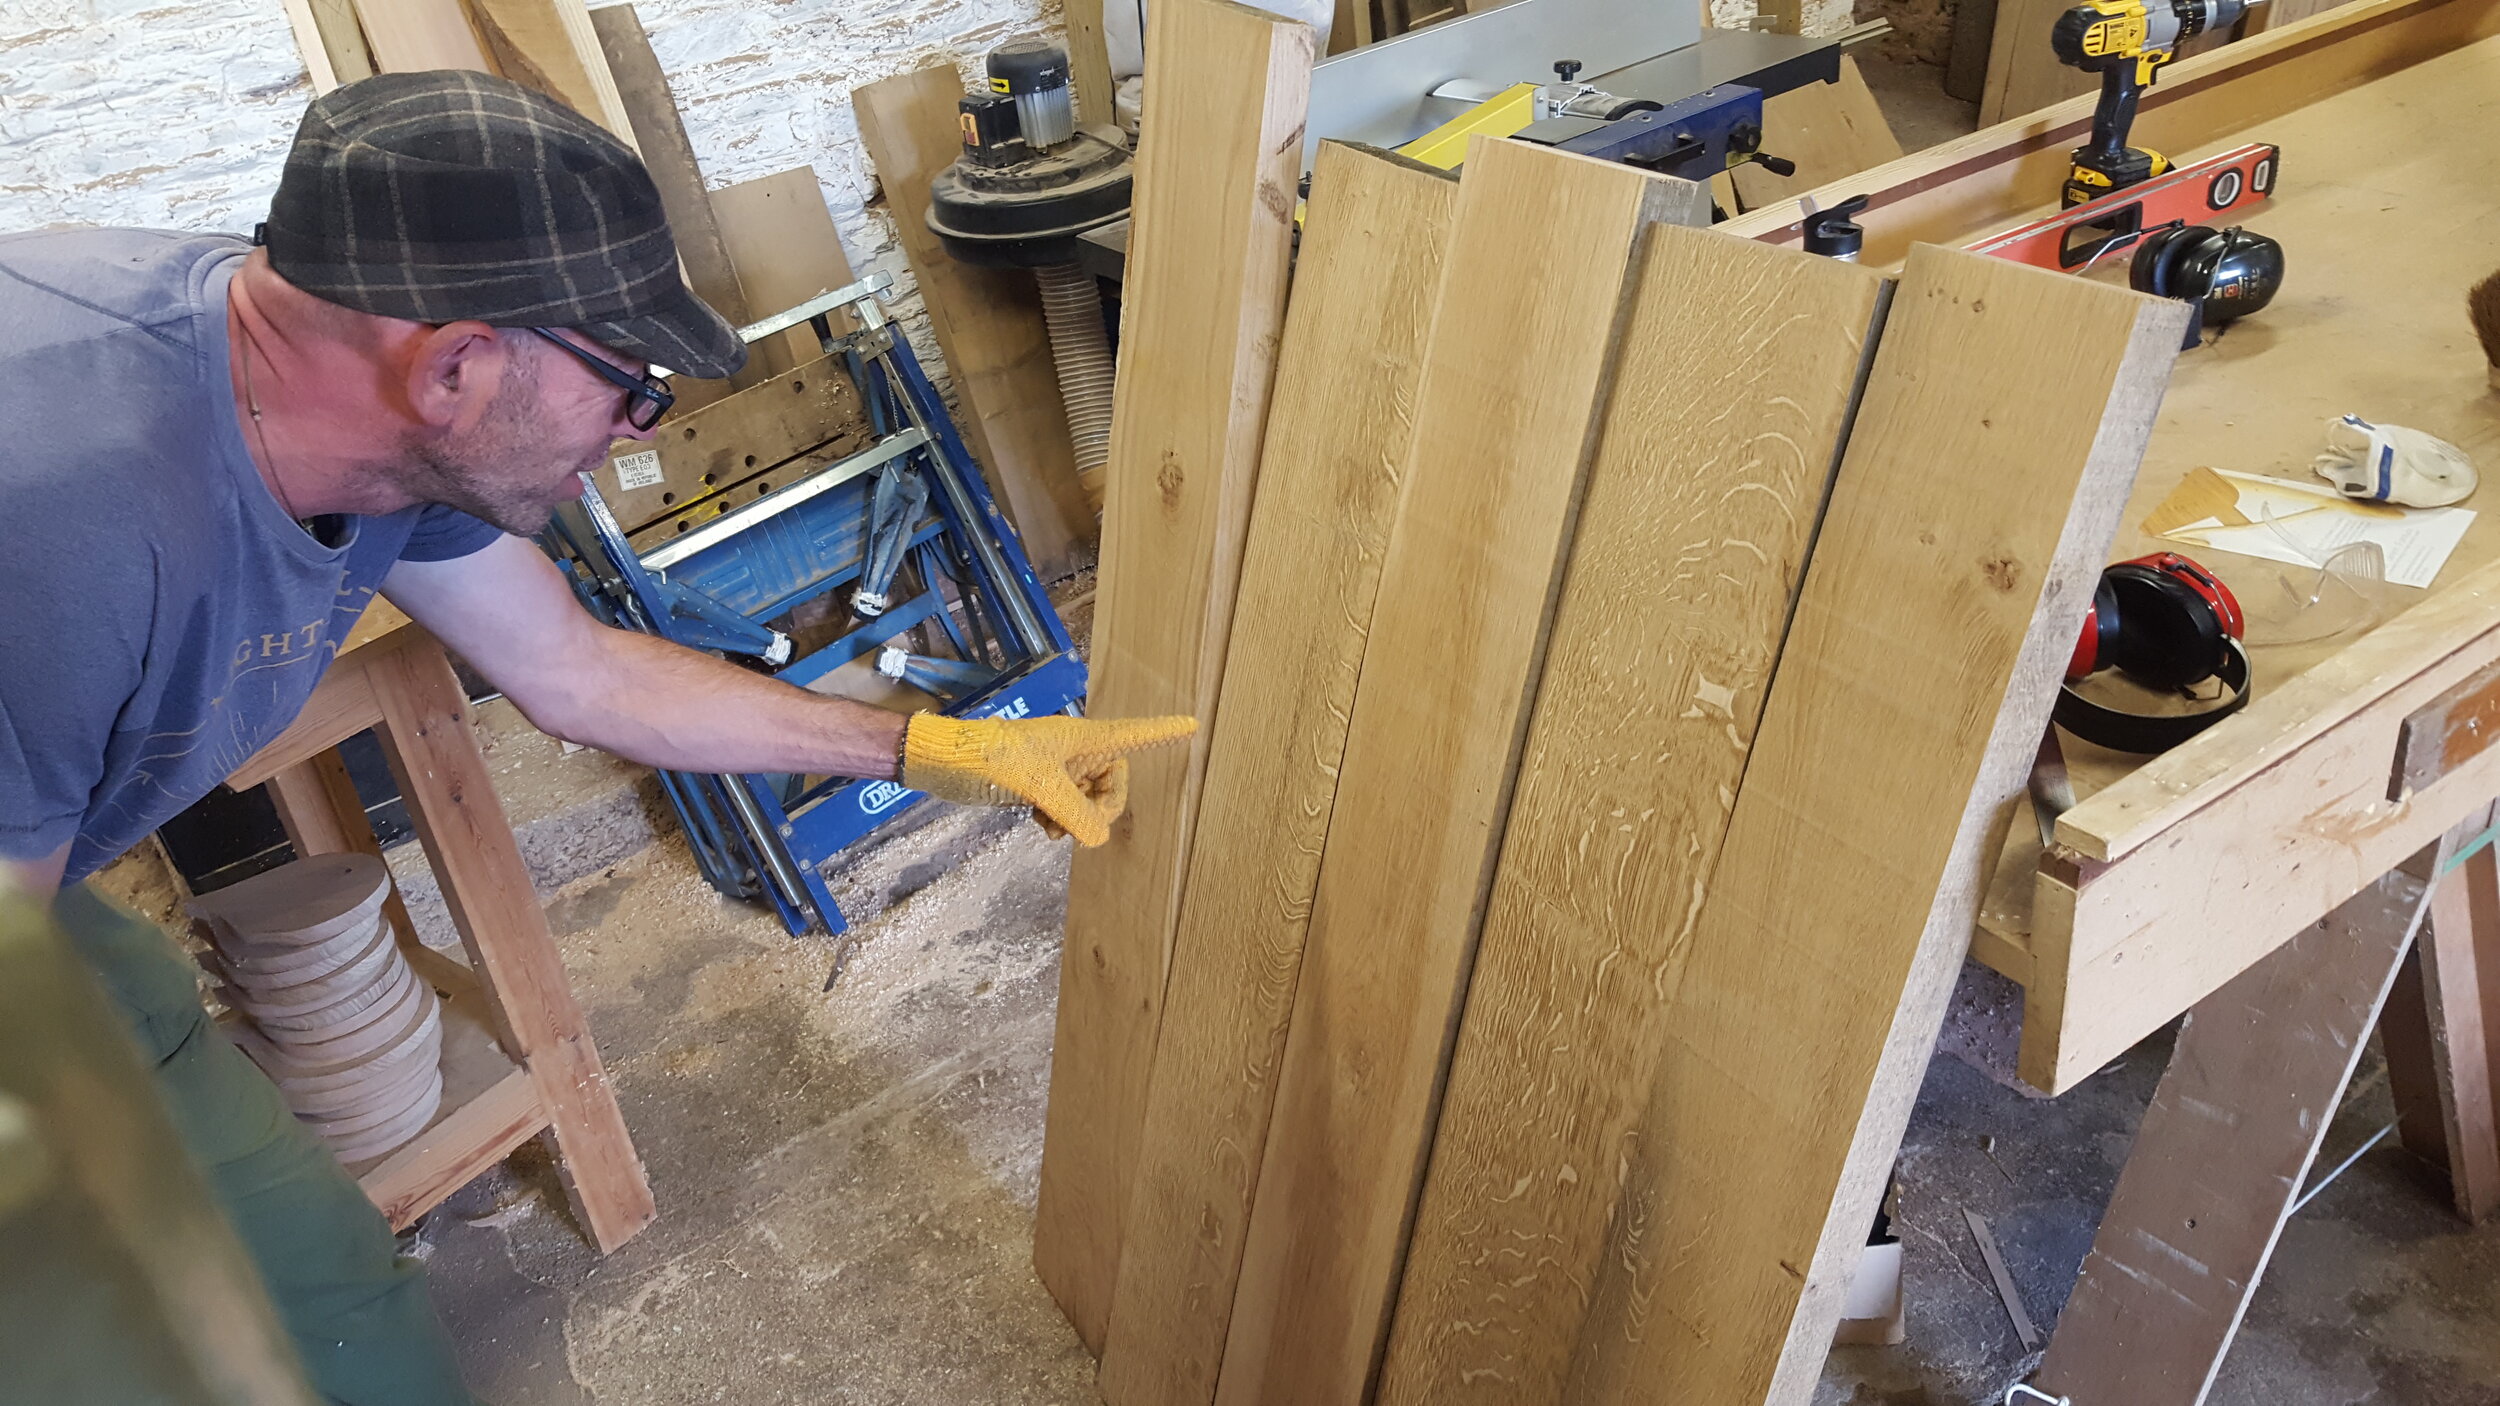
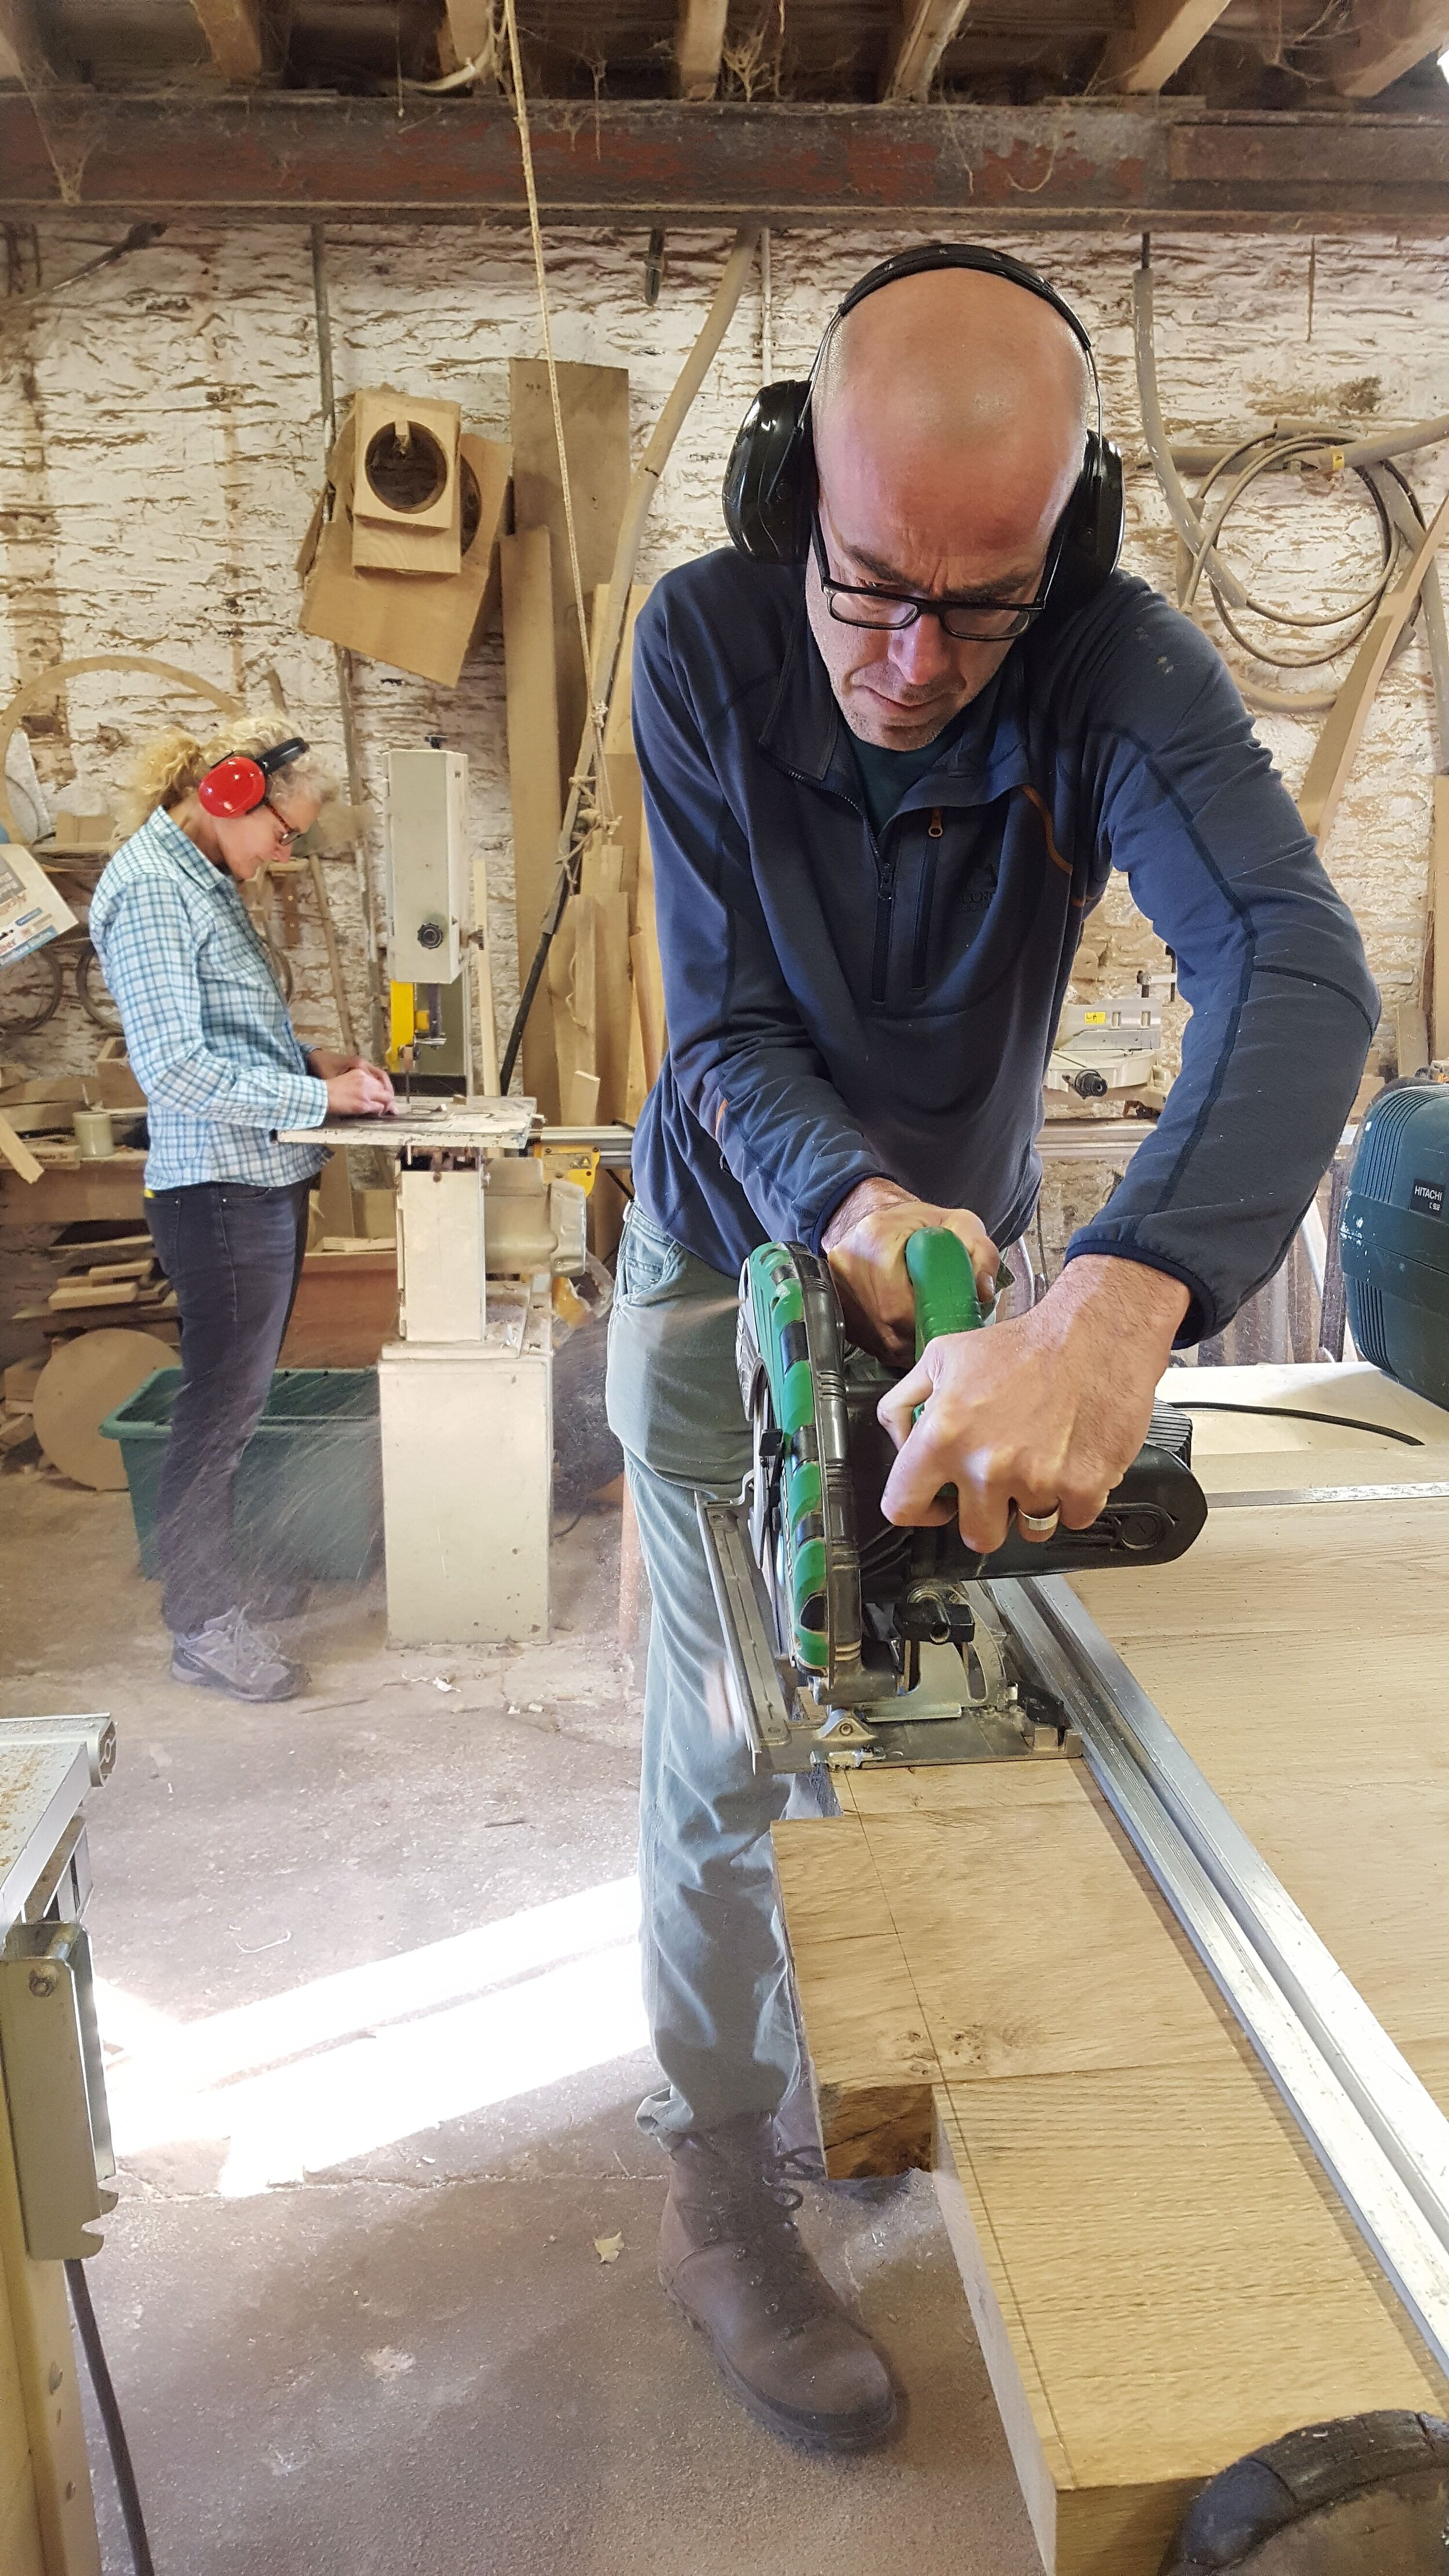
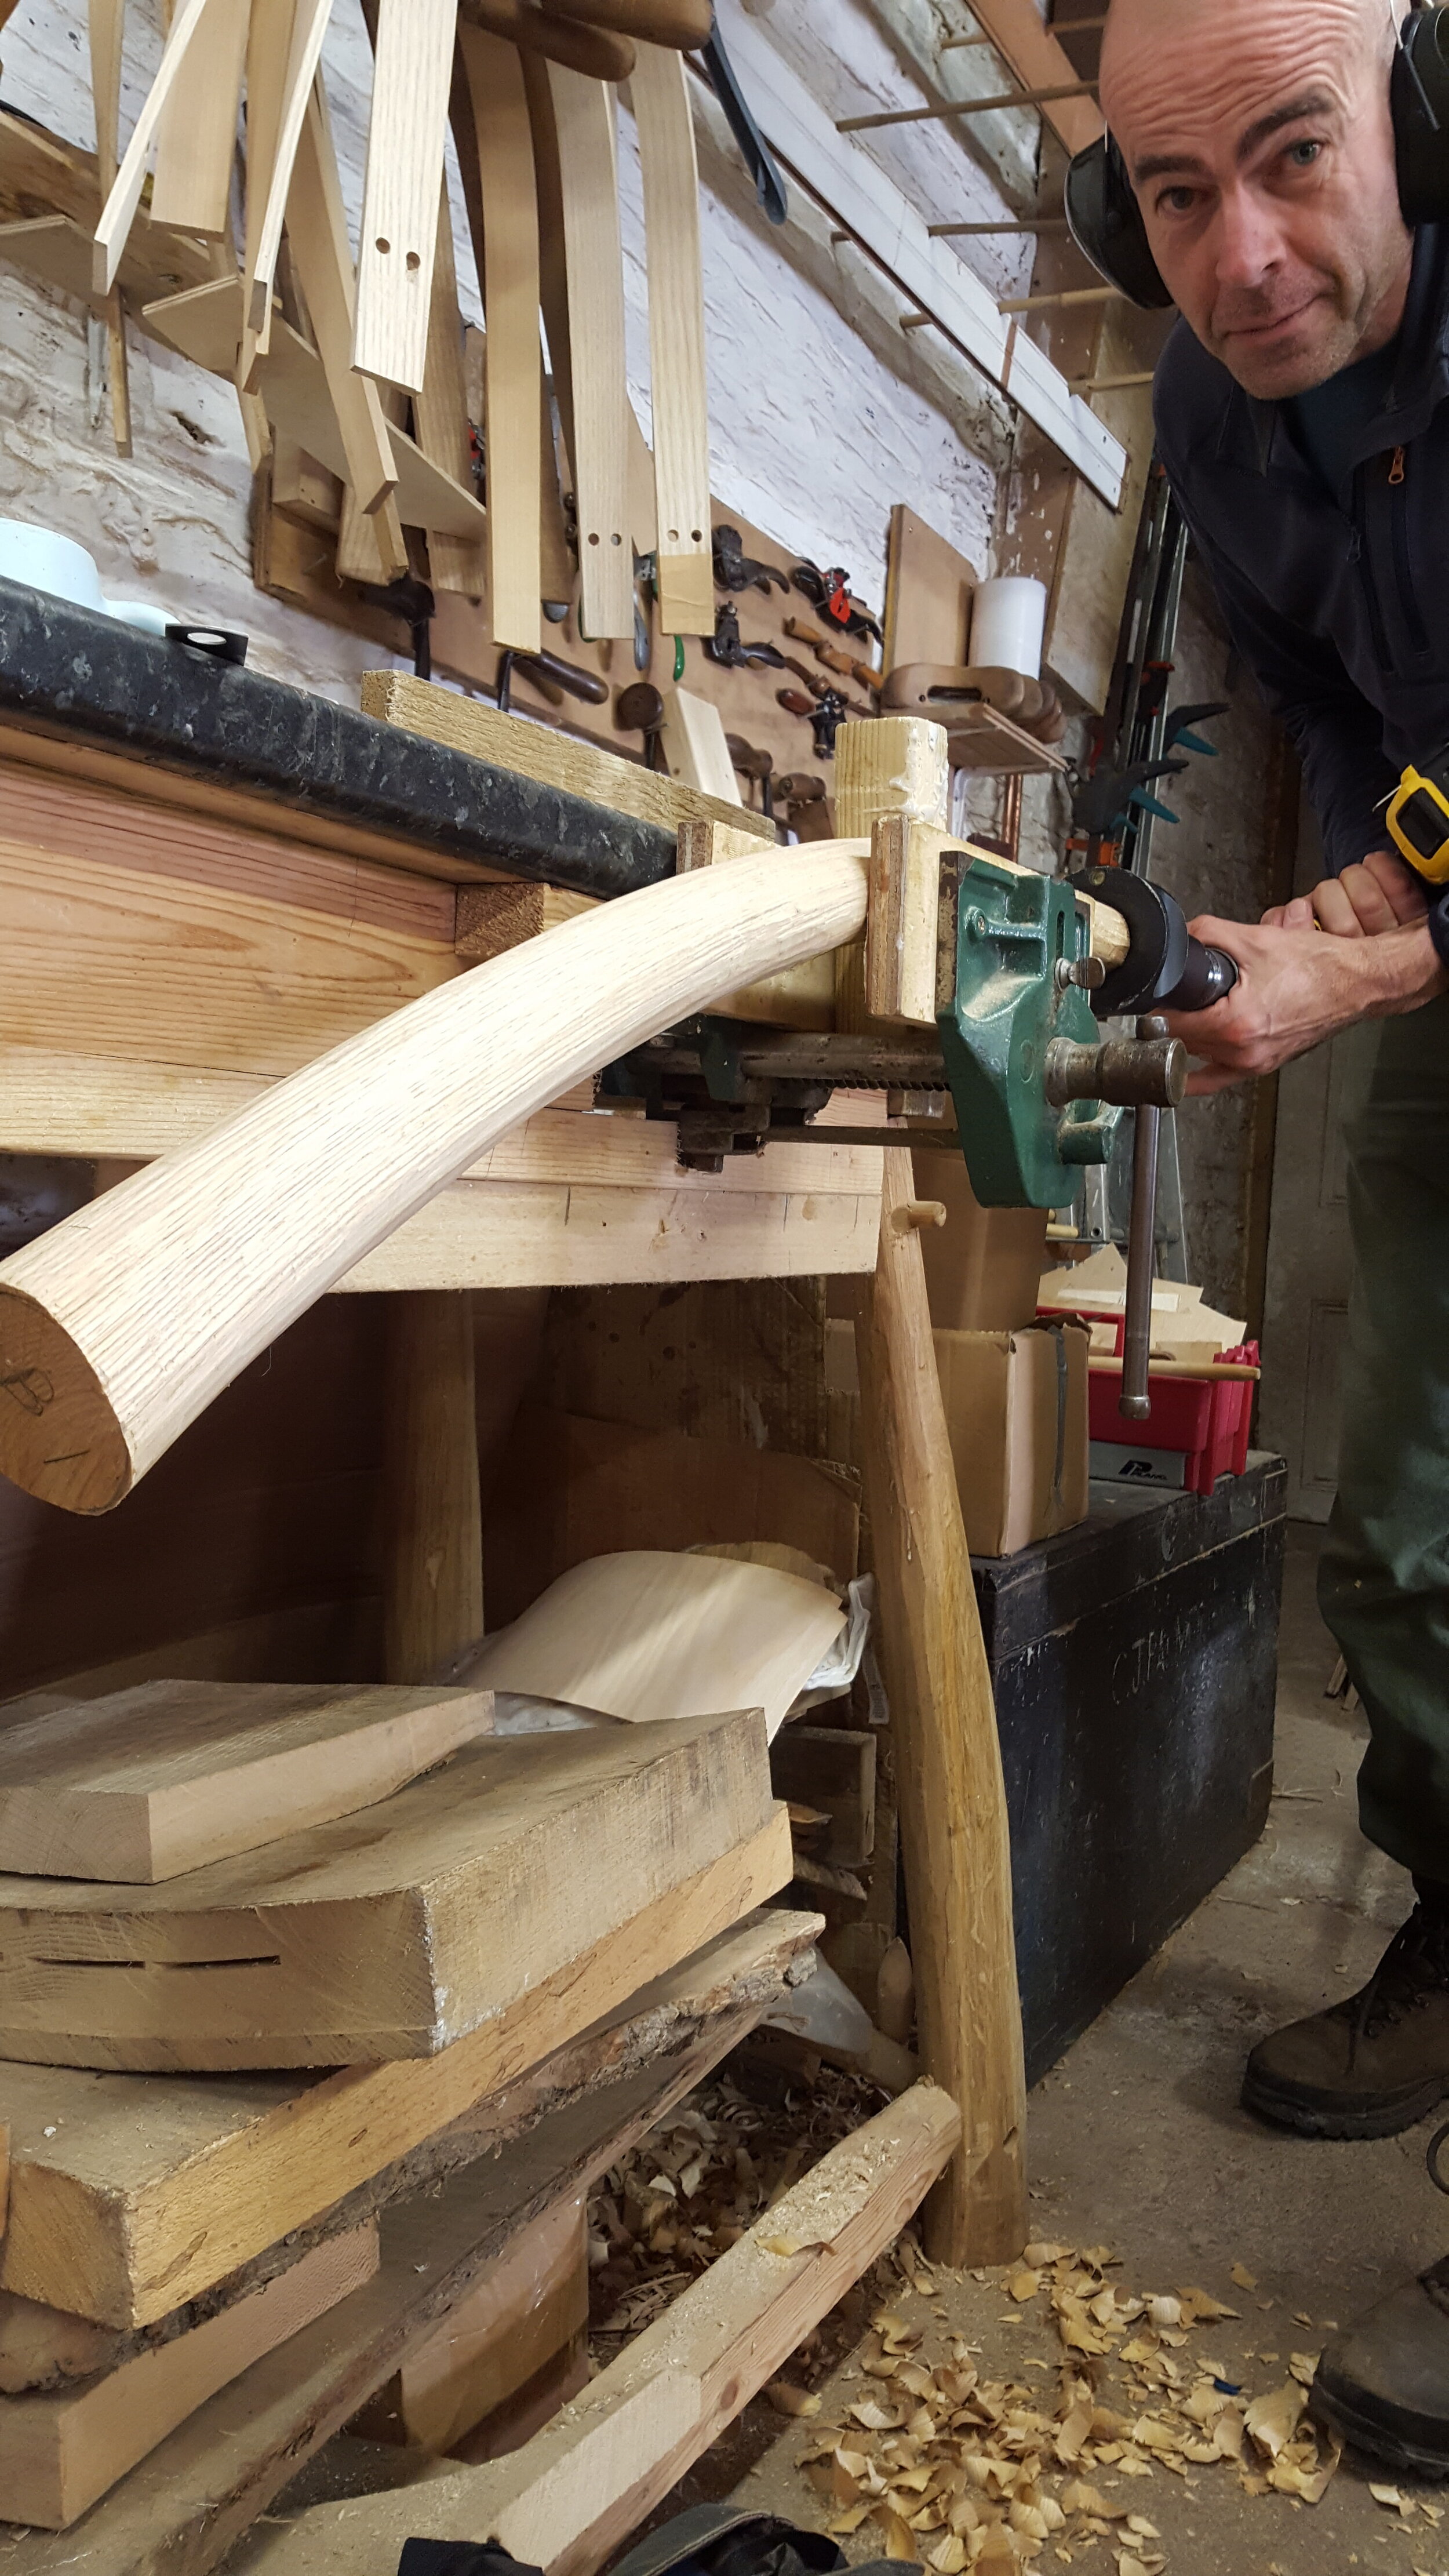
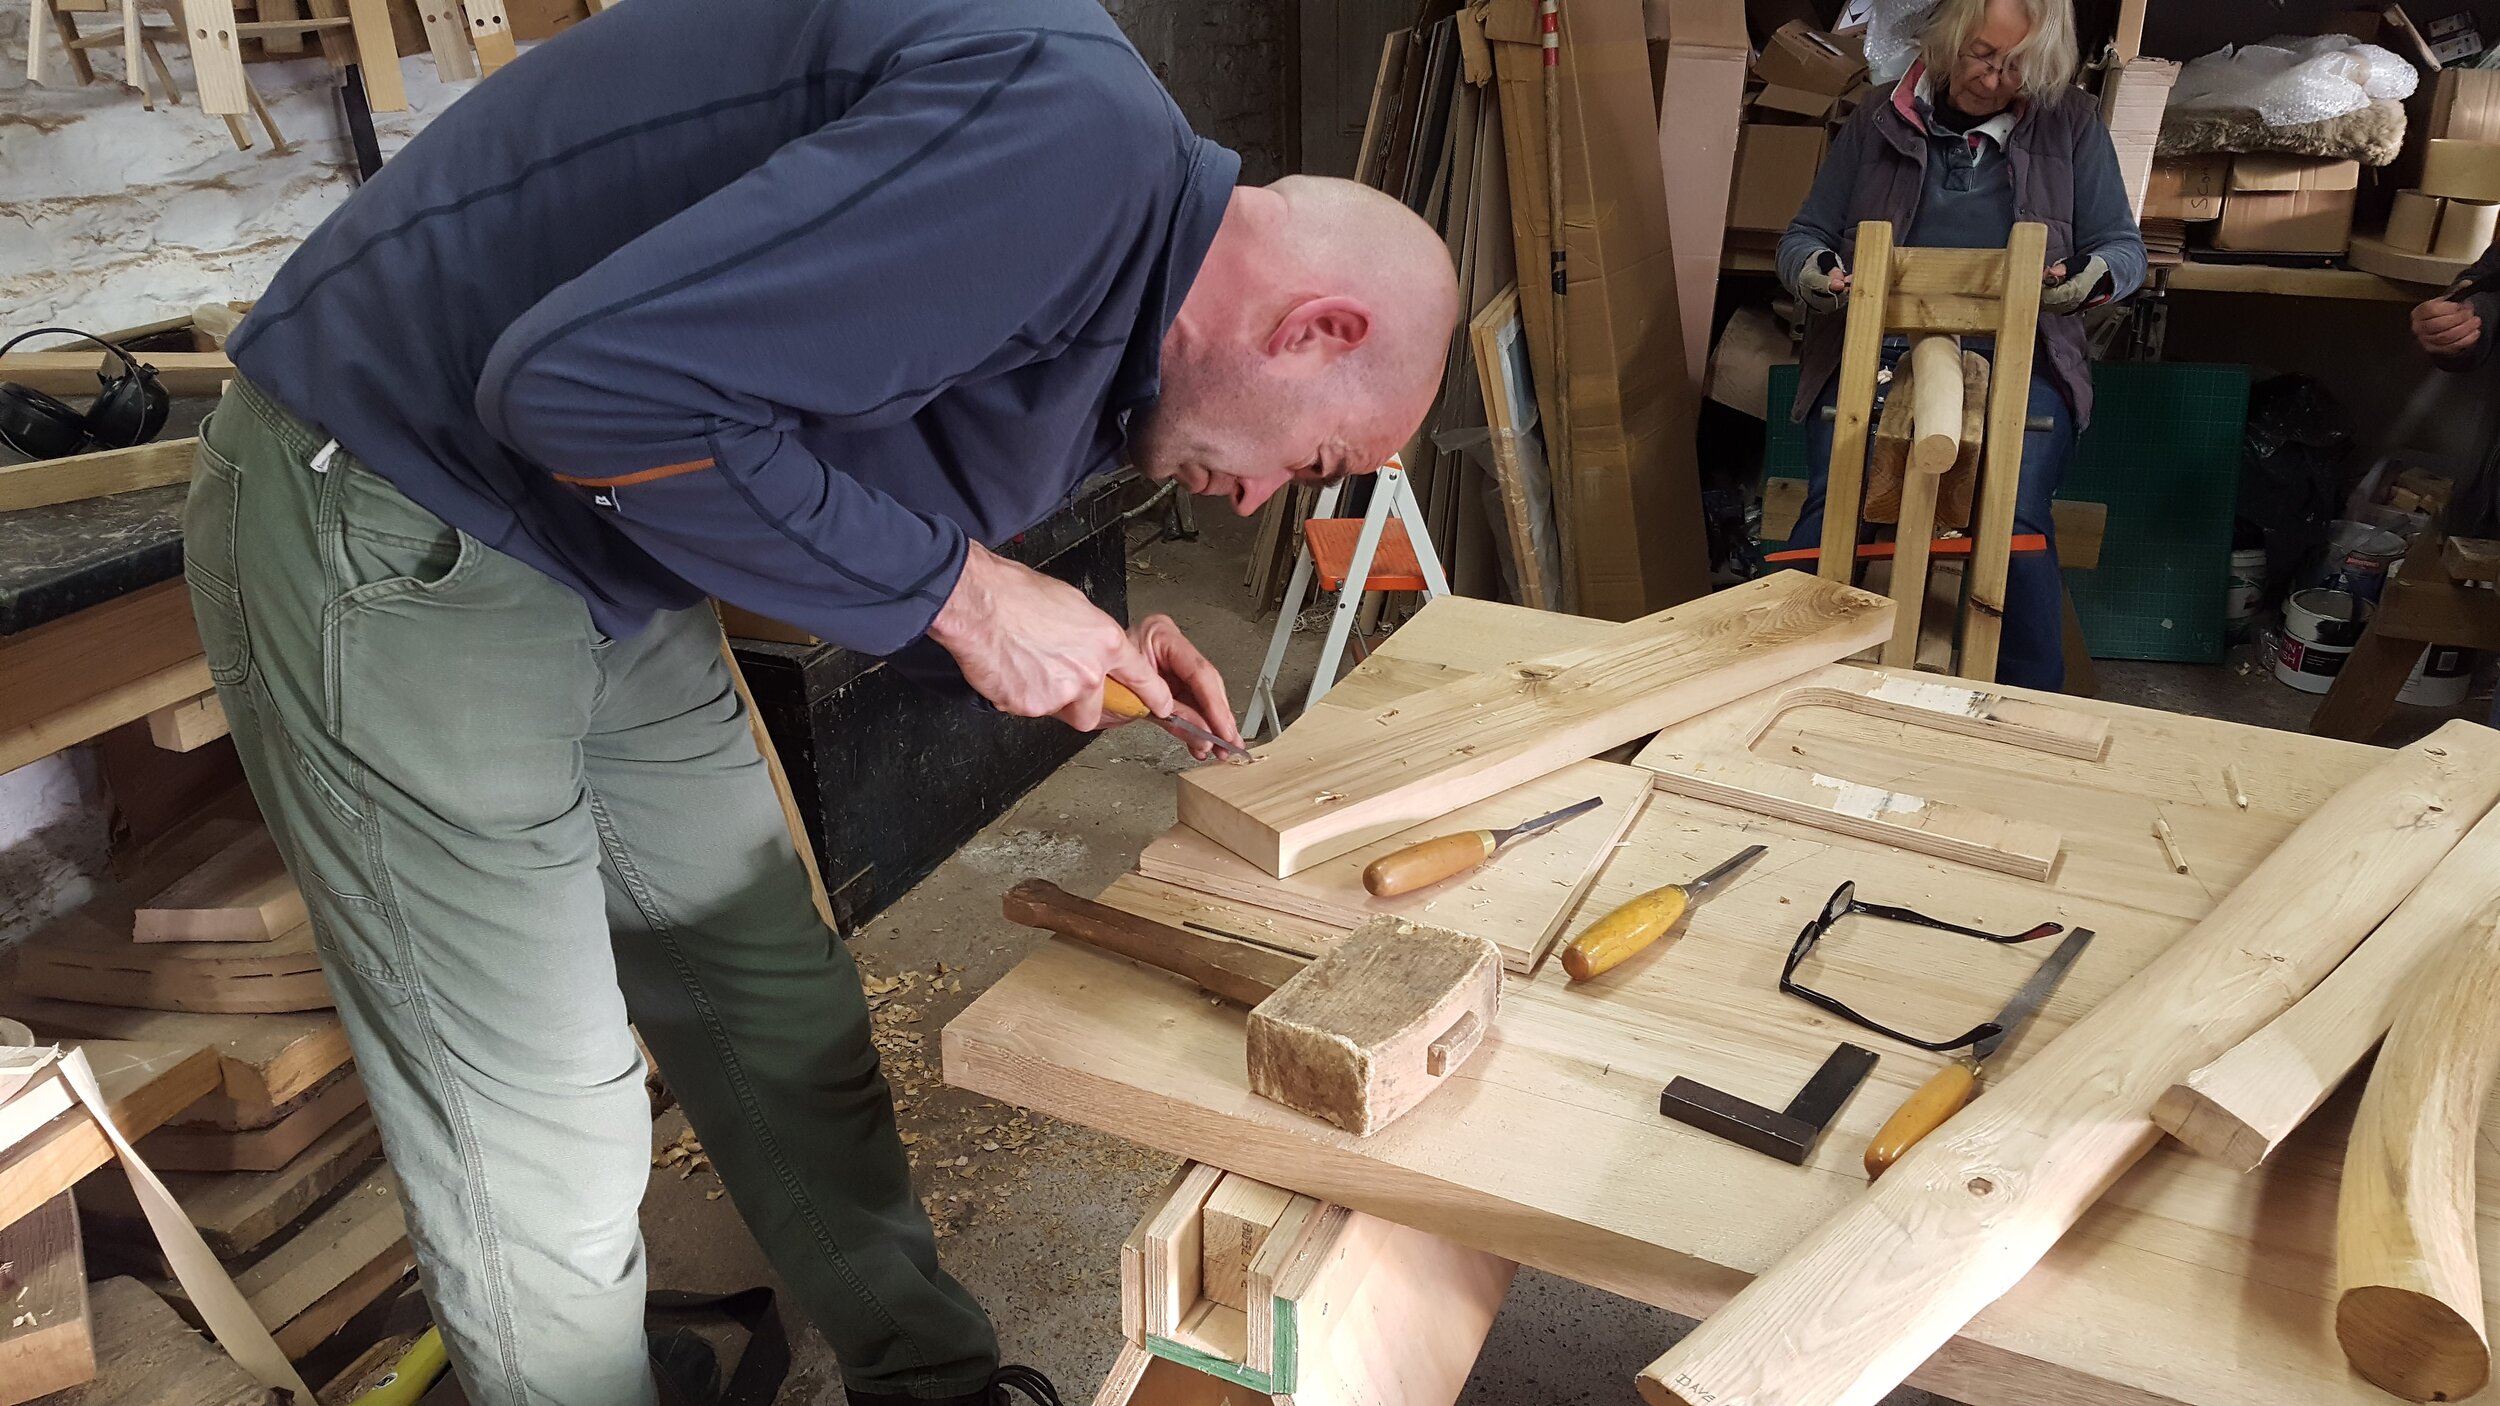
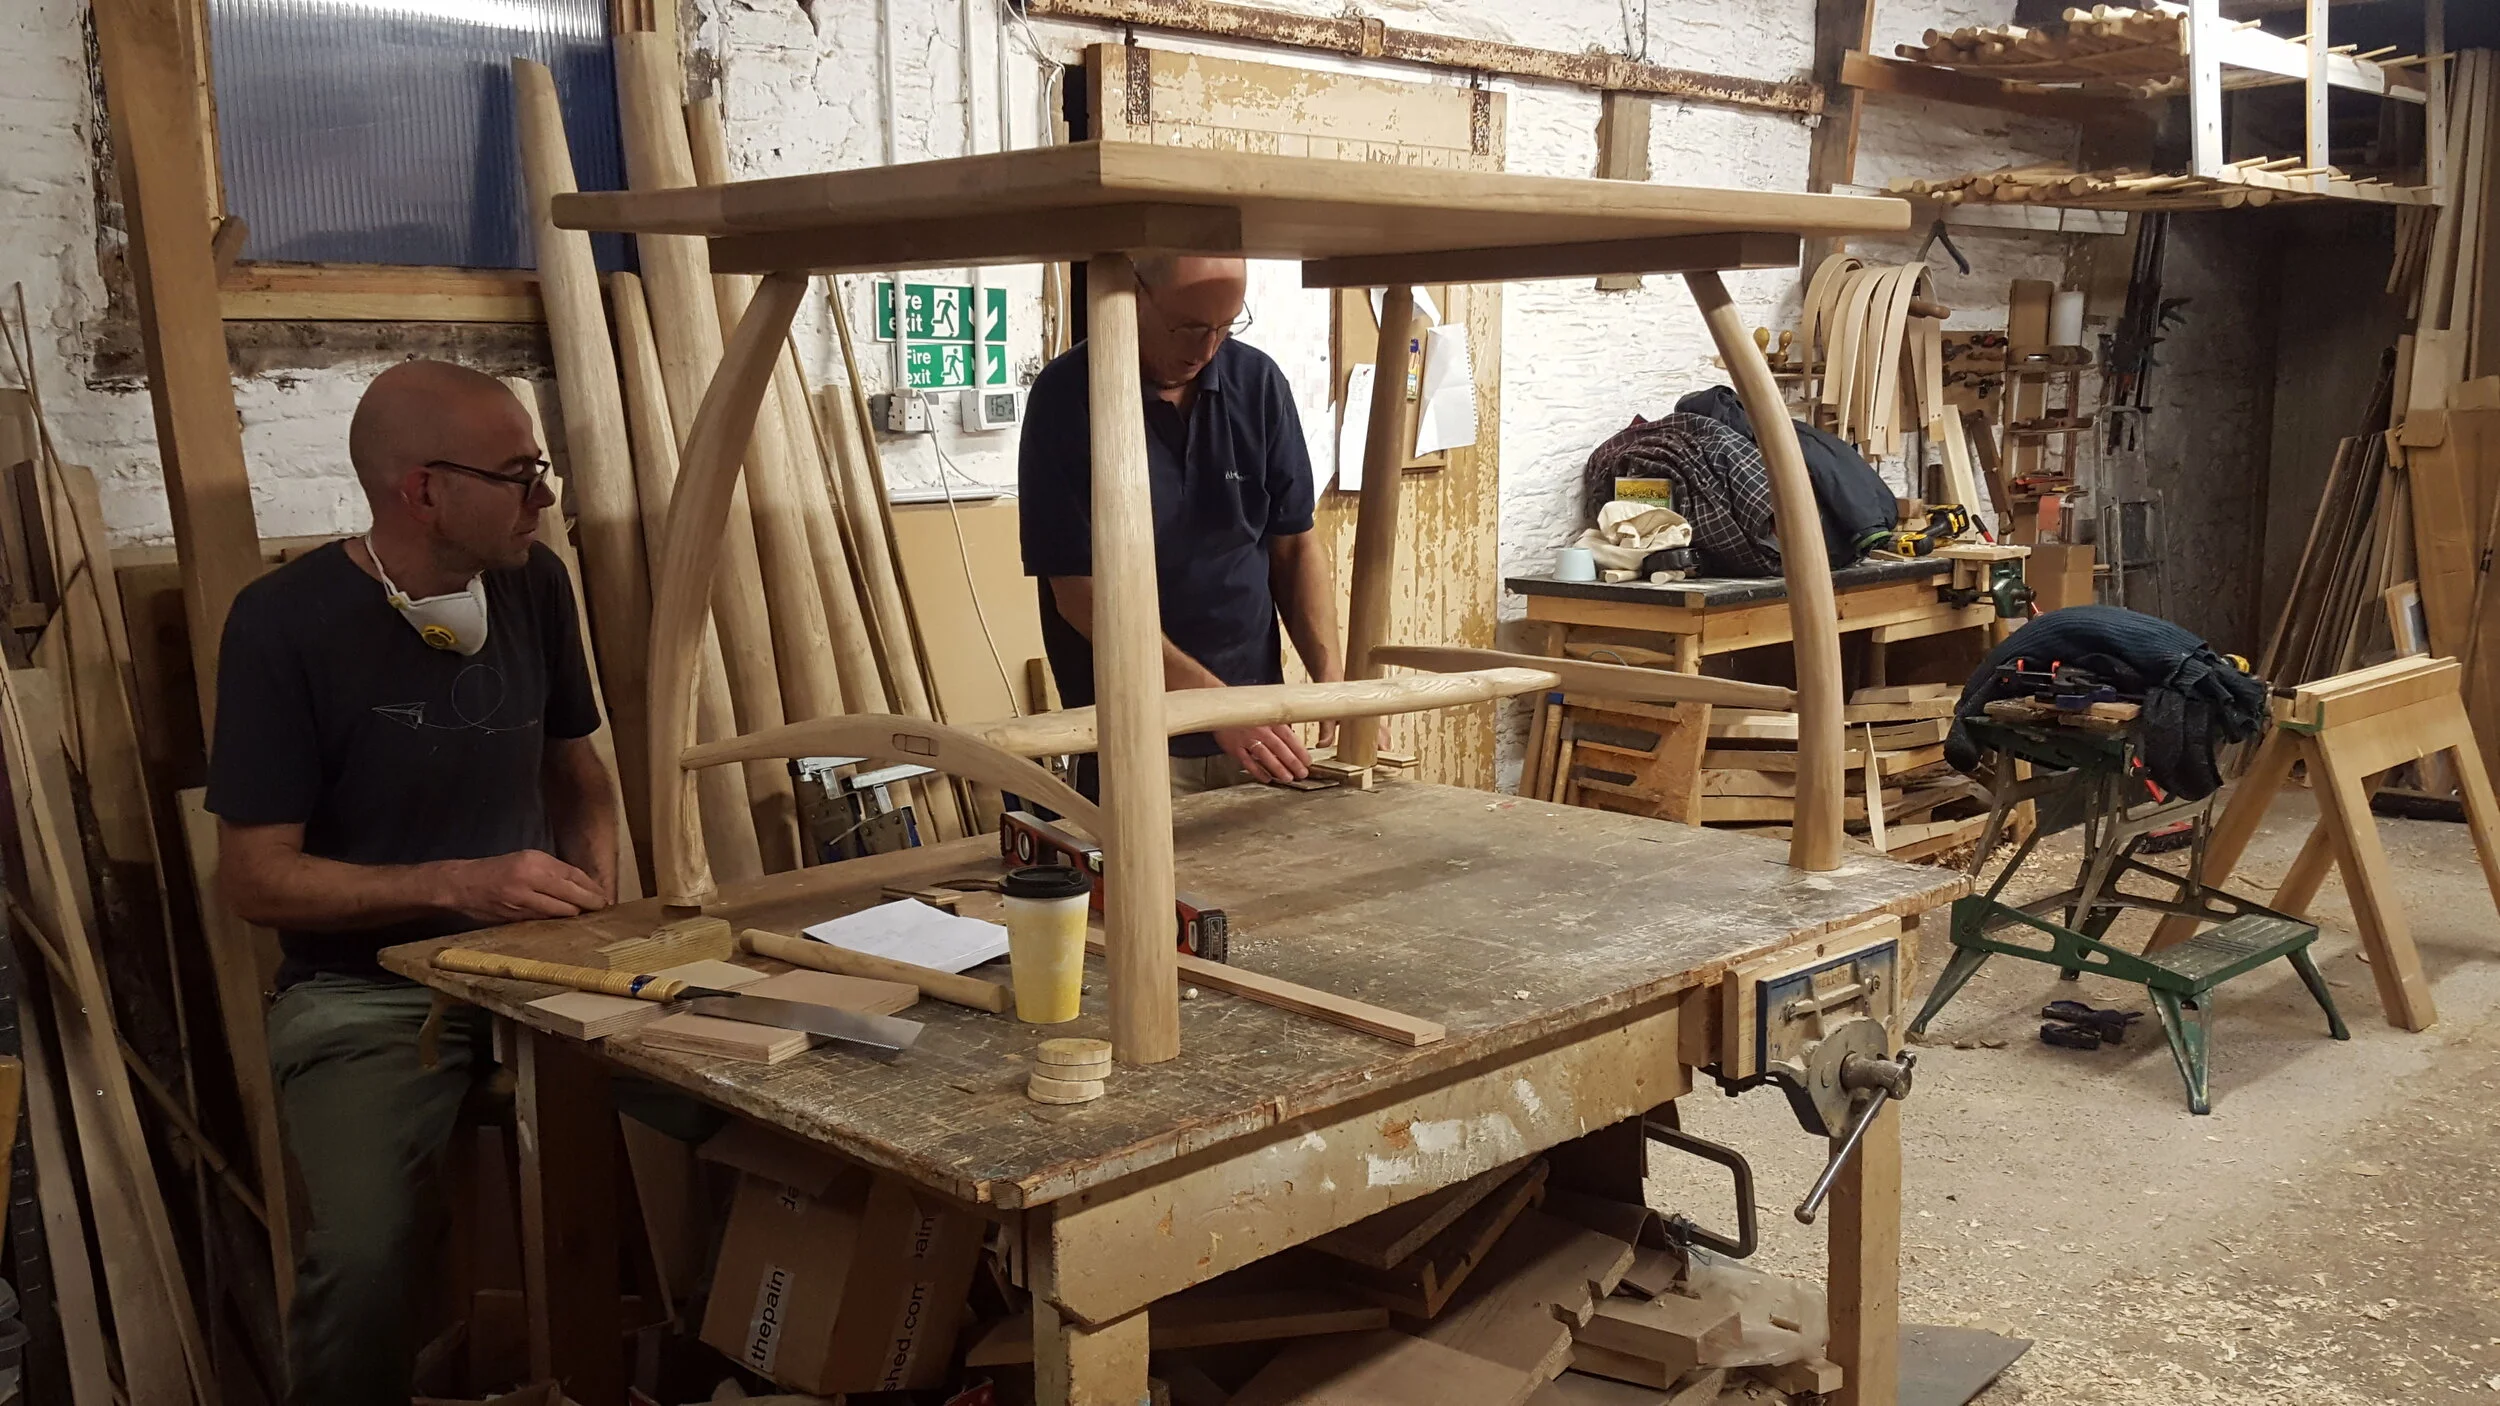
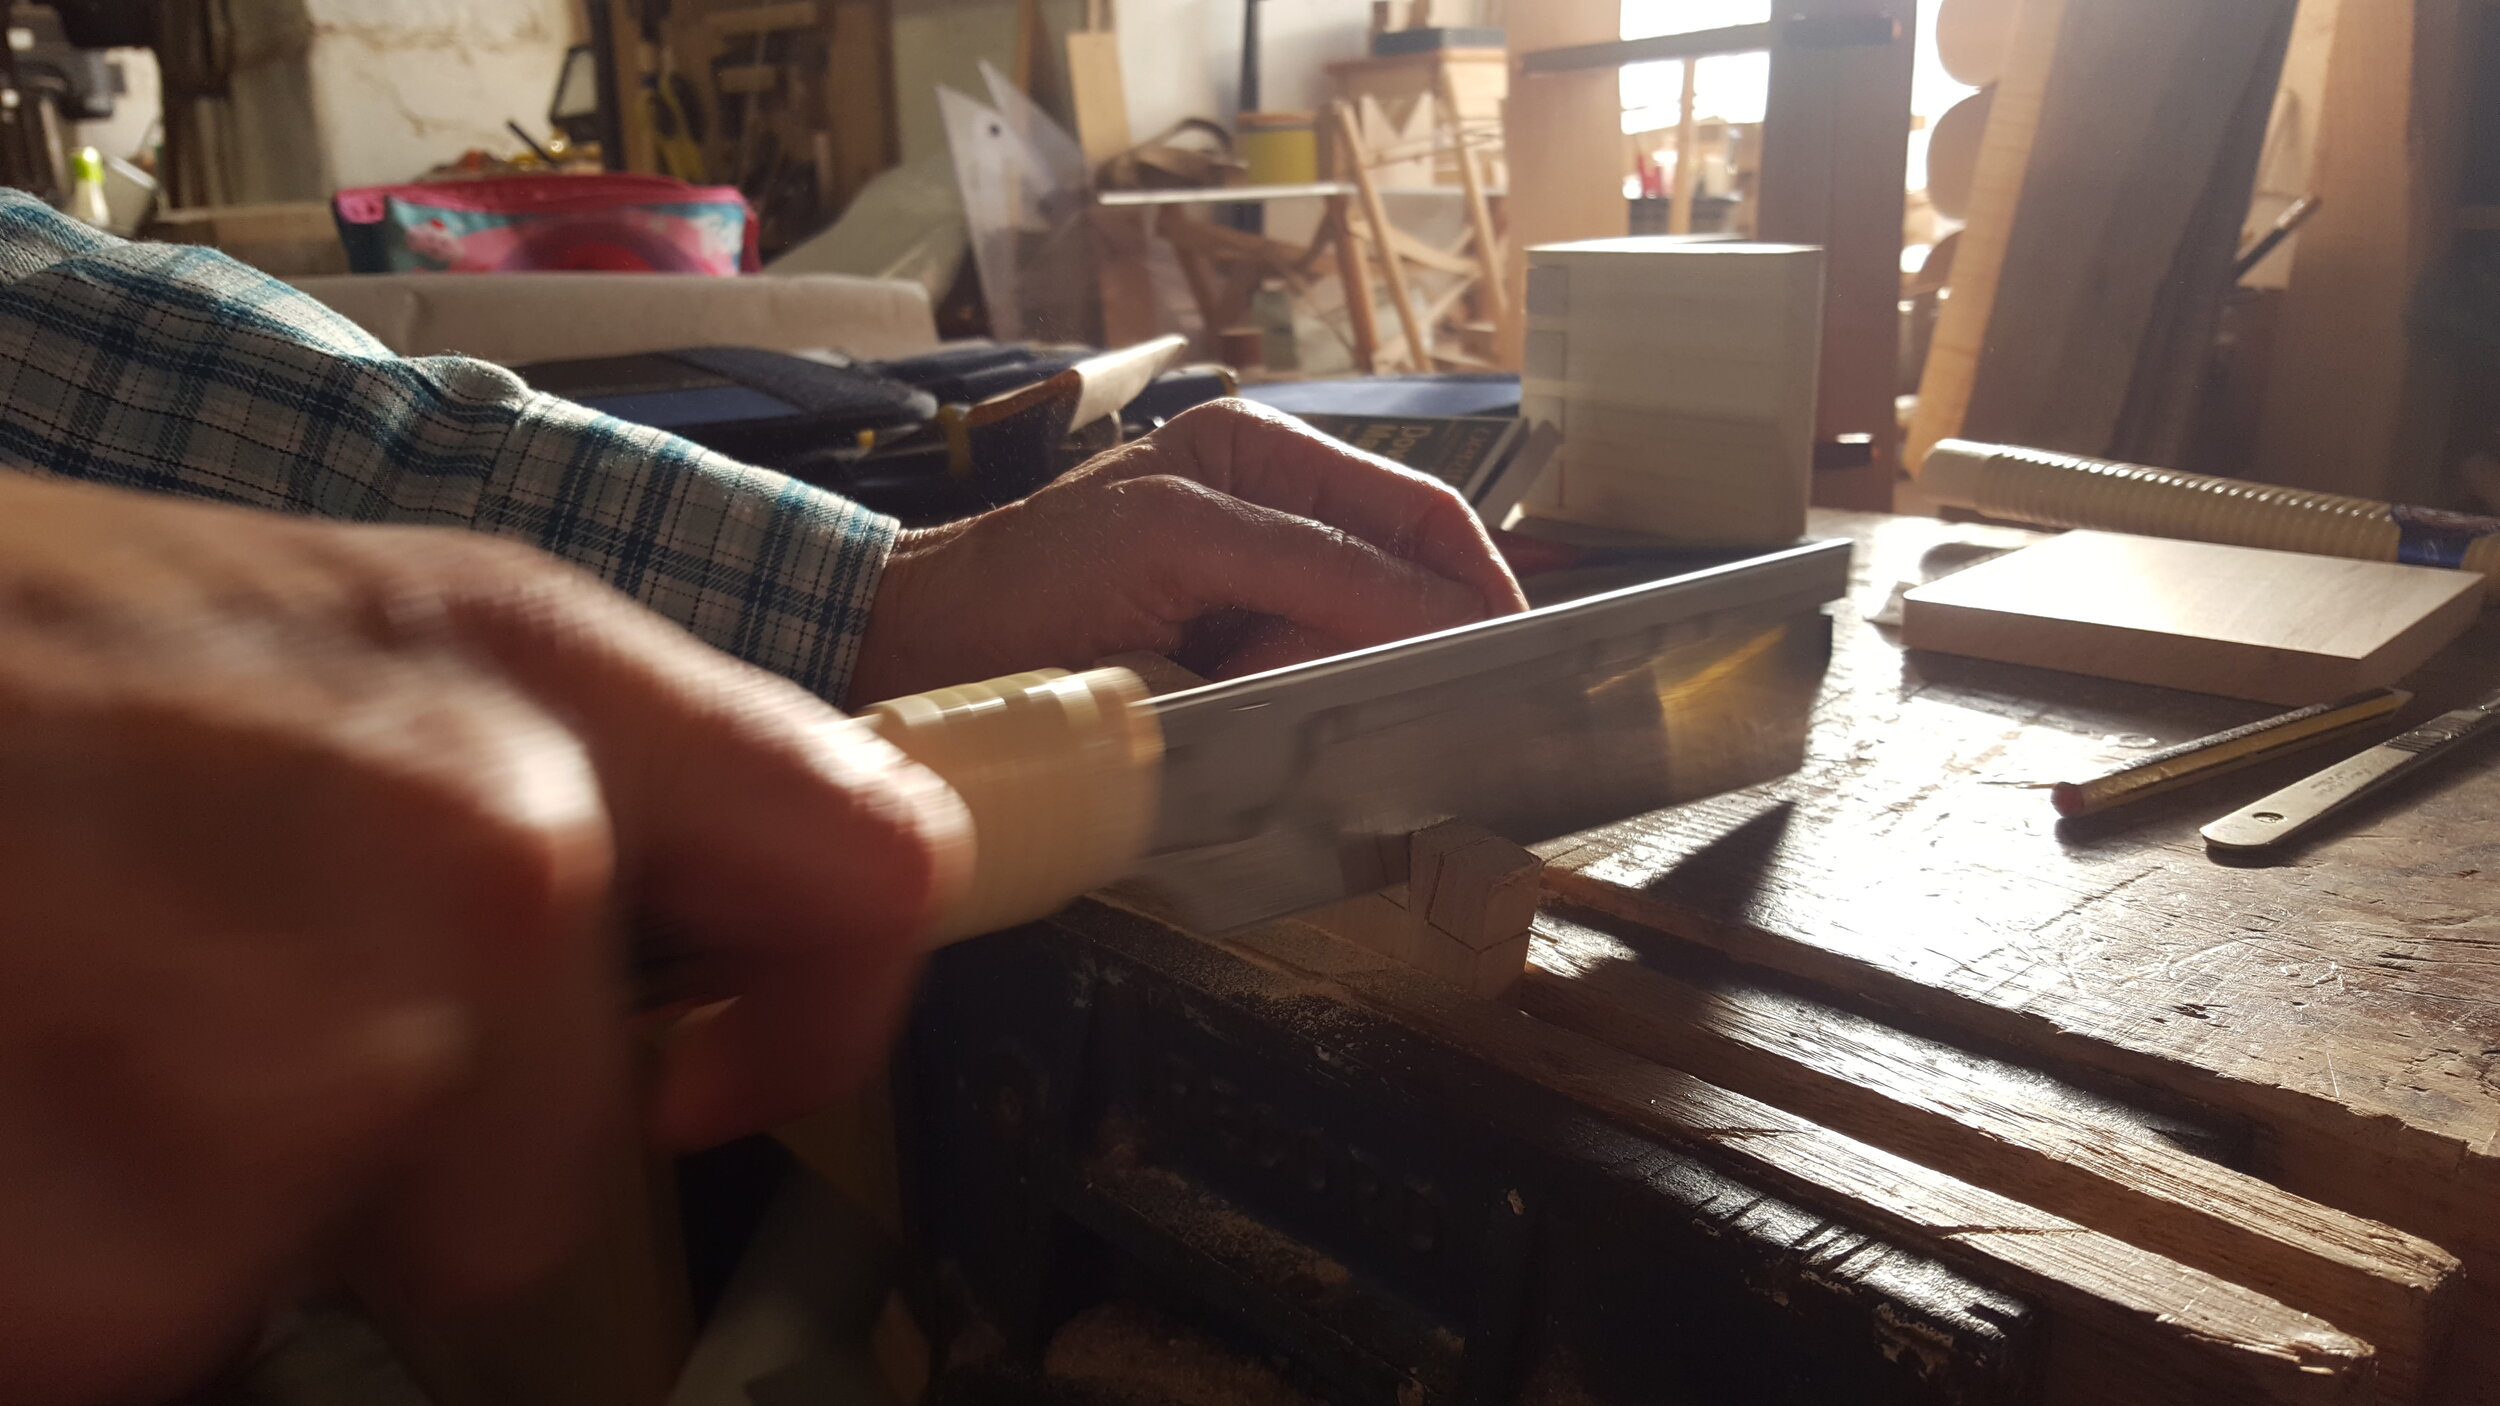
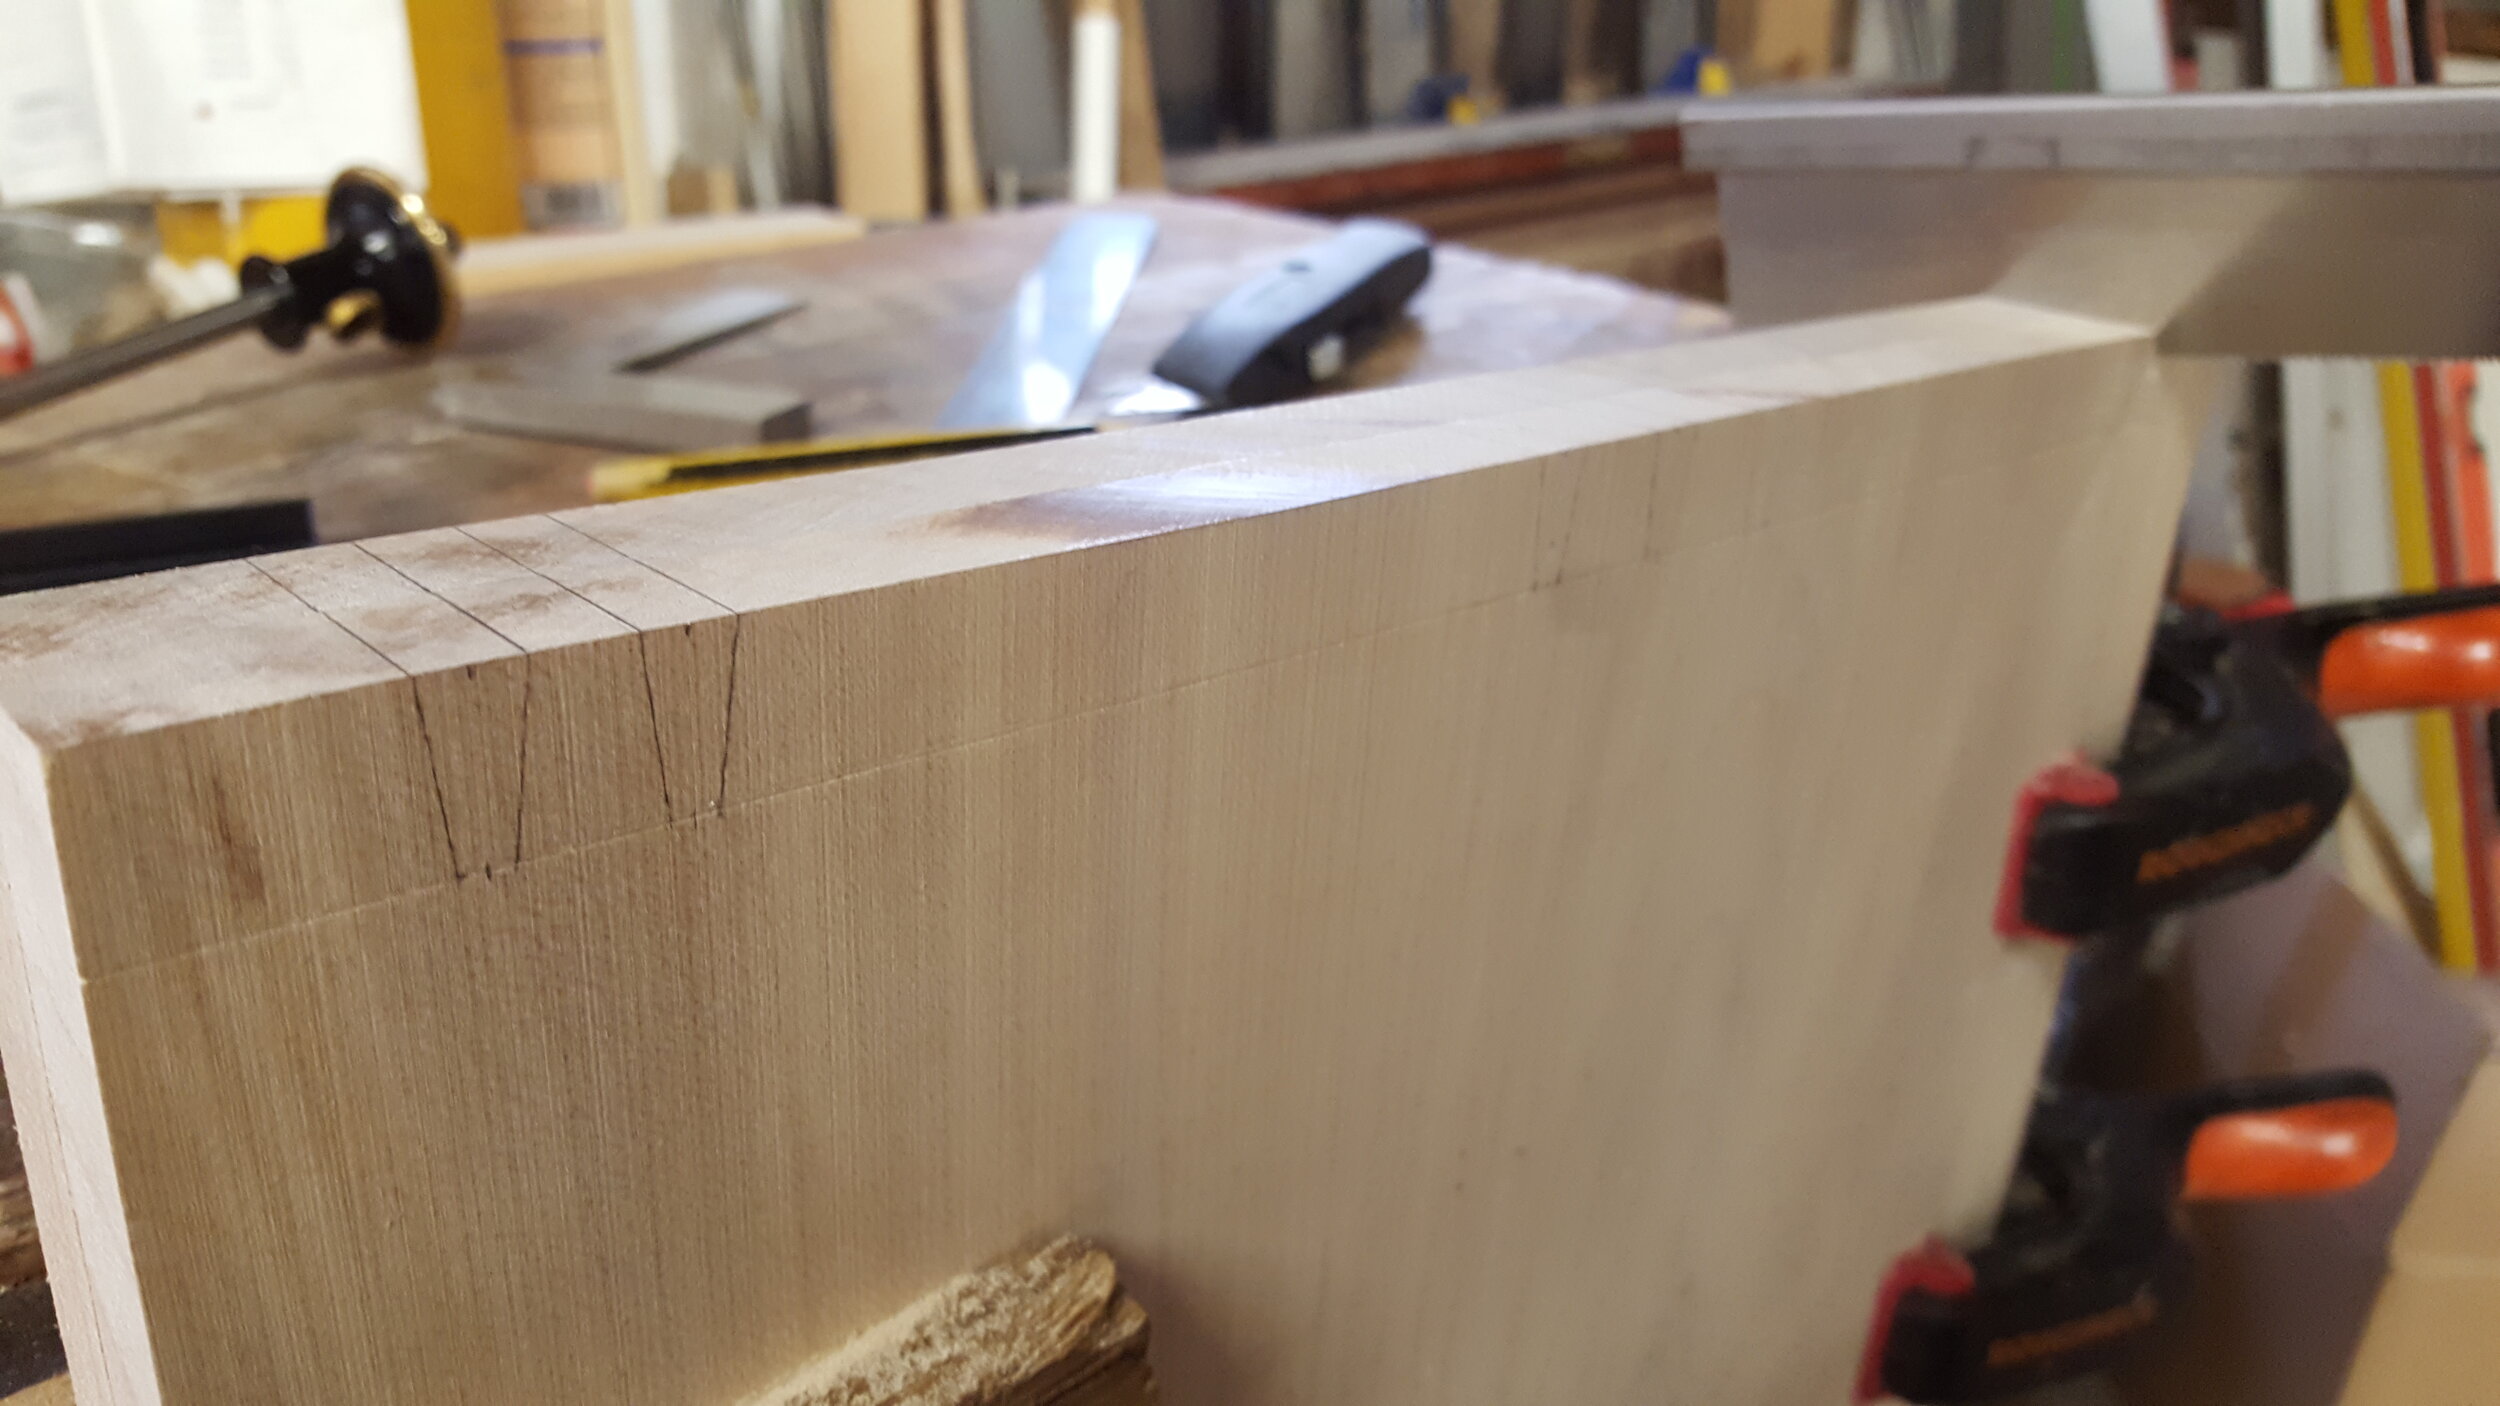
Peter and Sue made the largest dining table yet made on this course. 8' 6" long by around 3’6” wide. After much debate they chose 3 pieces of white oak, which were flattened on an extended flattening jig. The legs, rails and stretchers were cleaved and shaved from clear, straight-grained ash. The end rails were steam bent to give some extra leg clearance, and a central rail was made and fixed using a through slot-mortice and tenon, all cut by hand. This was to be wedged with two wedges. The top was sanded with a belt sander, using progressively finer grits. It was wetted to raise the grain several times, then finally sanded with a very fine grit to give it a silky finish. It was then finished with a very durable acrylic floor lacquer, and was ready just in time to take the family Christmas lunch!


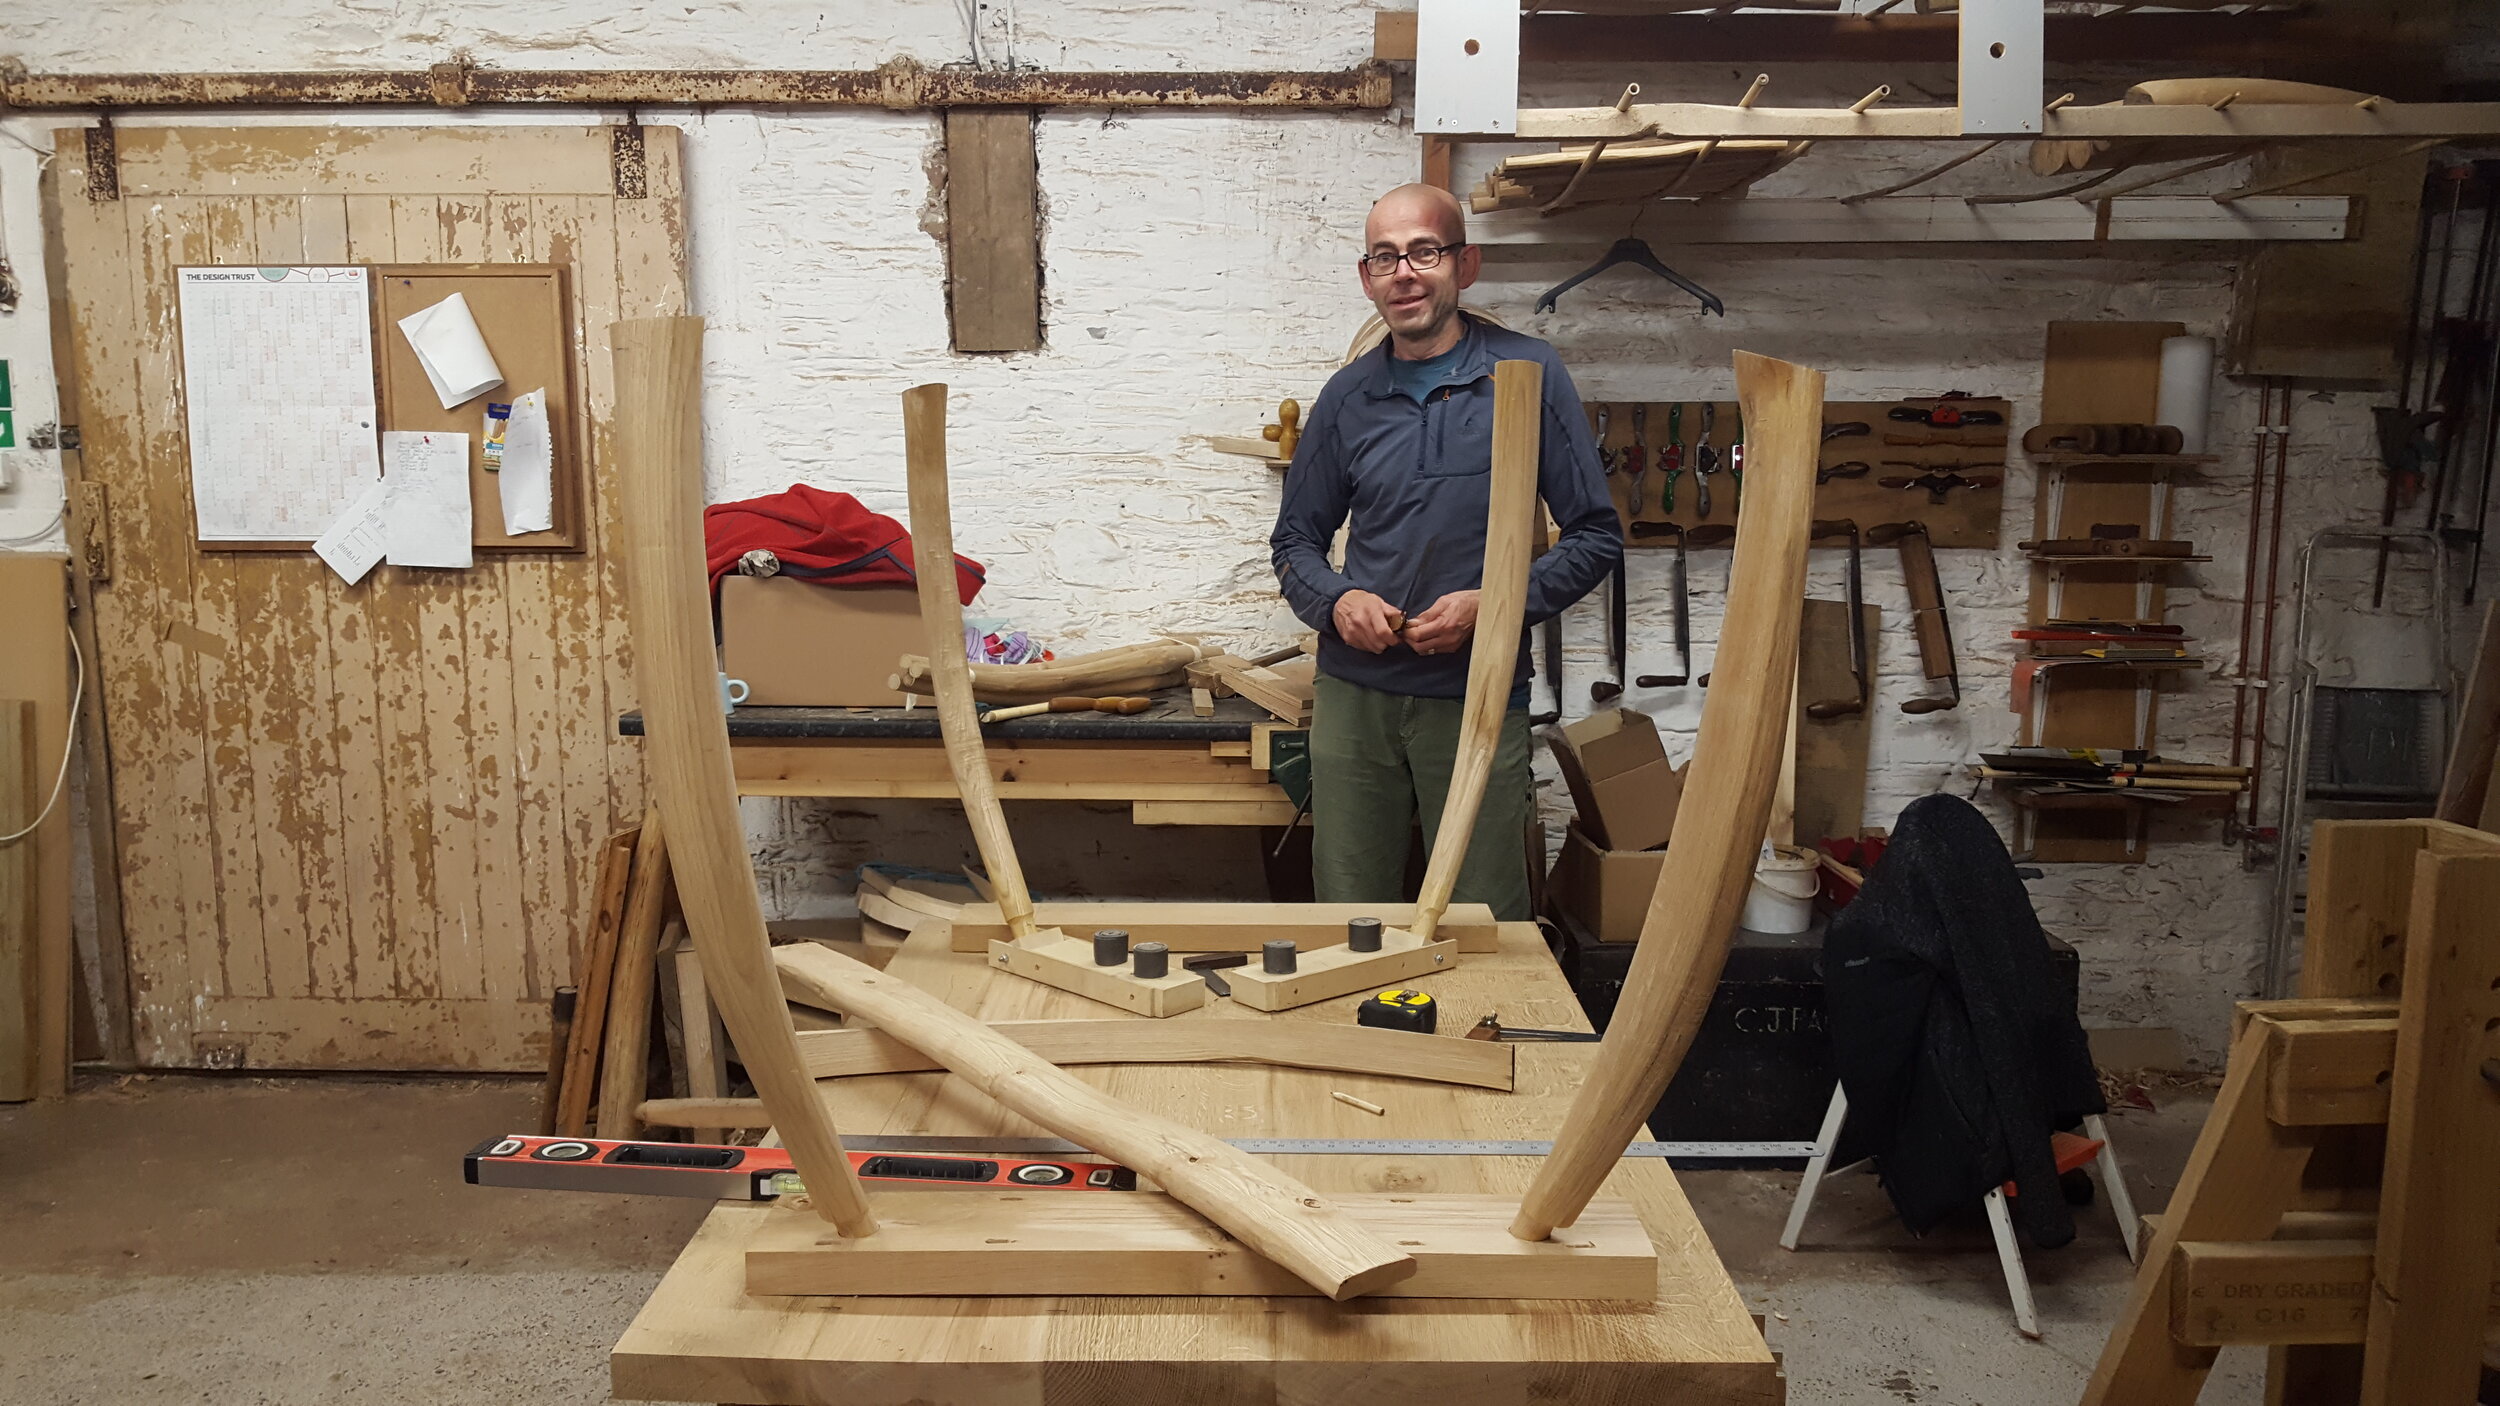
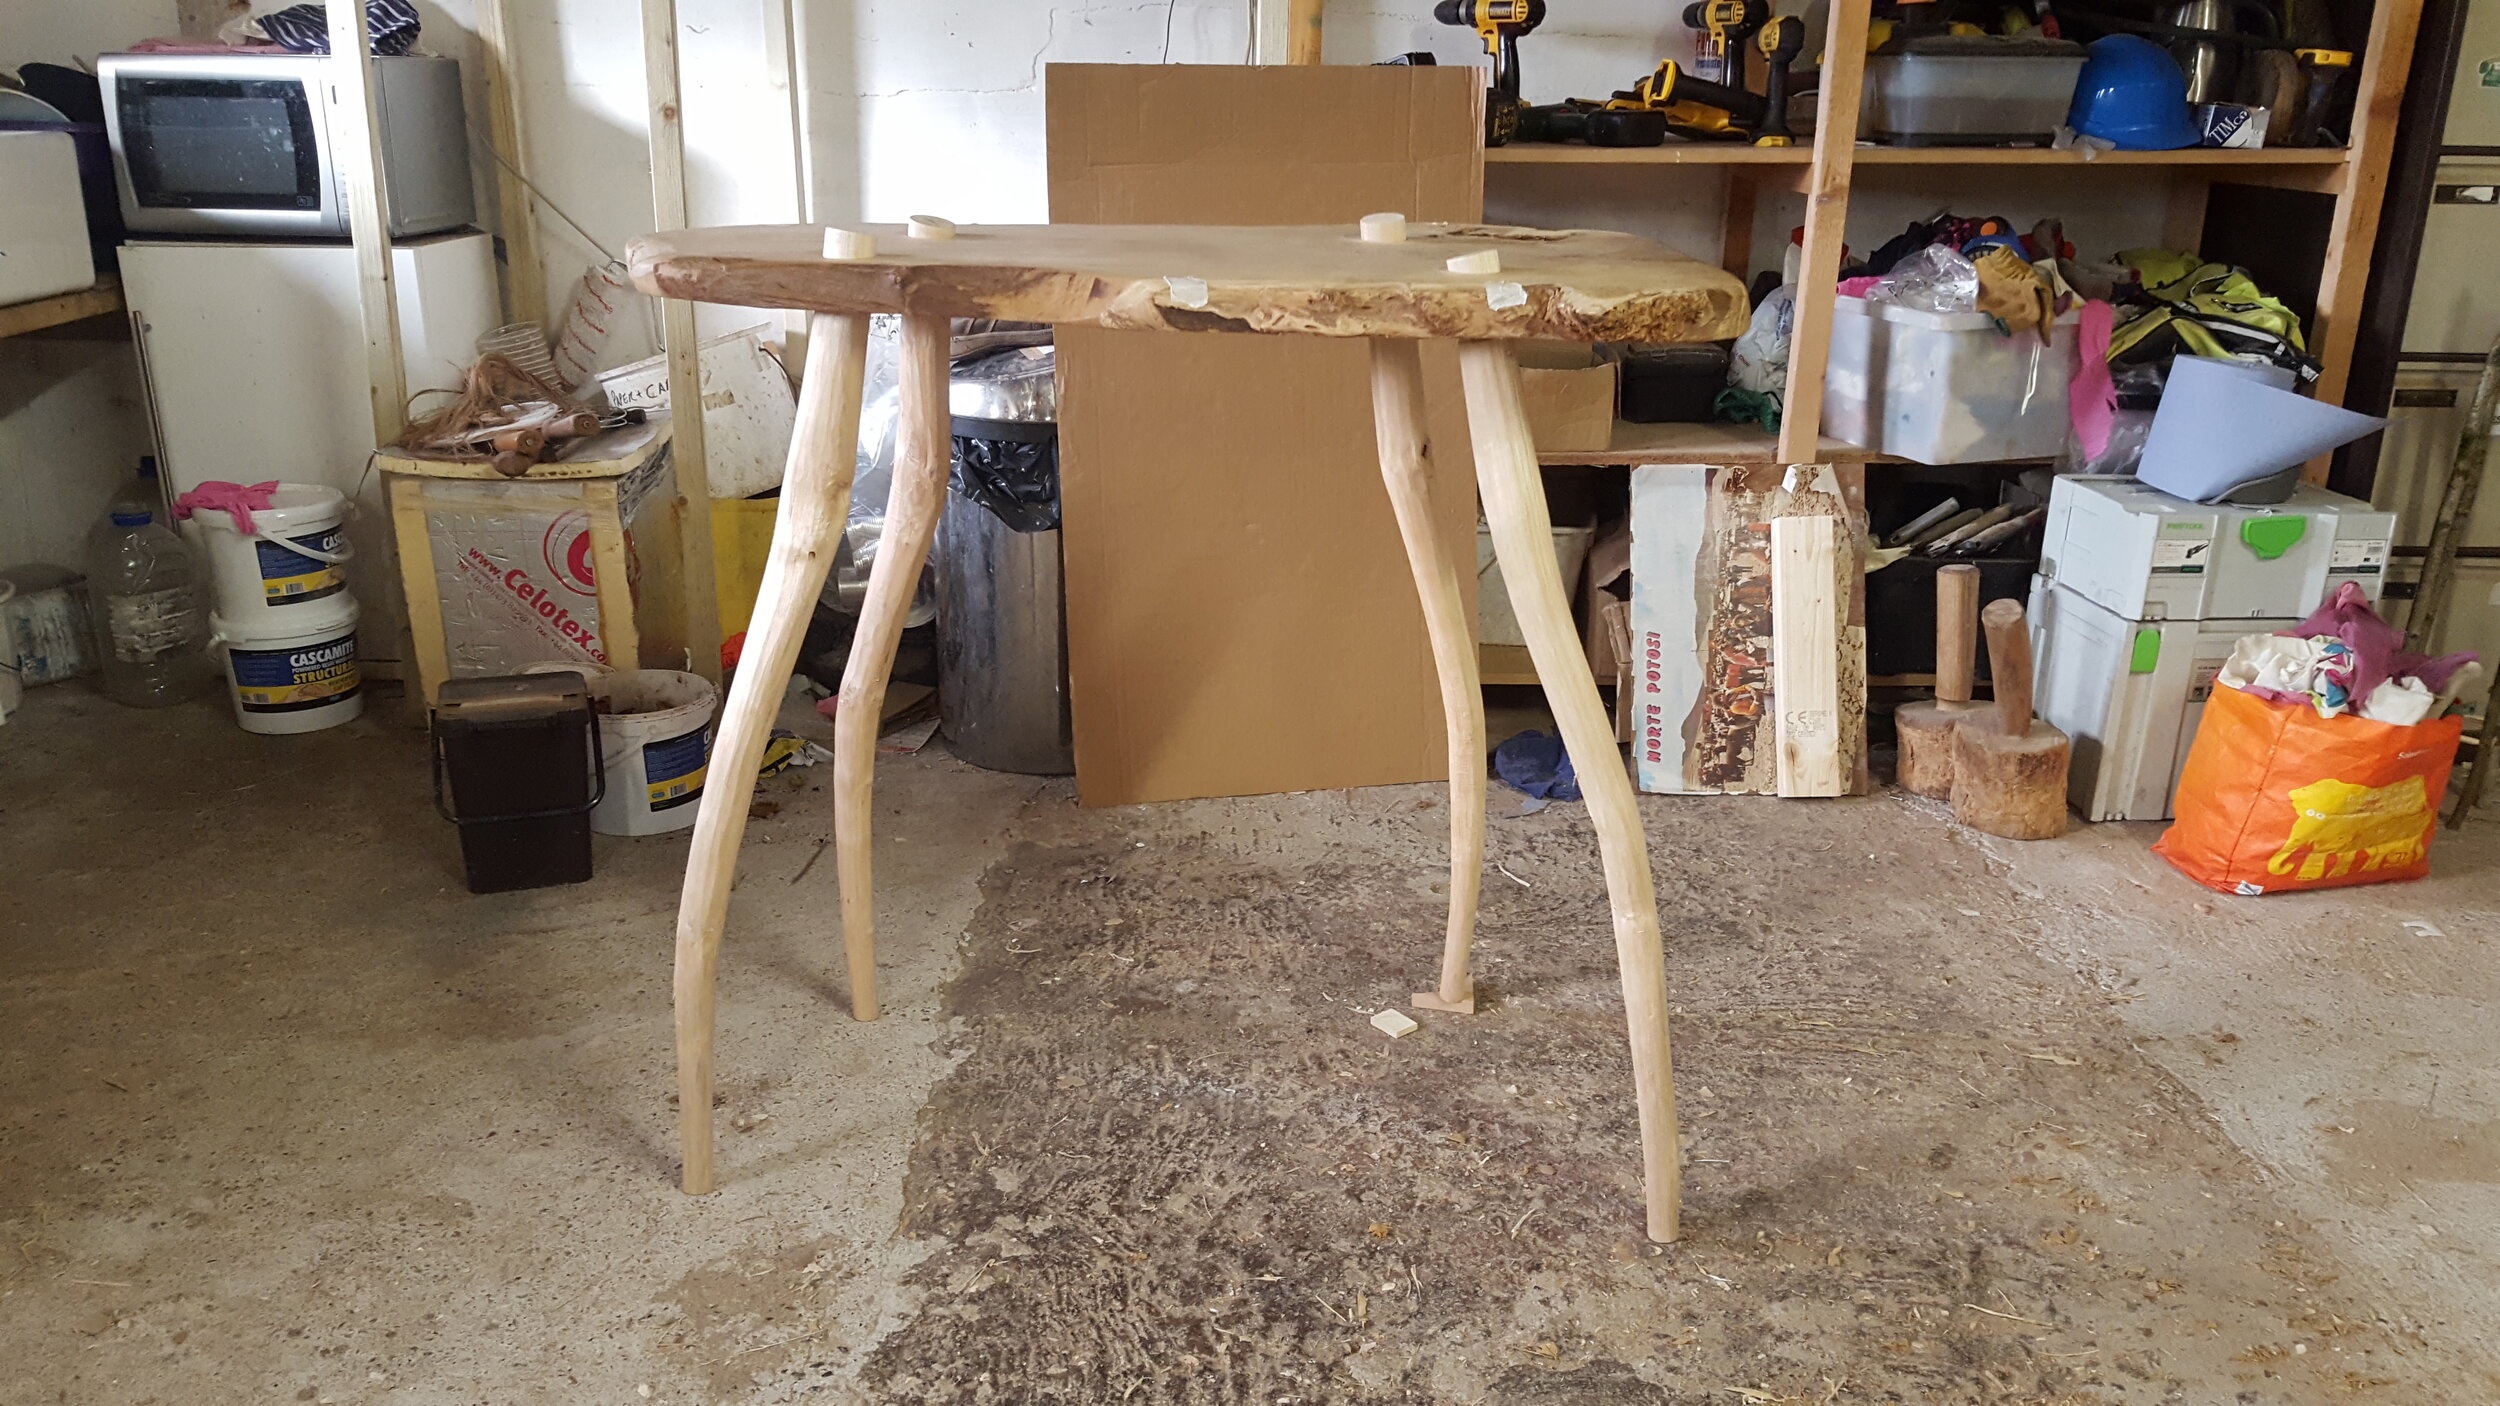
Dave
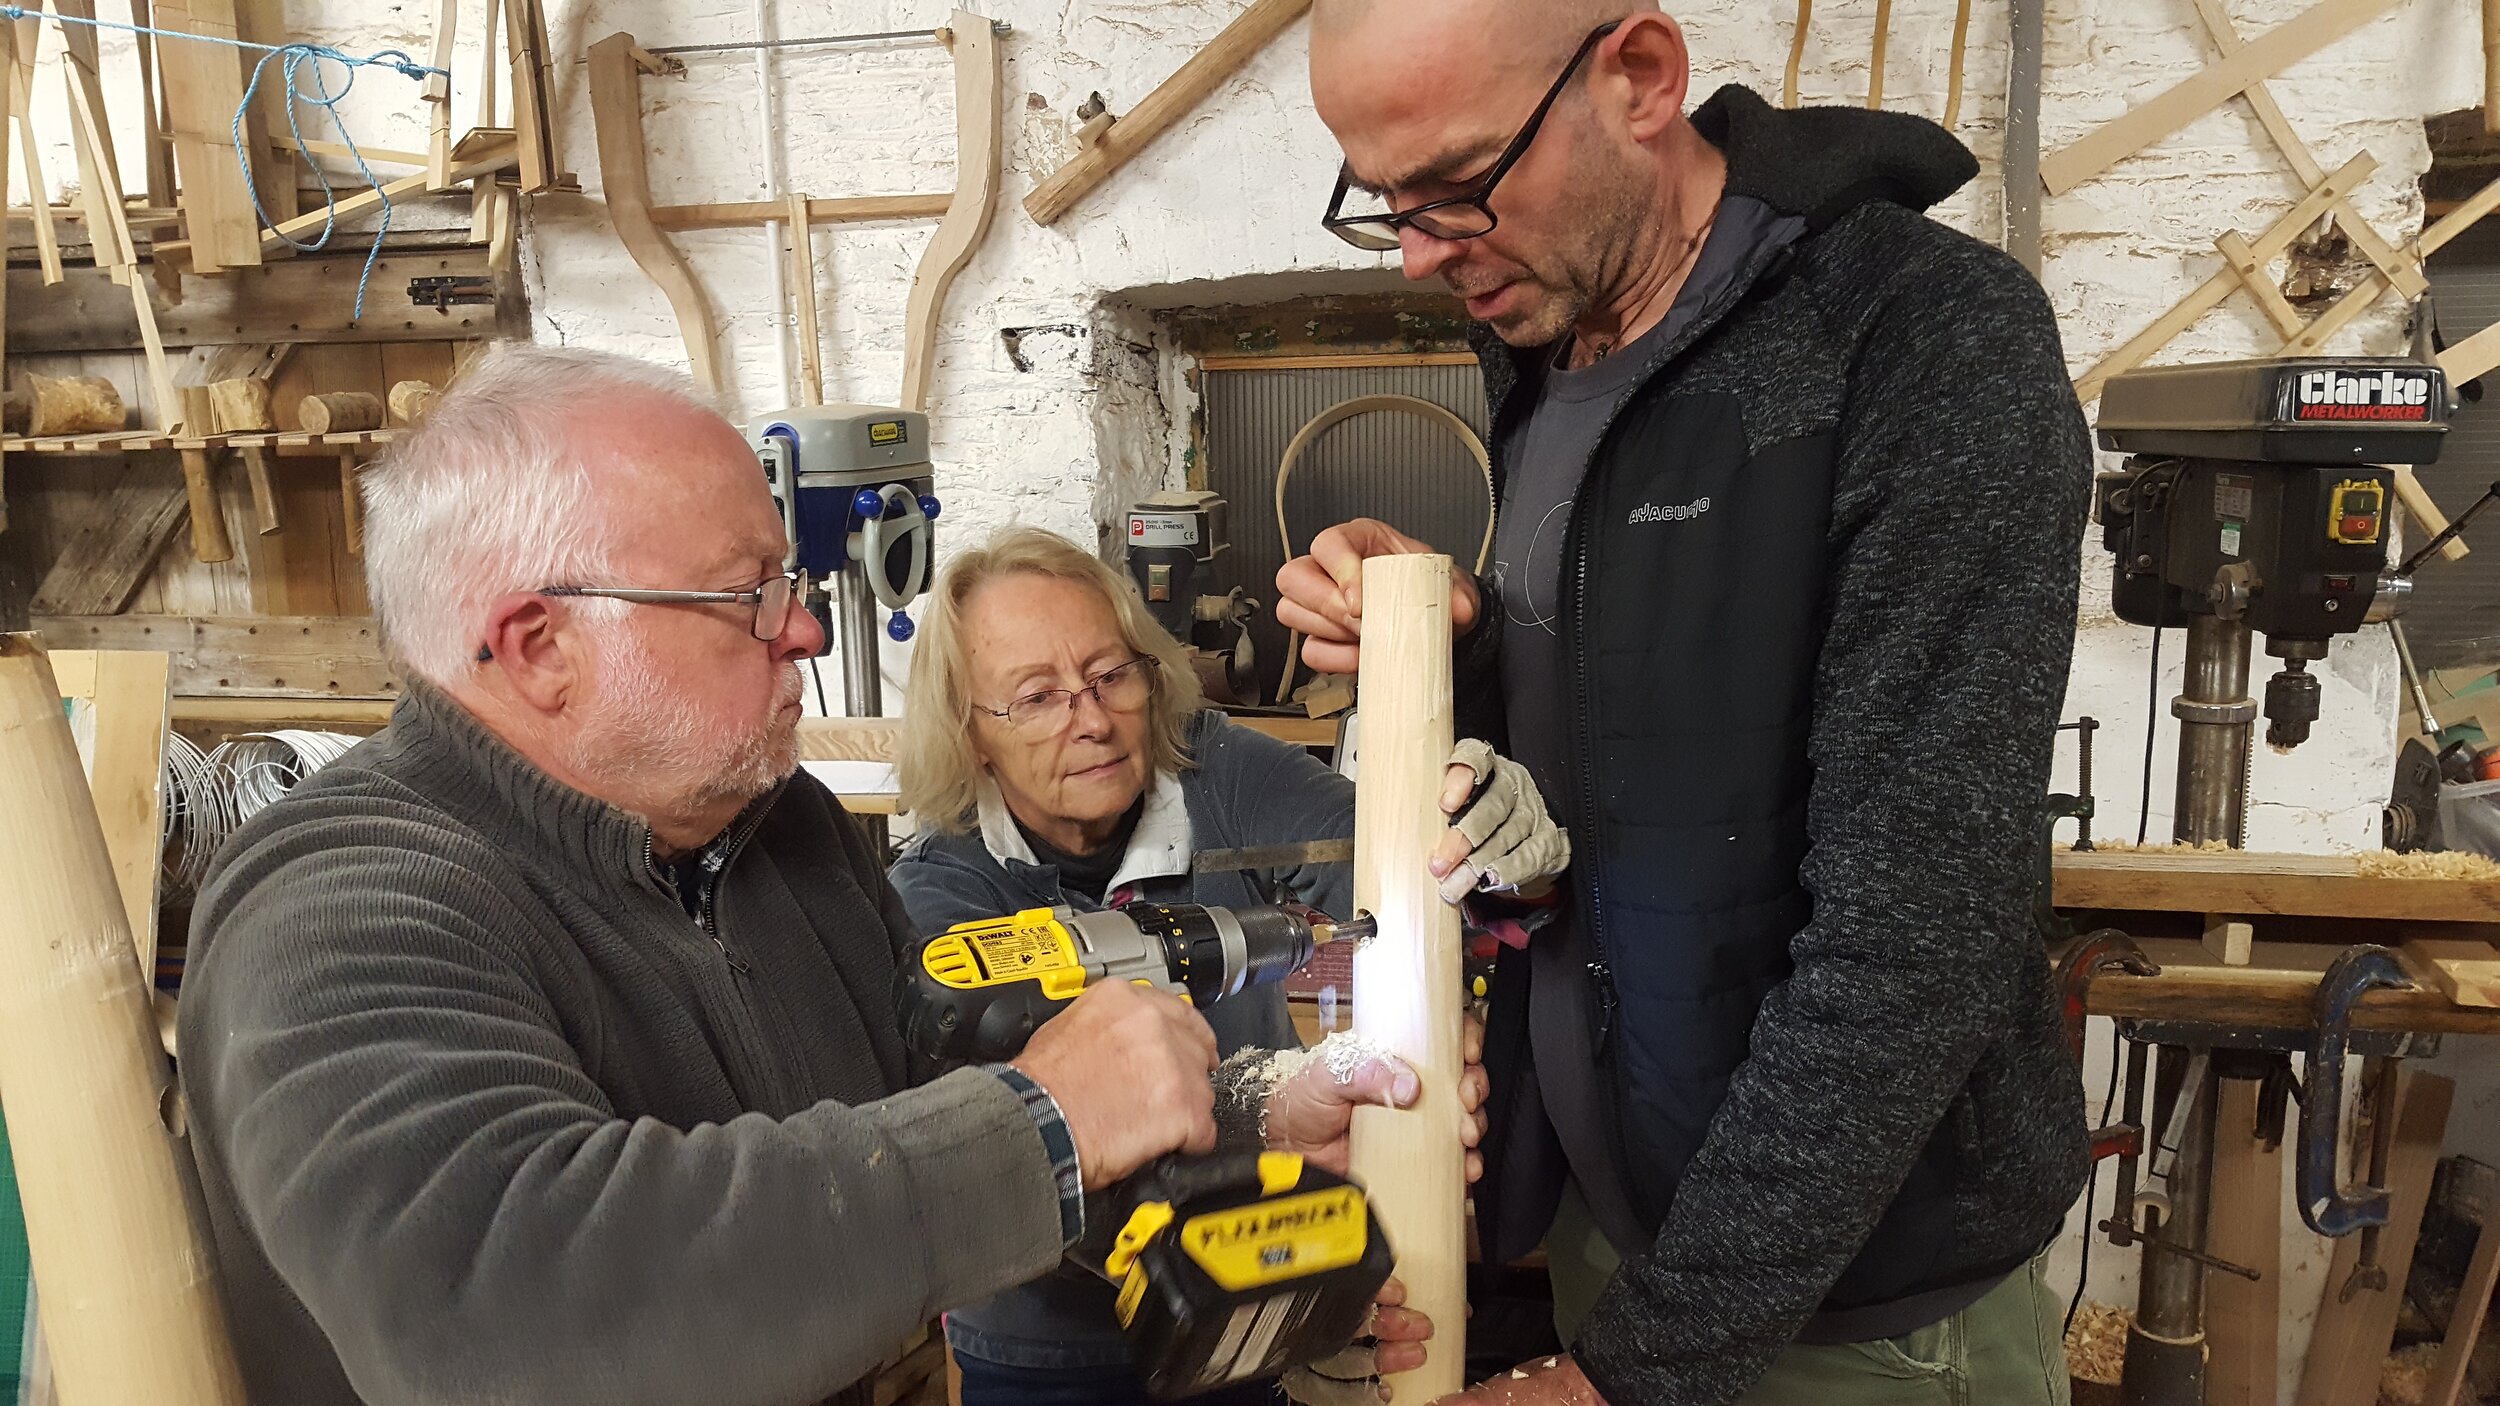
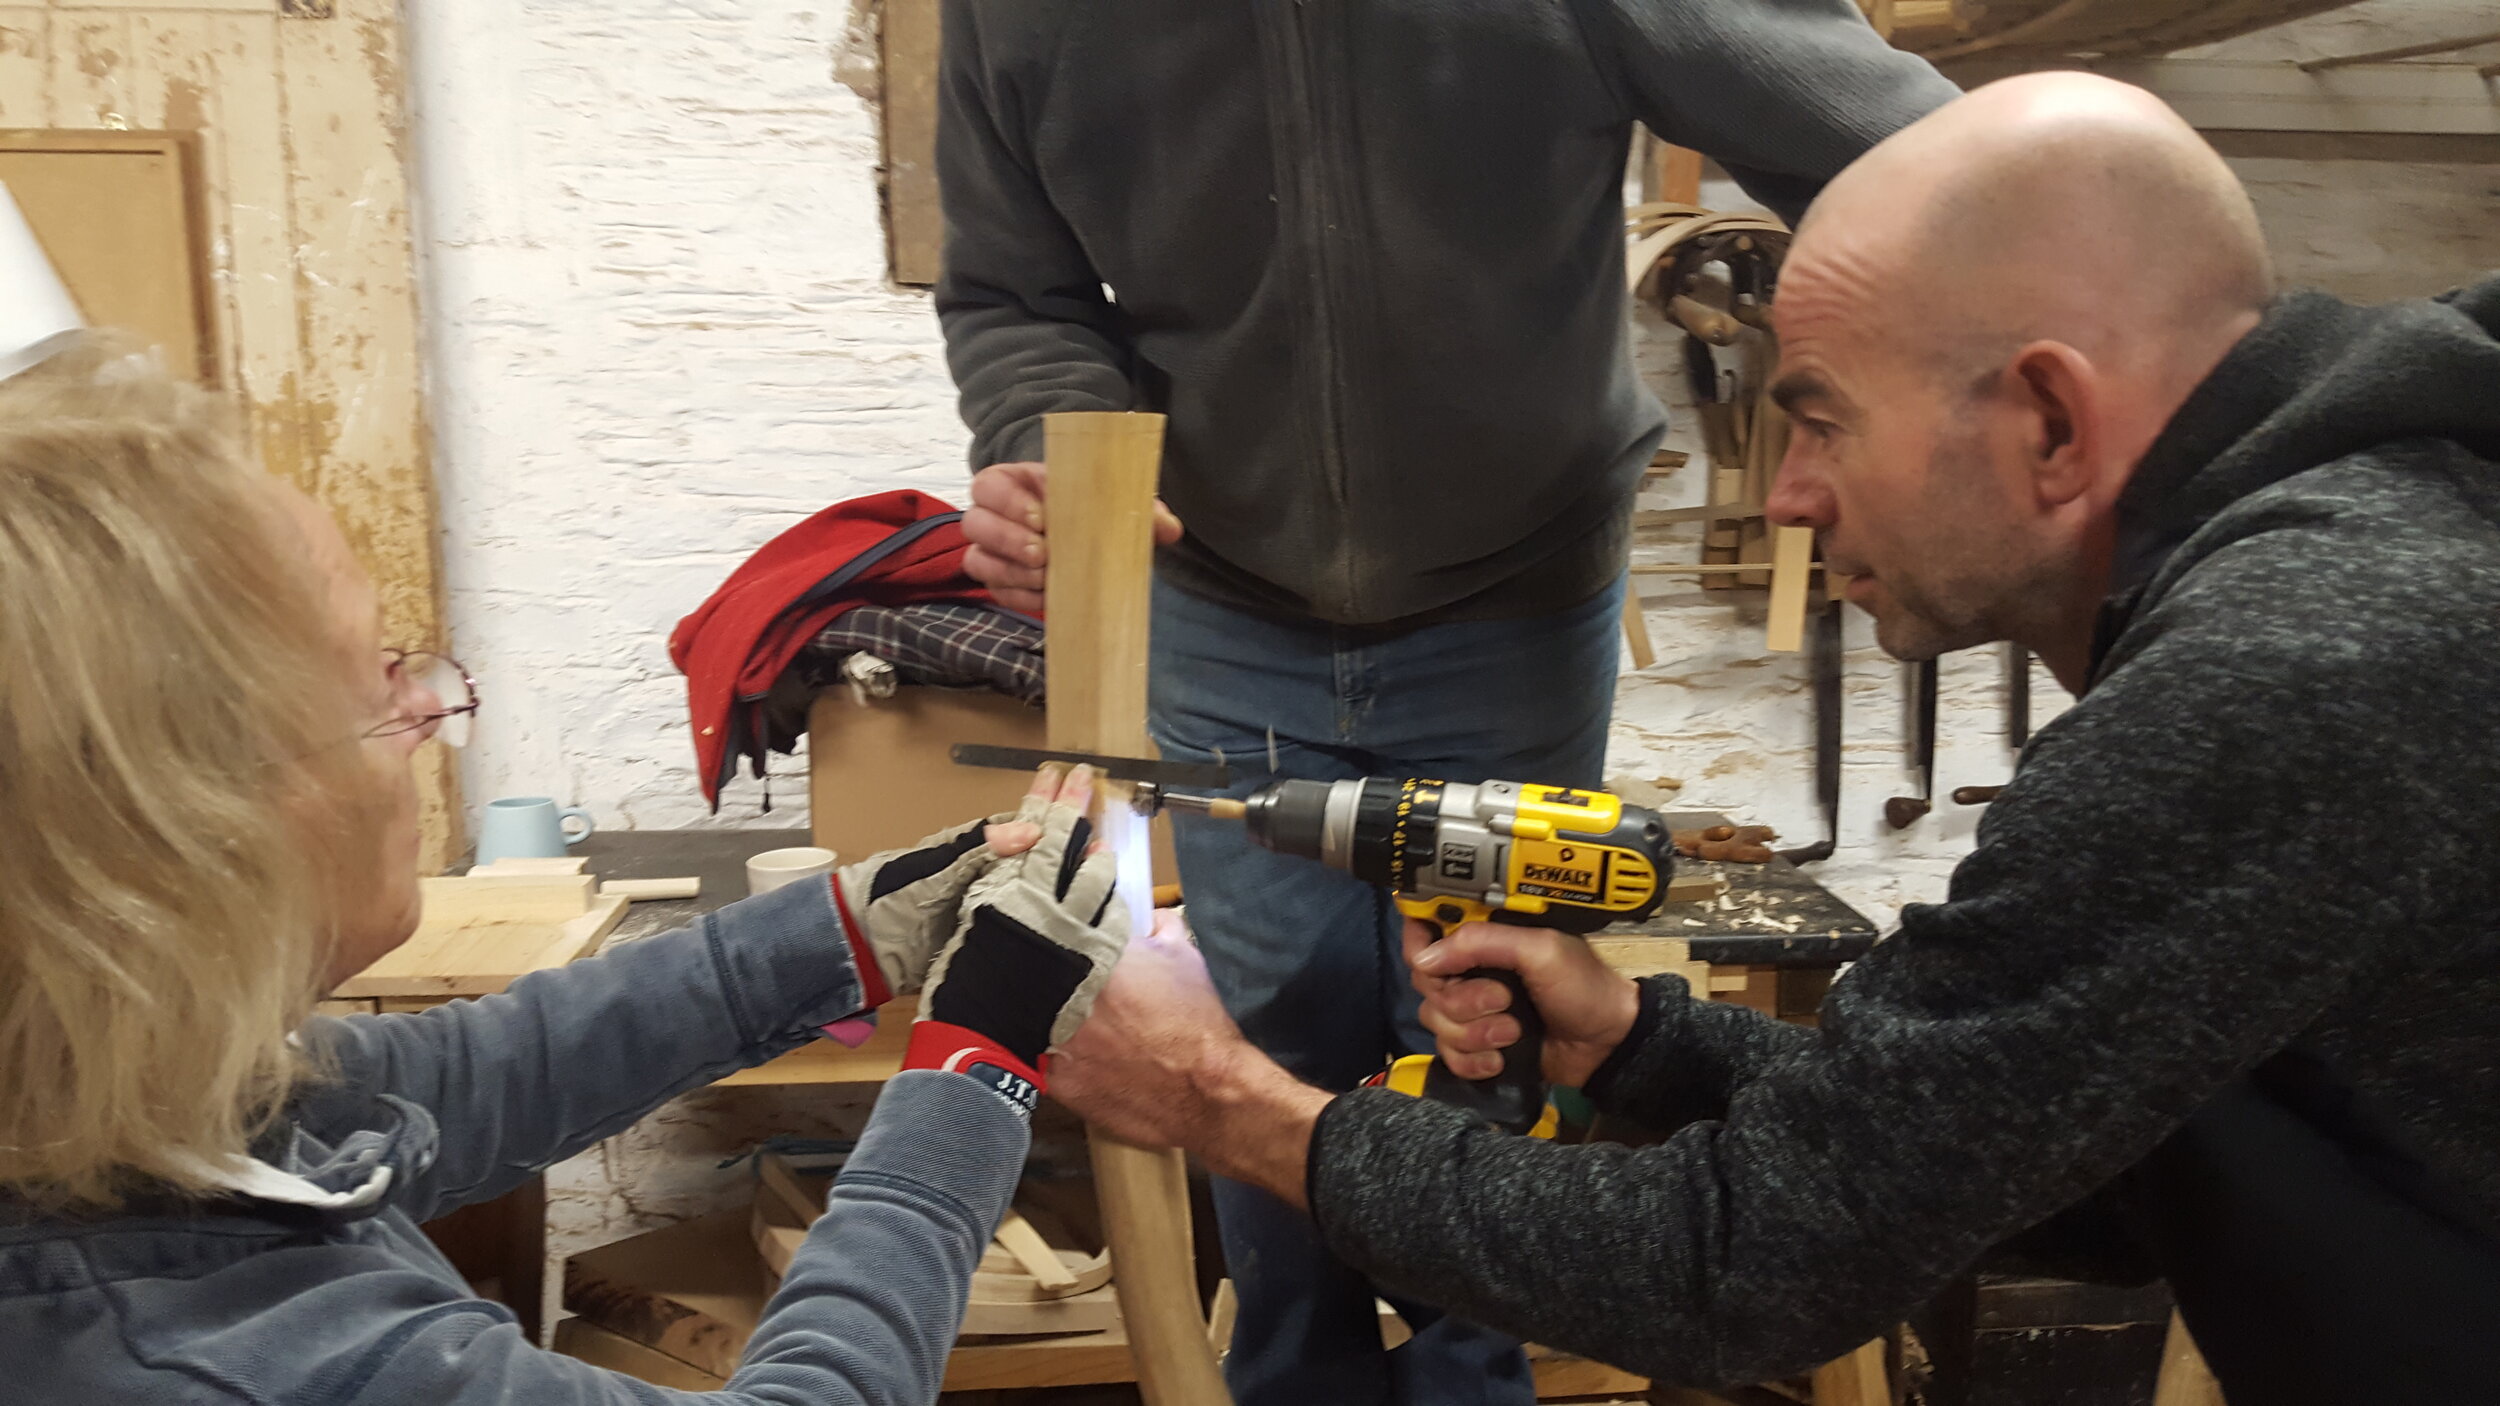
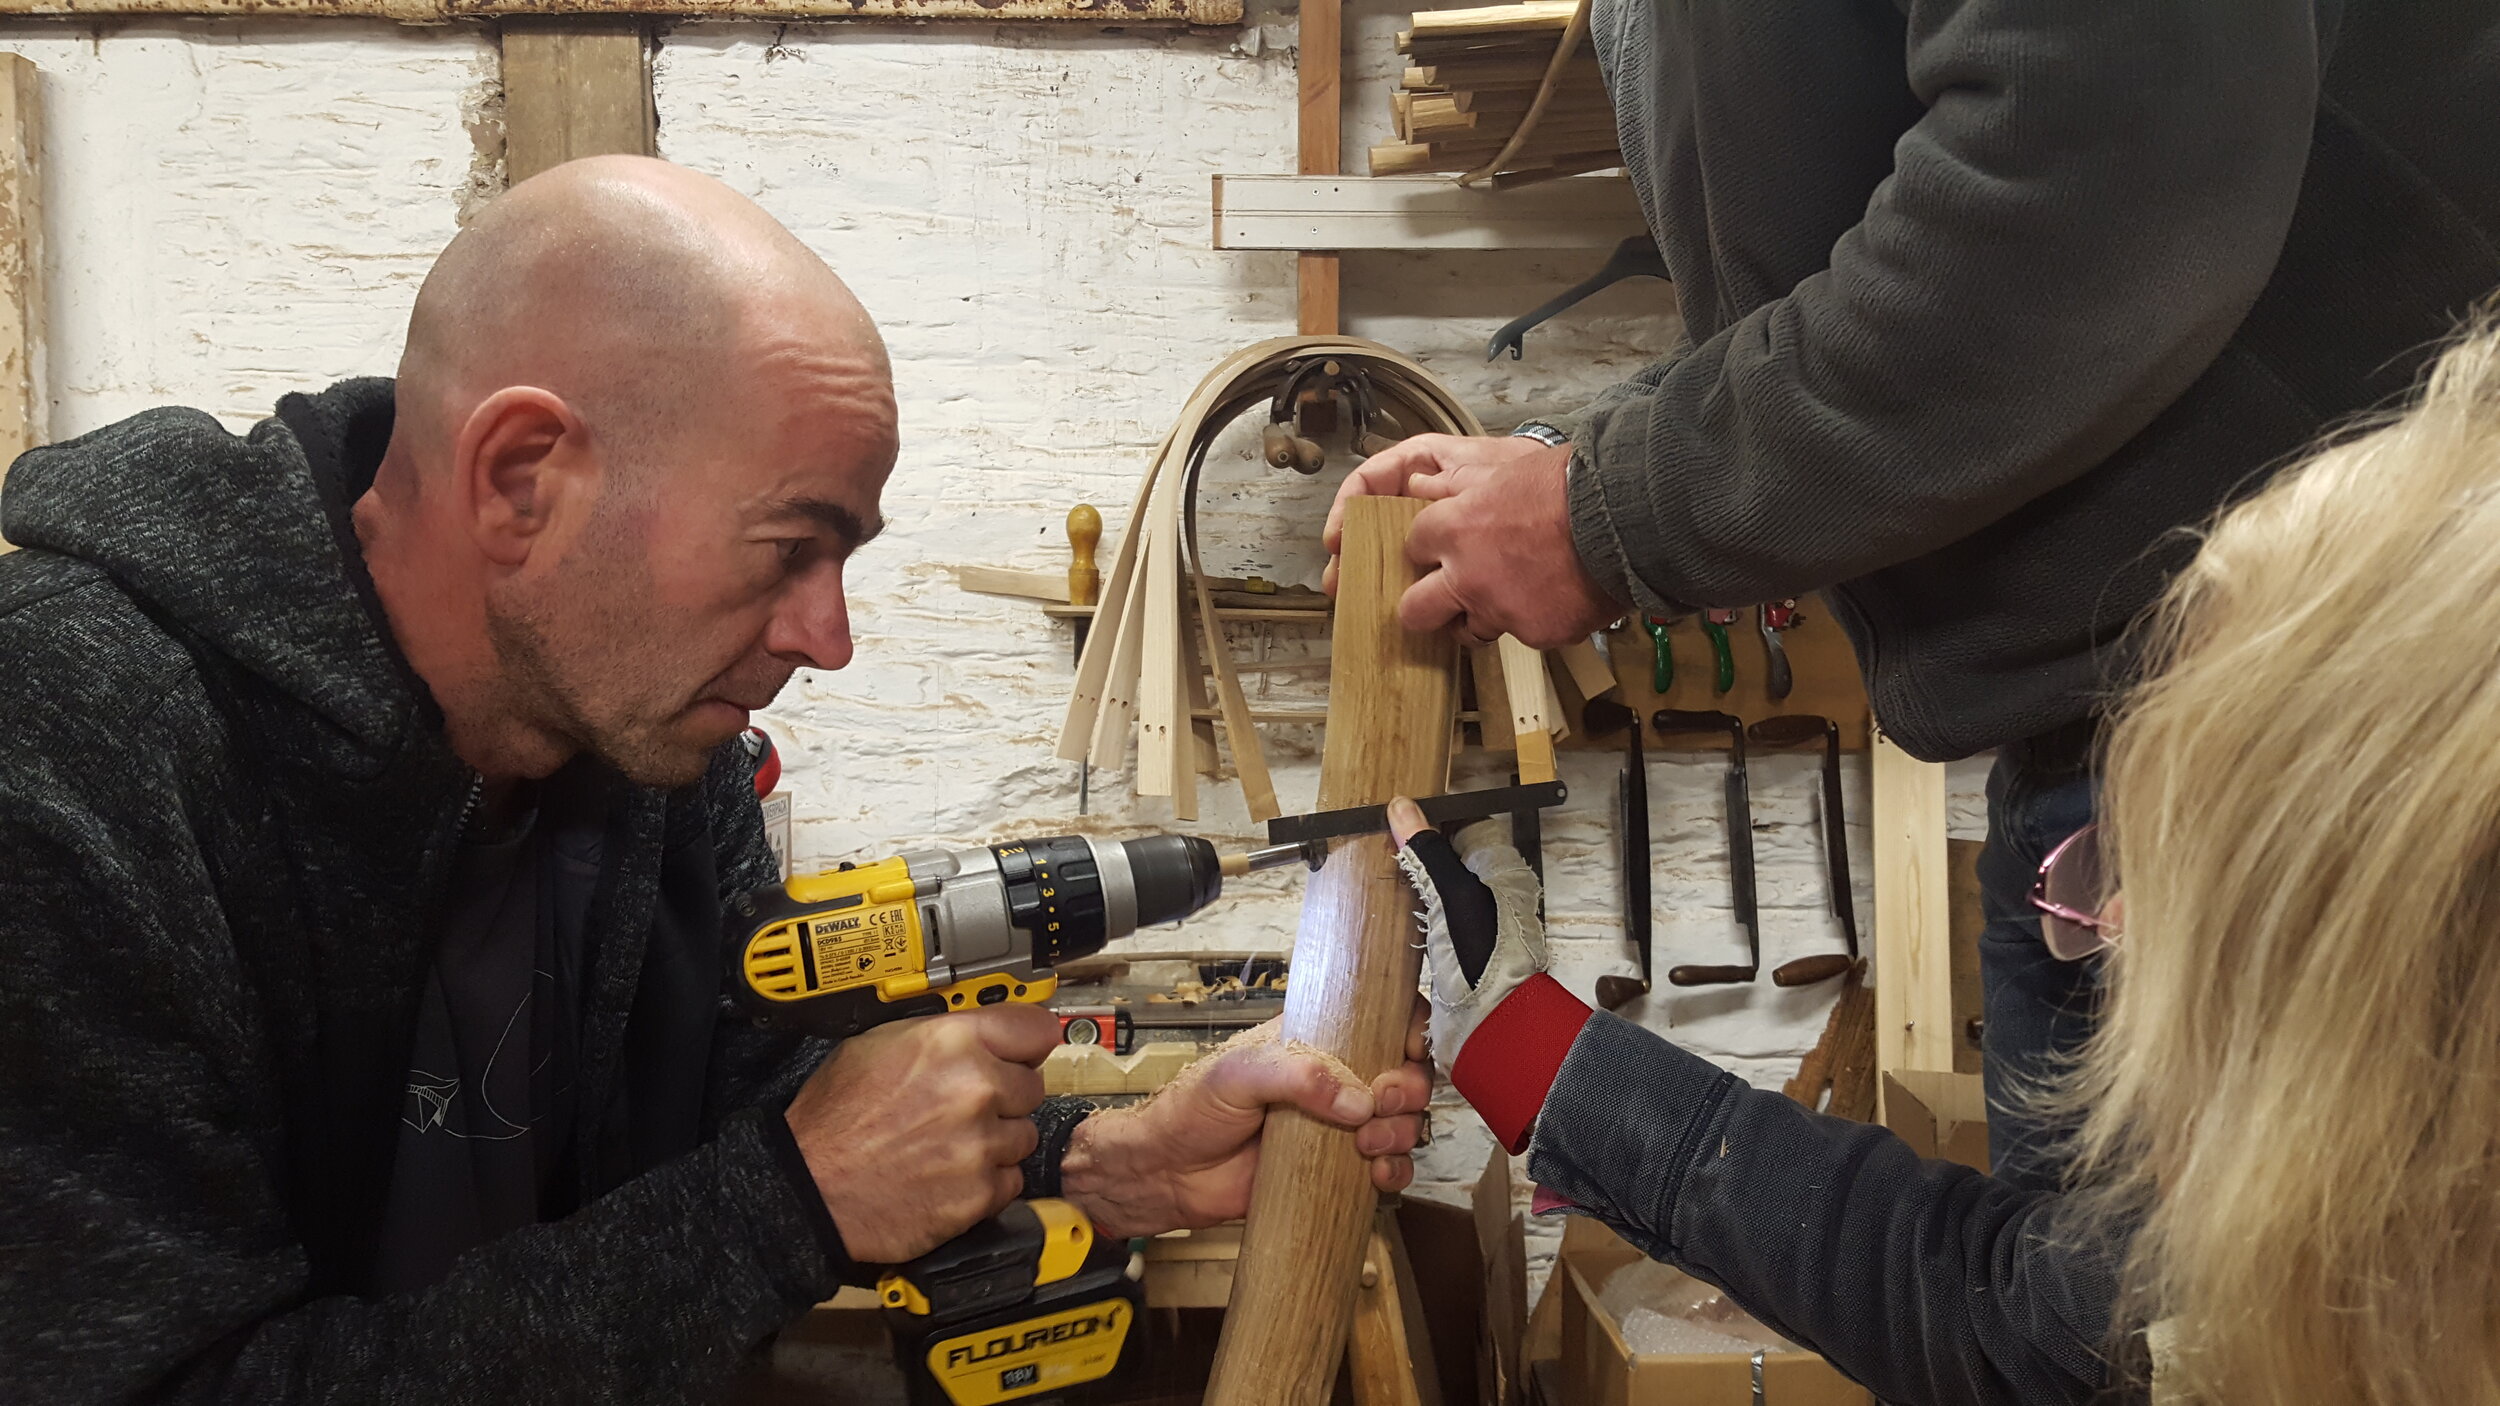
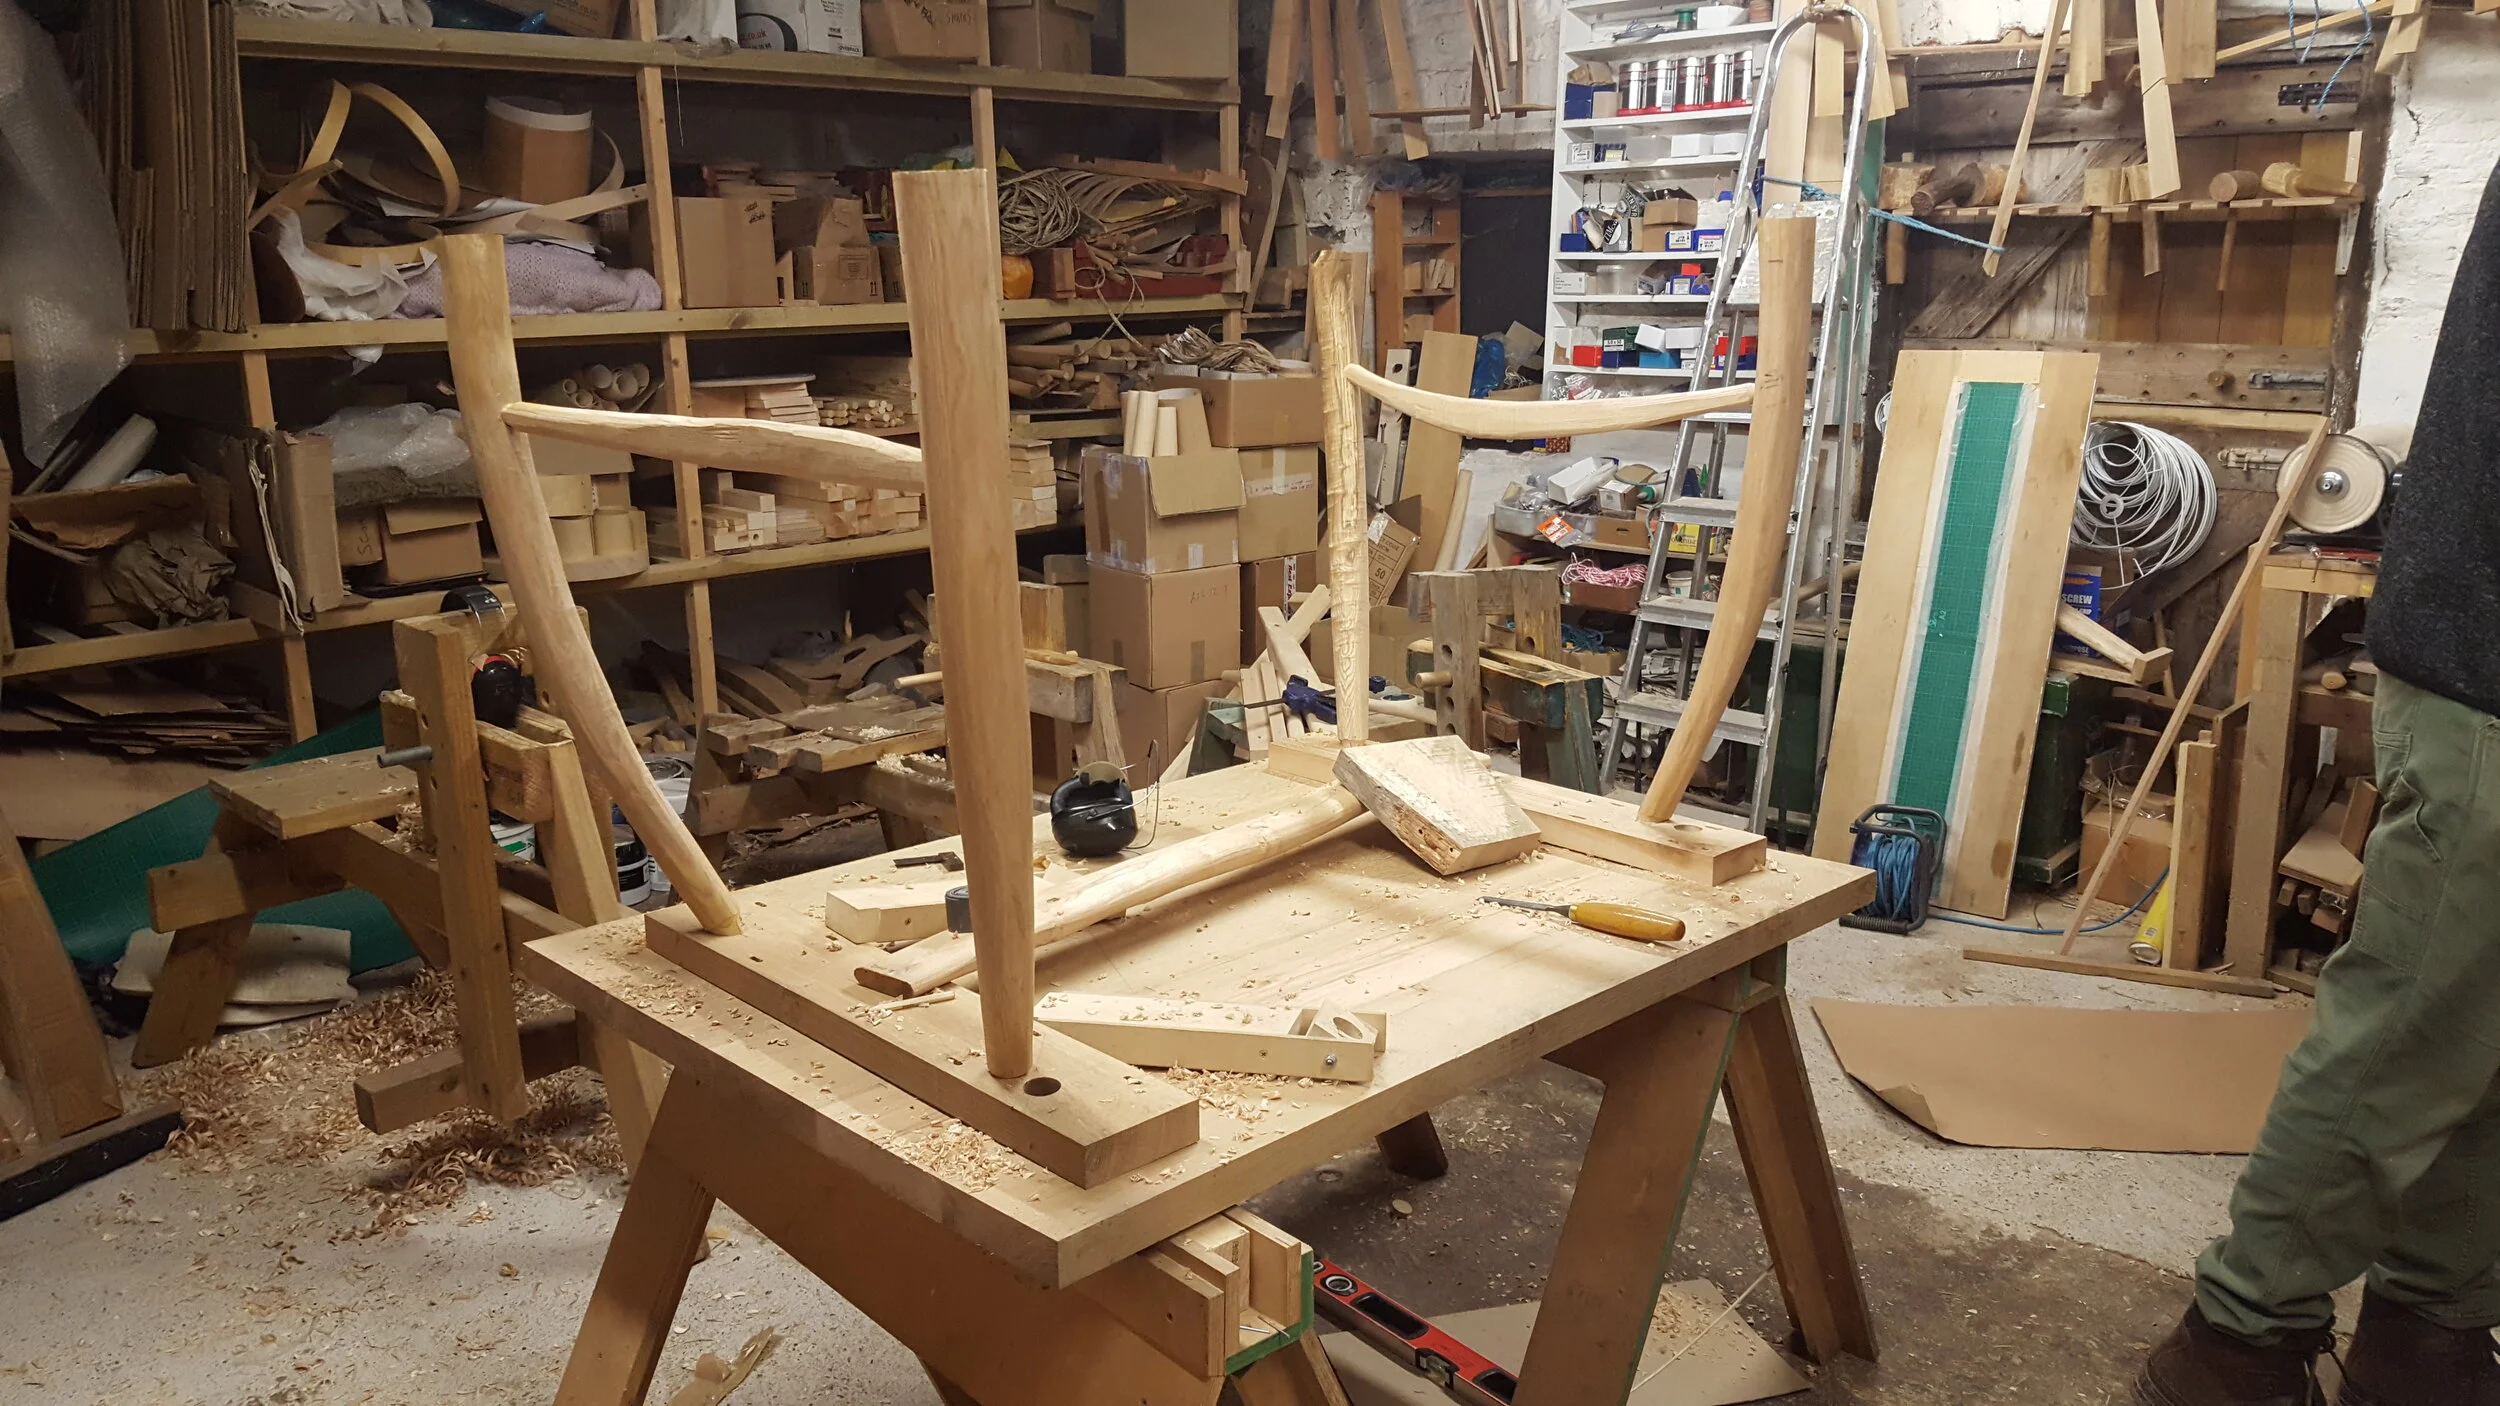
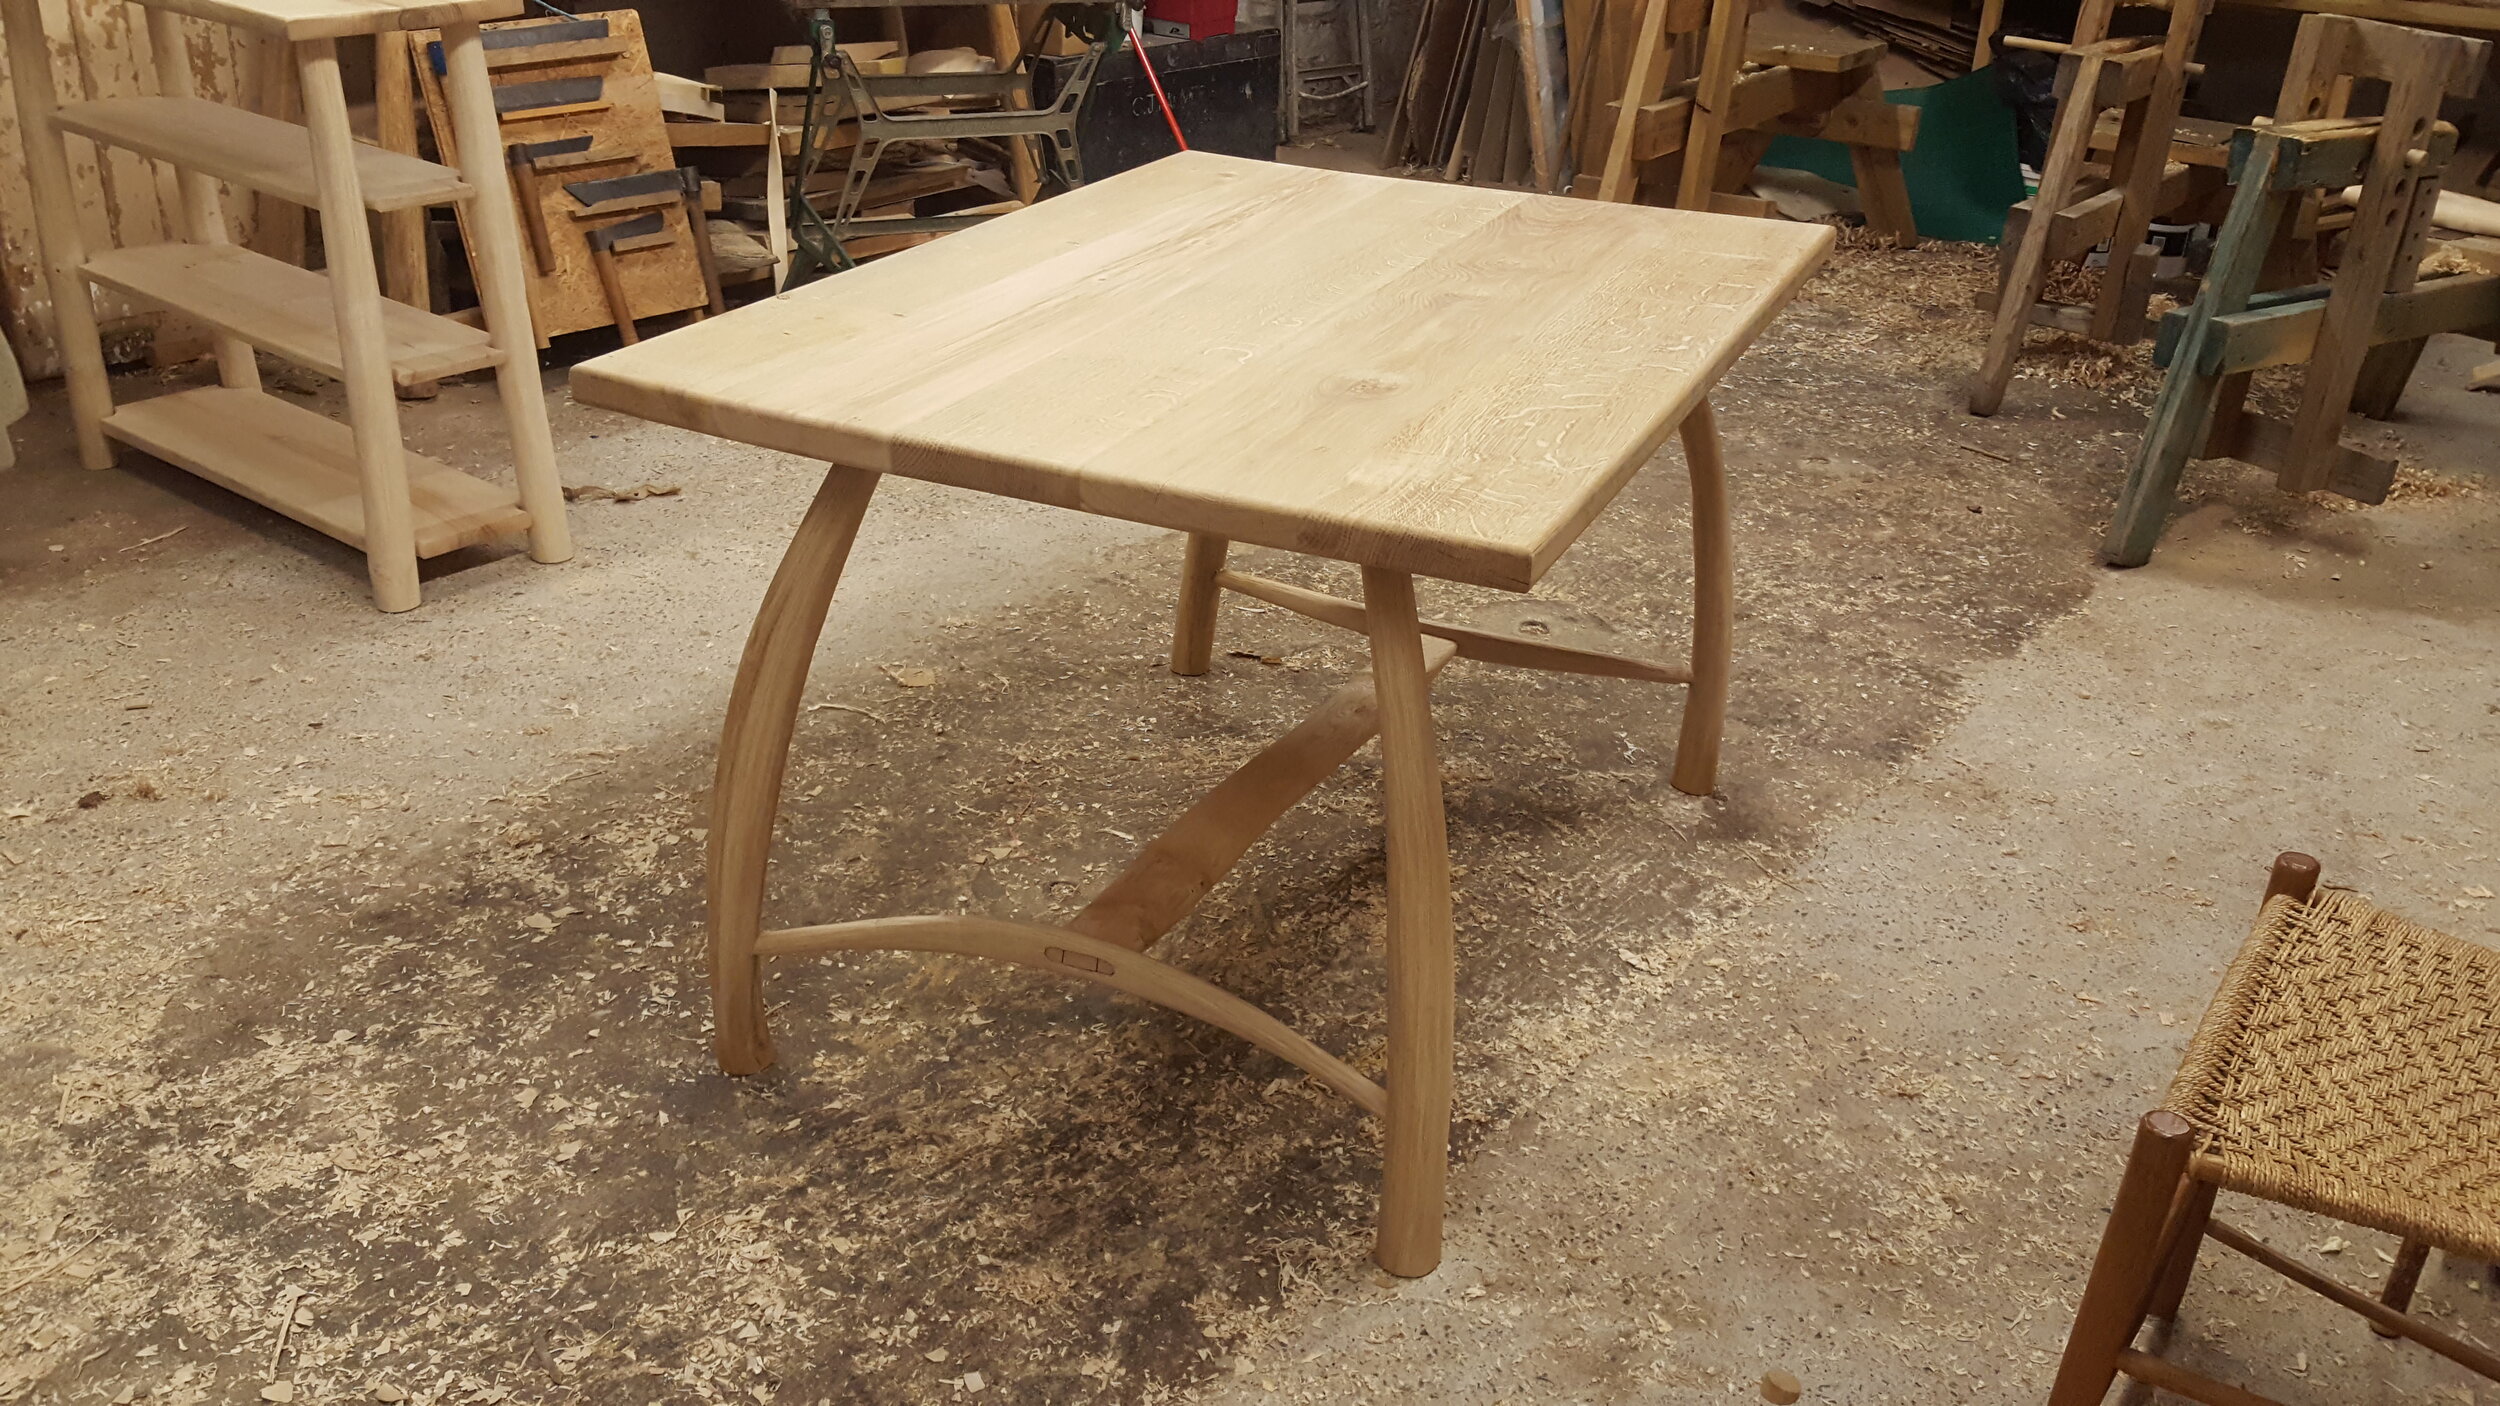
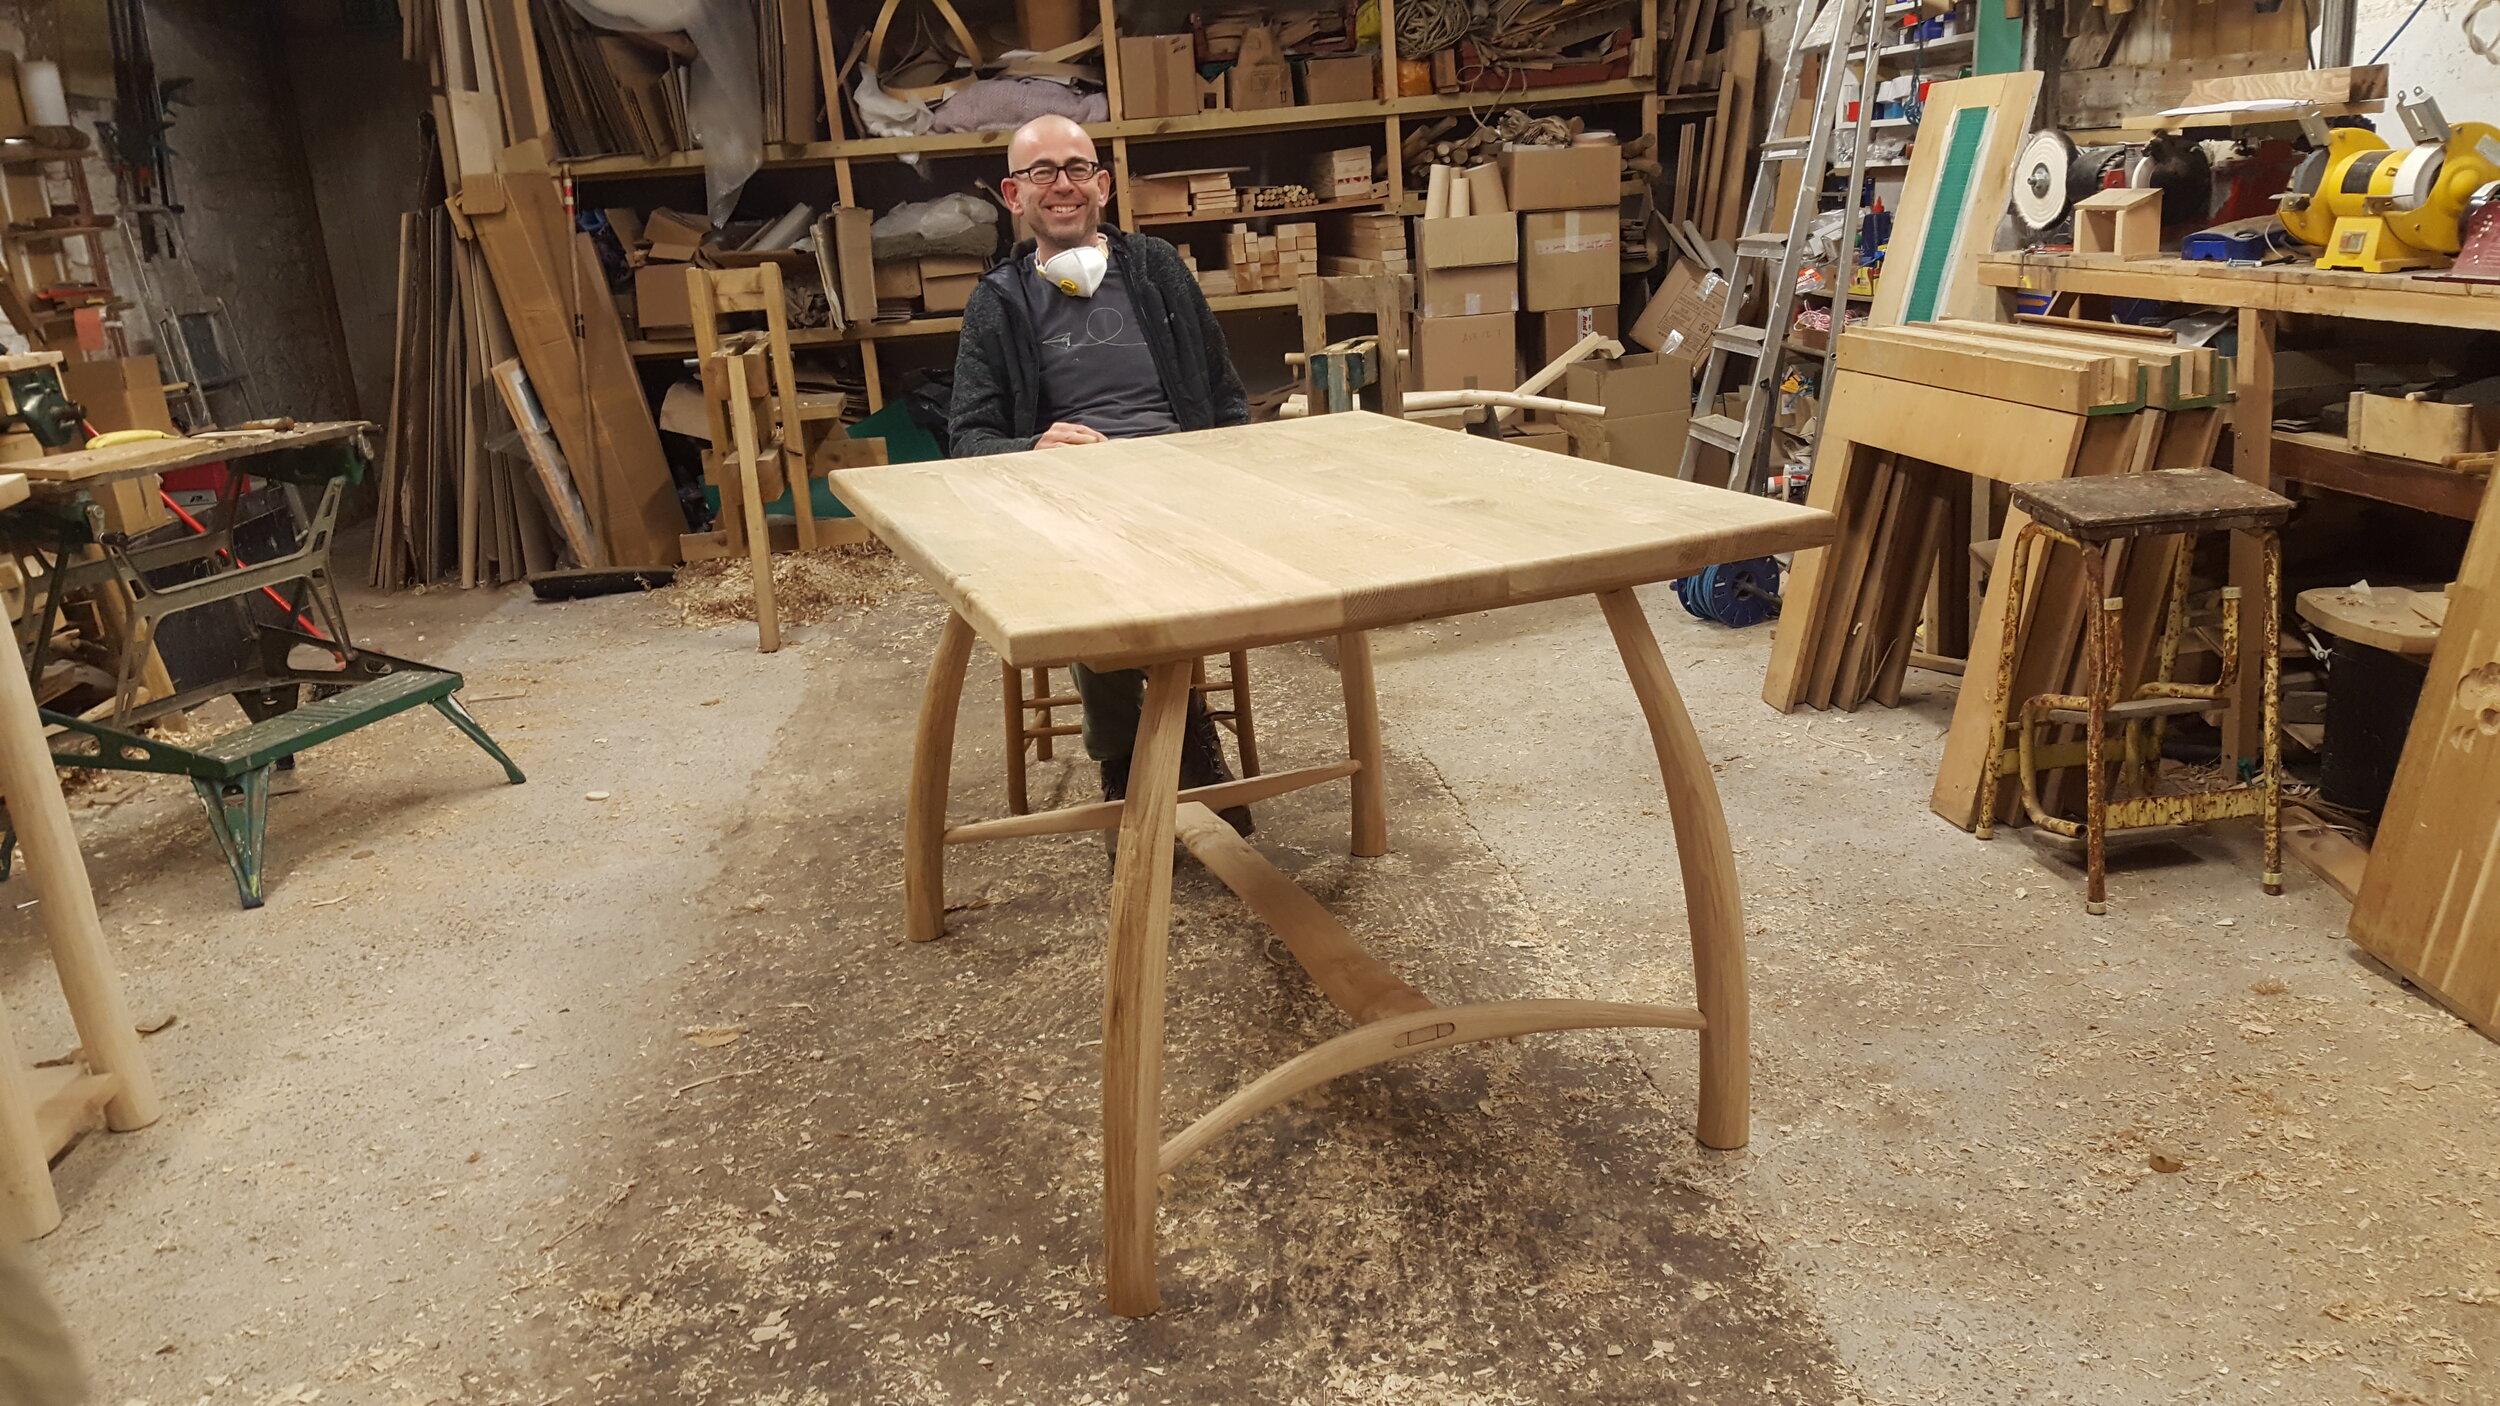
Dave came with a brief for a wide, short table for his kitchen. He chose oak boards, and cleaved wildly curved chestnut components for legs and rails. His boards all fitted through the 12” planer thicknesser, which he quickly picked up. The cleaned up boards were glued up using sash cramps, and left while the leg and rail components seasoned. He used a combination of pillar drill and hand held drills to accurately drill the holes for these very irregular components. Again the central rail was fixed with through wedged slot mortice and tenons.


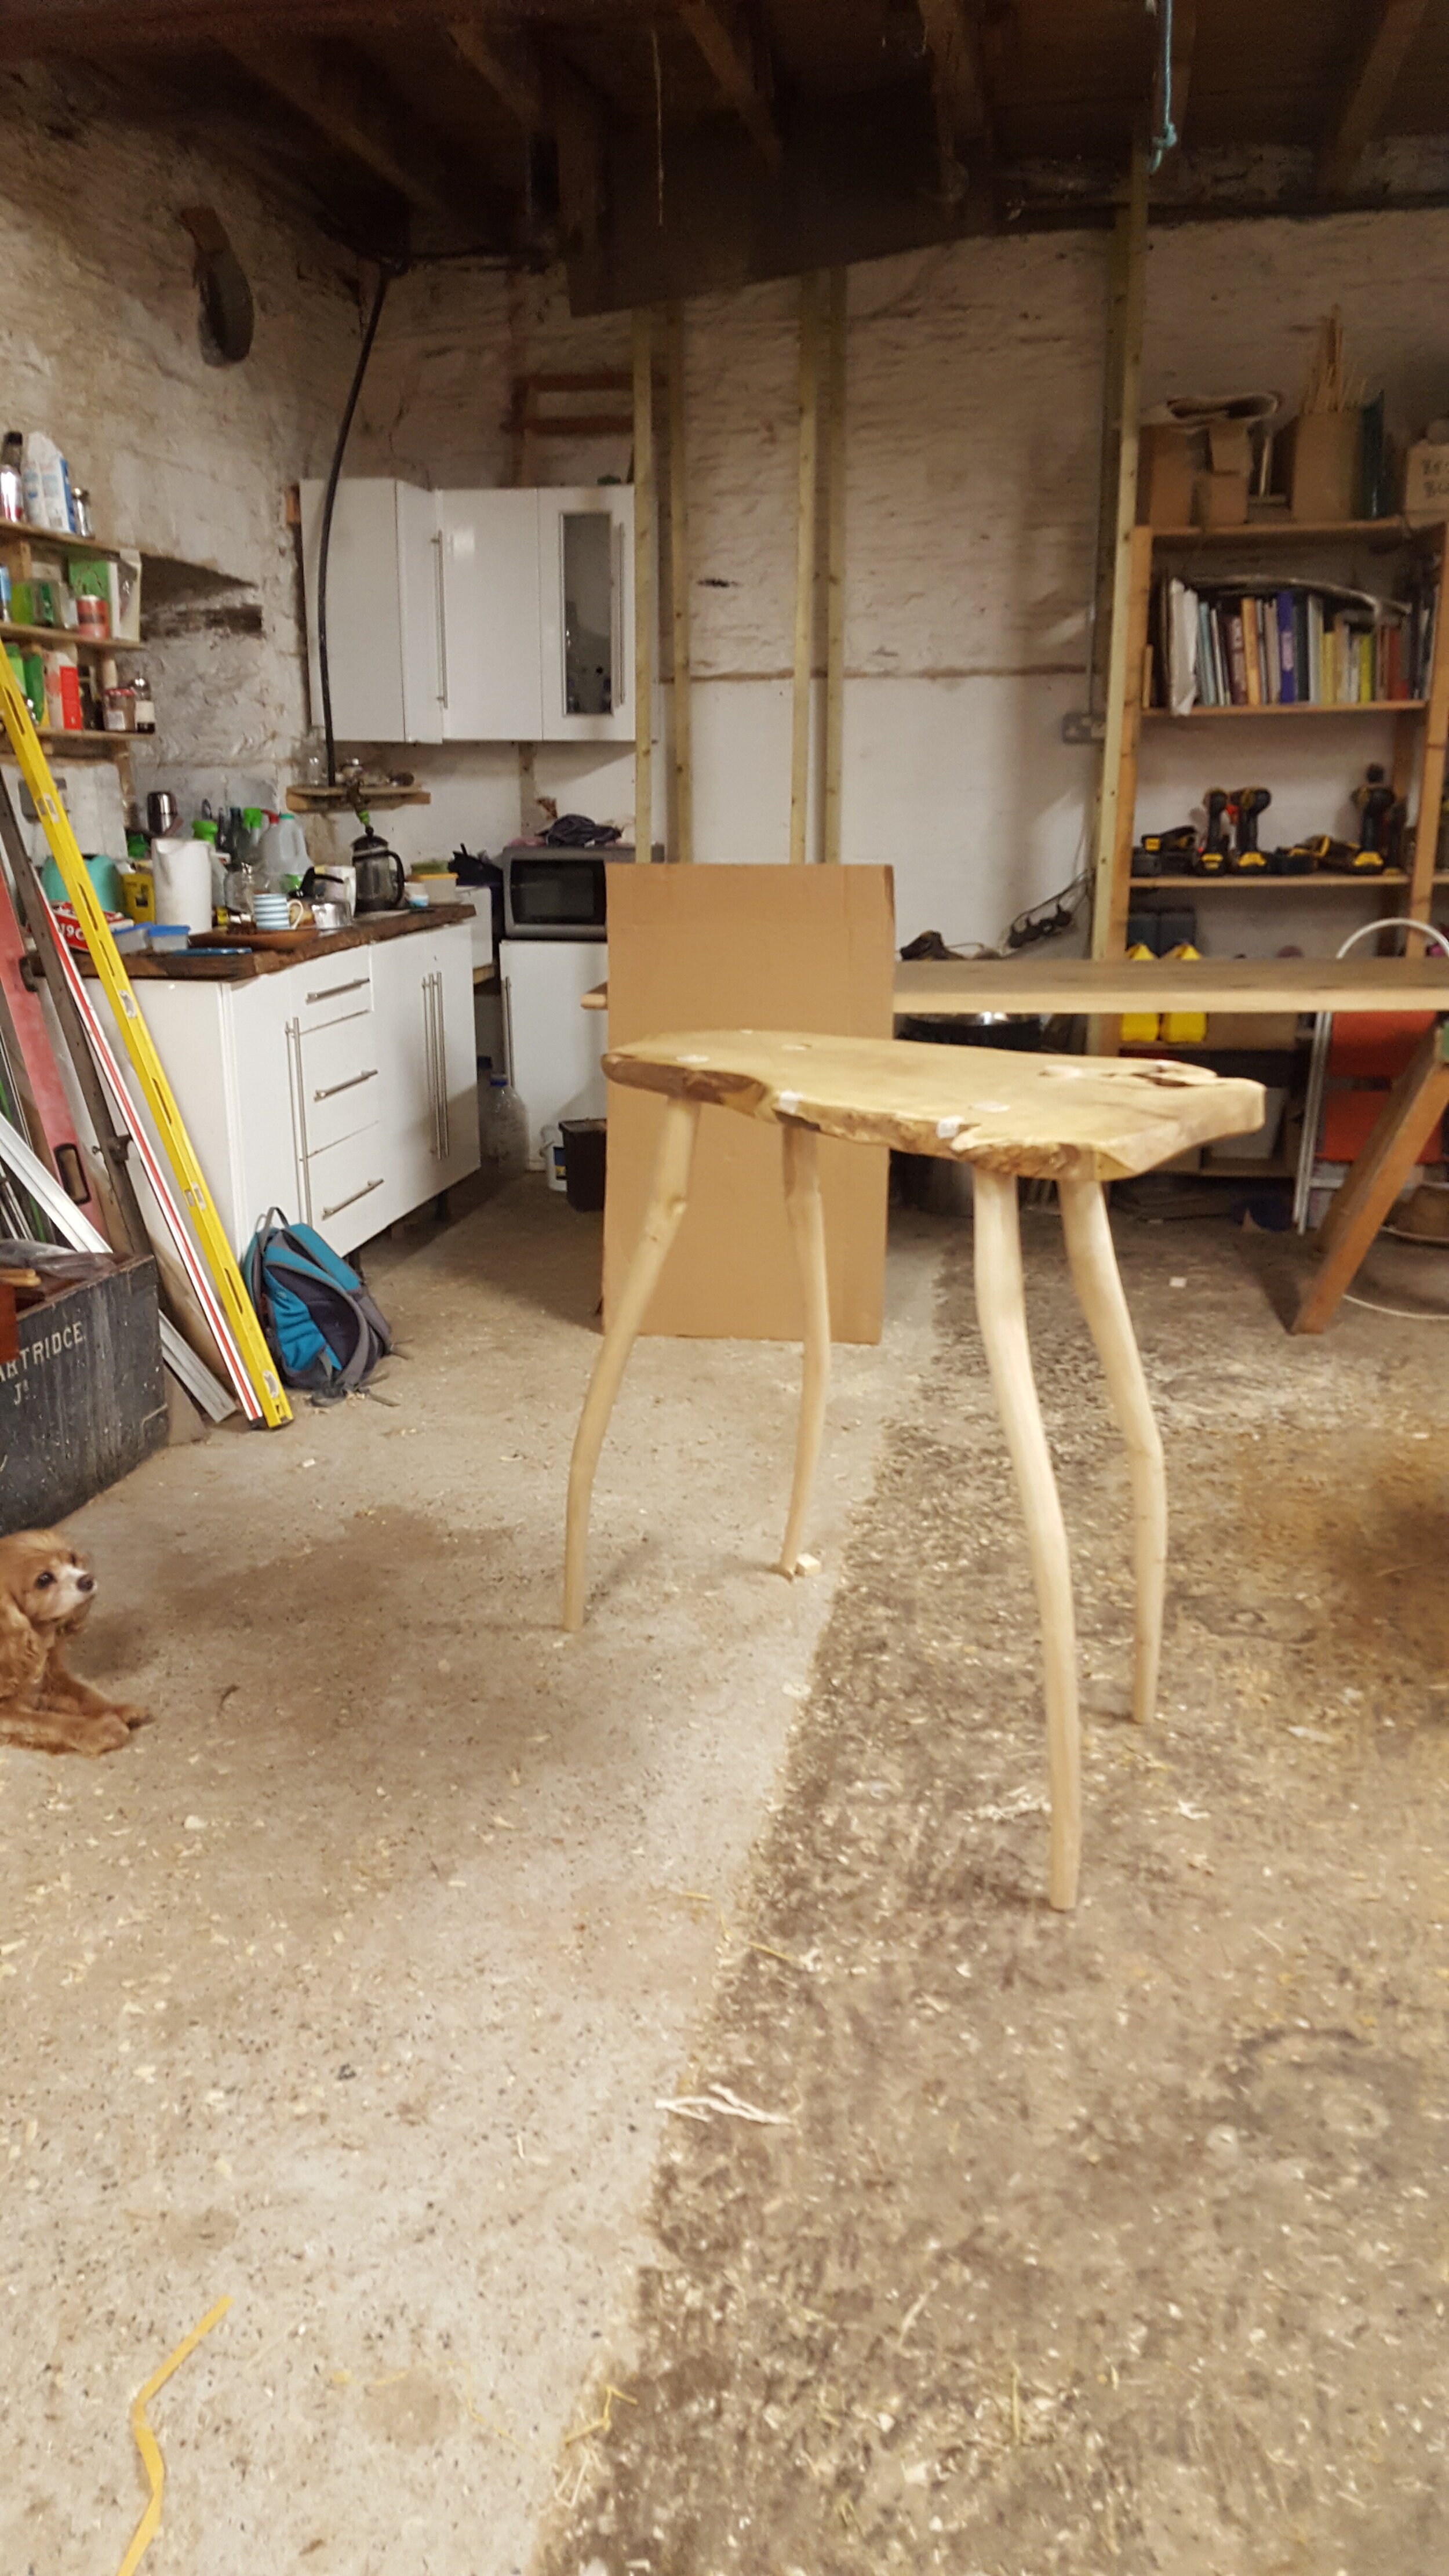
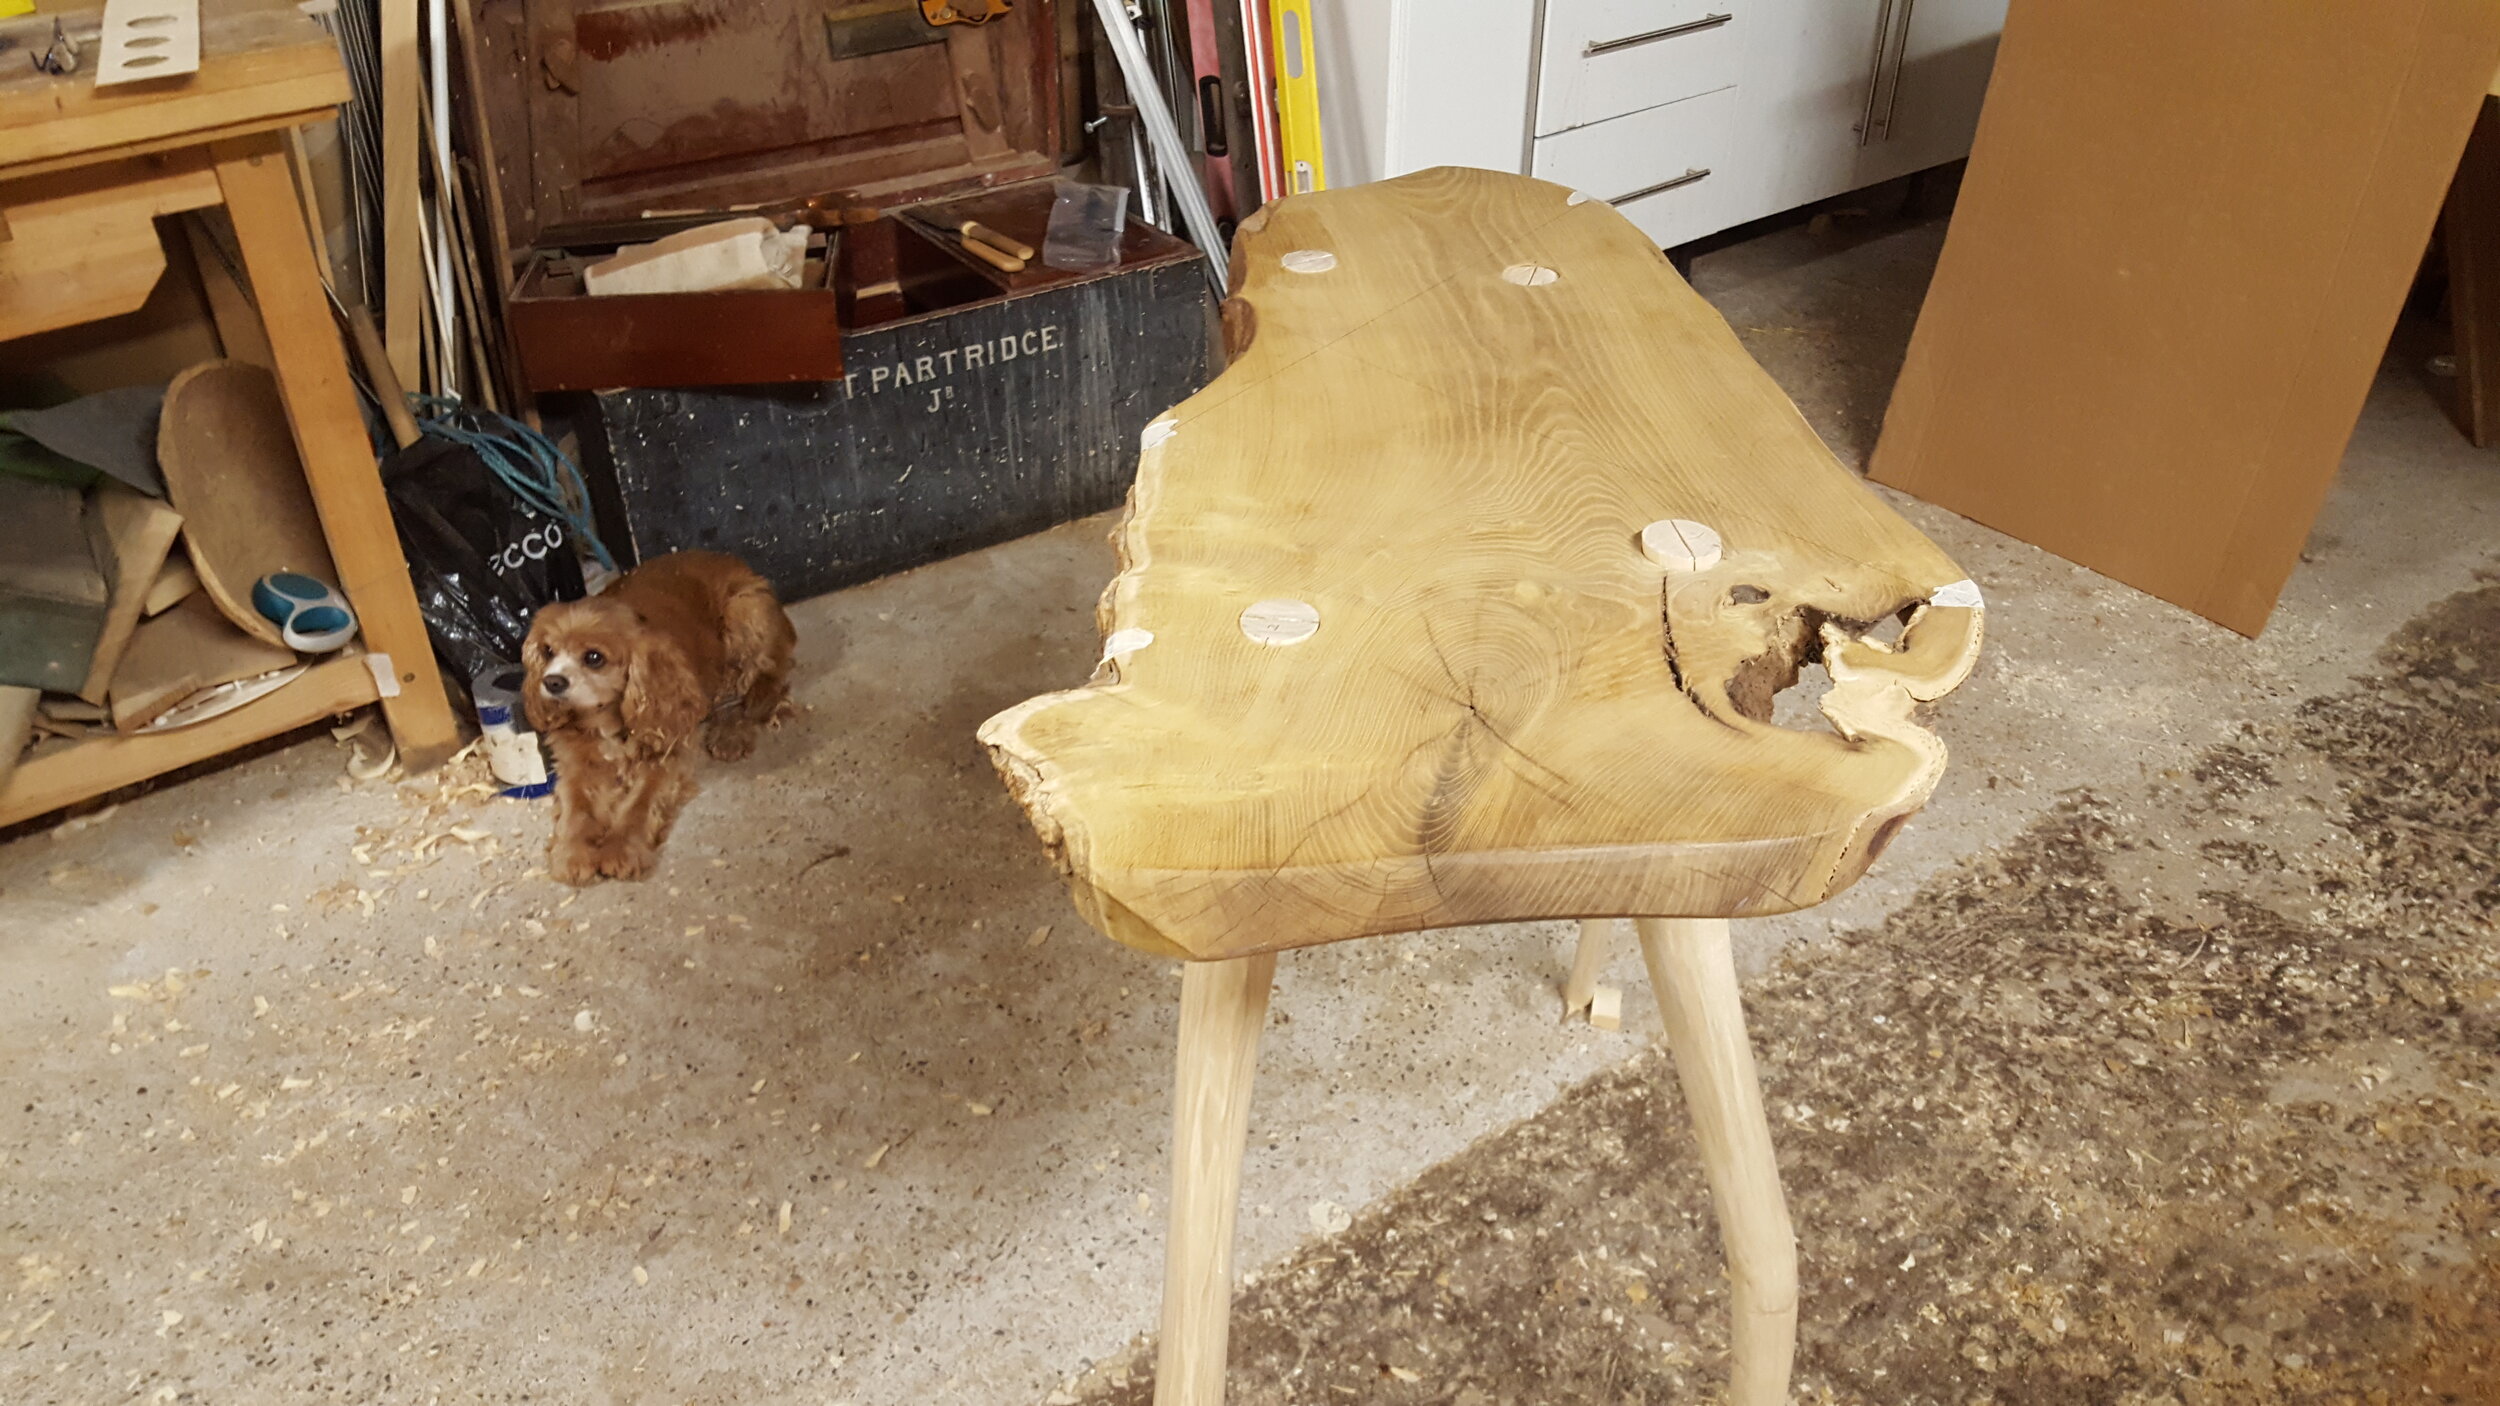
Cath
Cath had previously been on the 6 day chair course in Portugal, and was keen to visit the workshop and learn more skills. For her the course was intended to build on learning she had been doing at college in cabinet making, so she designed a piece to incorporate a dovetailed drawer, which she planned to make between sessions. She was also really interested to learn from what the others were making. She chose really wild piece of chestnut for the legs, and what we think was mimosa, from Anton for the top. The drawer didn’t quite get made, and the back legs got drilled a little to close together for the width of the proposed drawer, but life is all about learning from mistakes! I look forward to one day receiving images of the finished table!


In 2020 this course is scheduled to run 15th to 20th of June, and 16th to 18th of September. Click here to book.